Hello Readers. Sometimes the items we purchase don't last as long as we would like. These purse handles were literally falling apart. It wasn't hard to replace them with something better. Let me show you how easy it was.

Before and after.
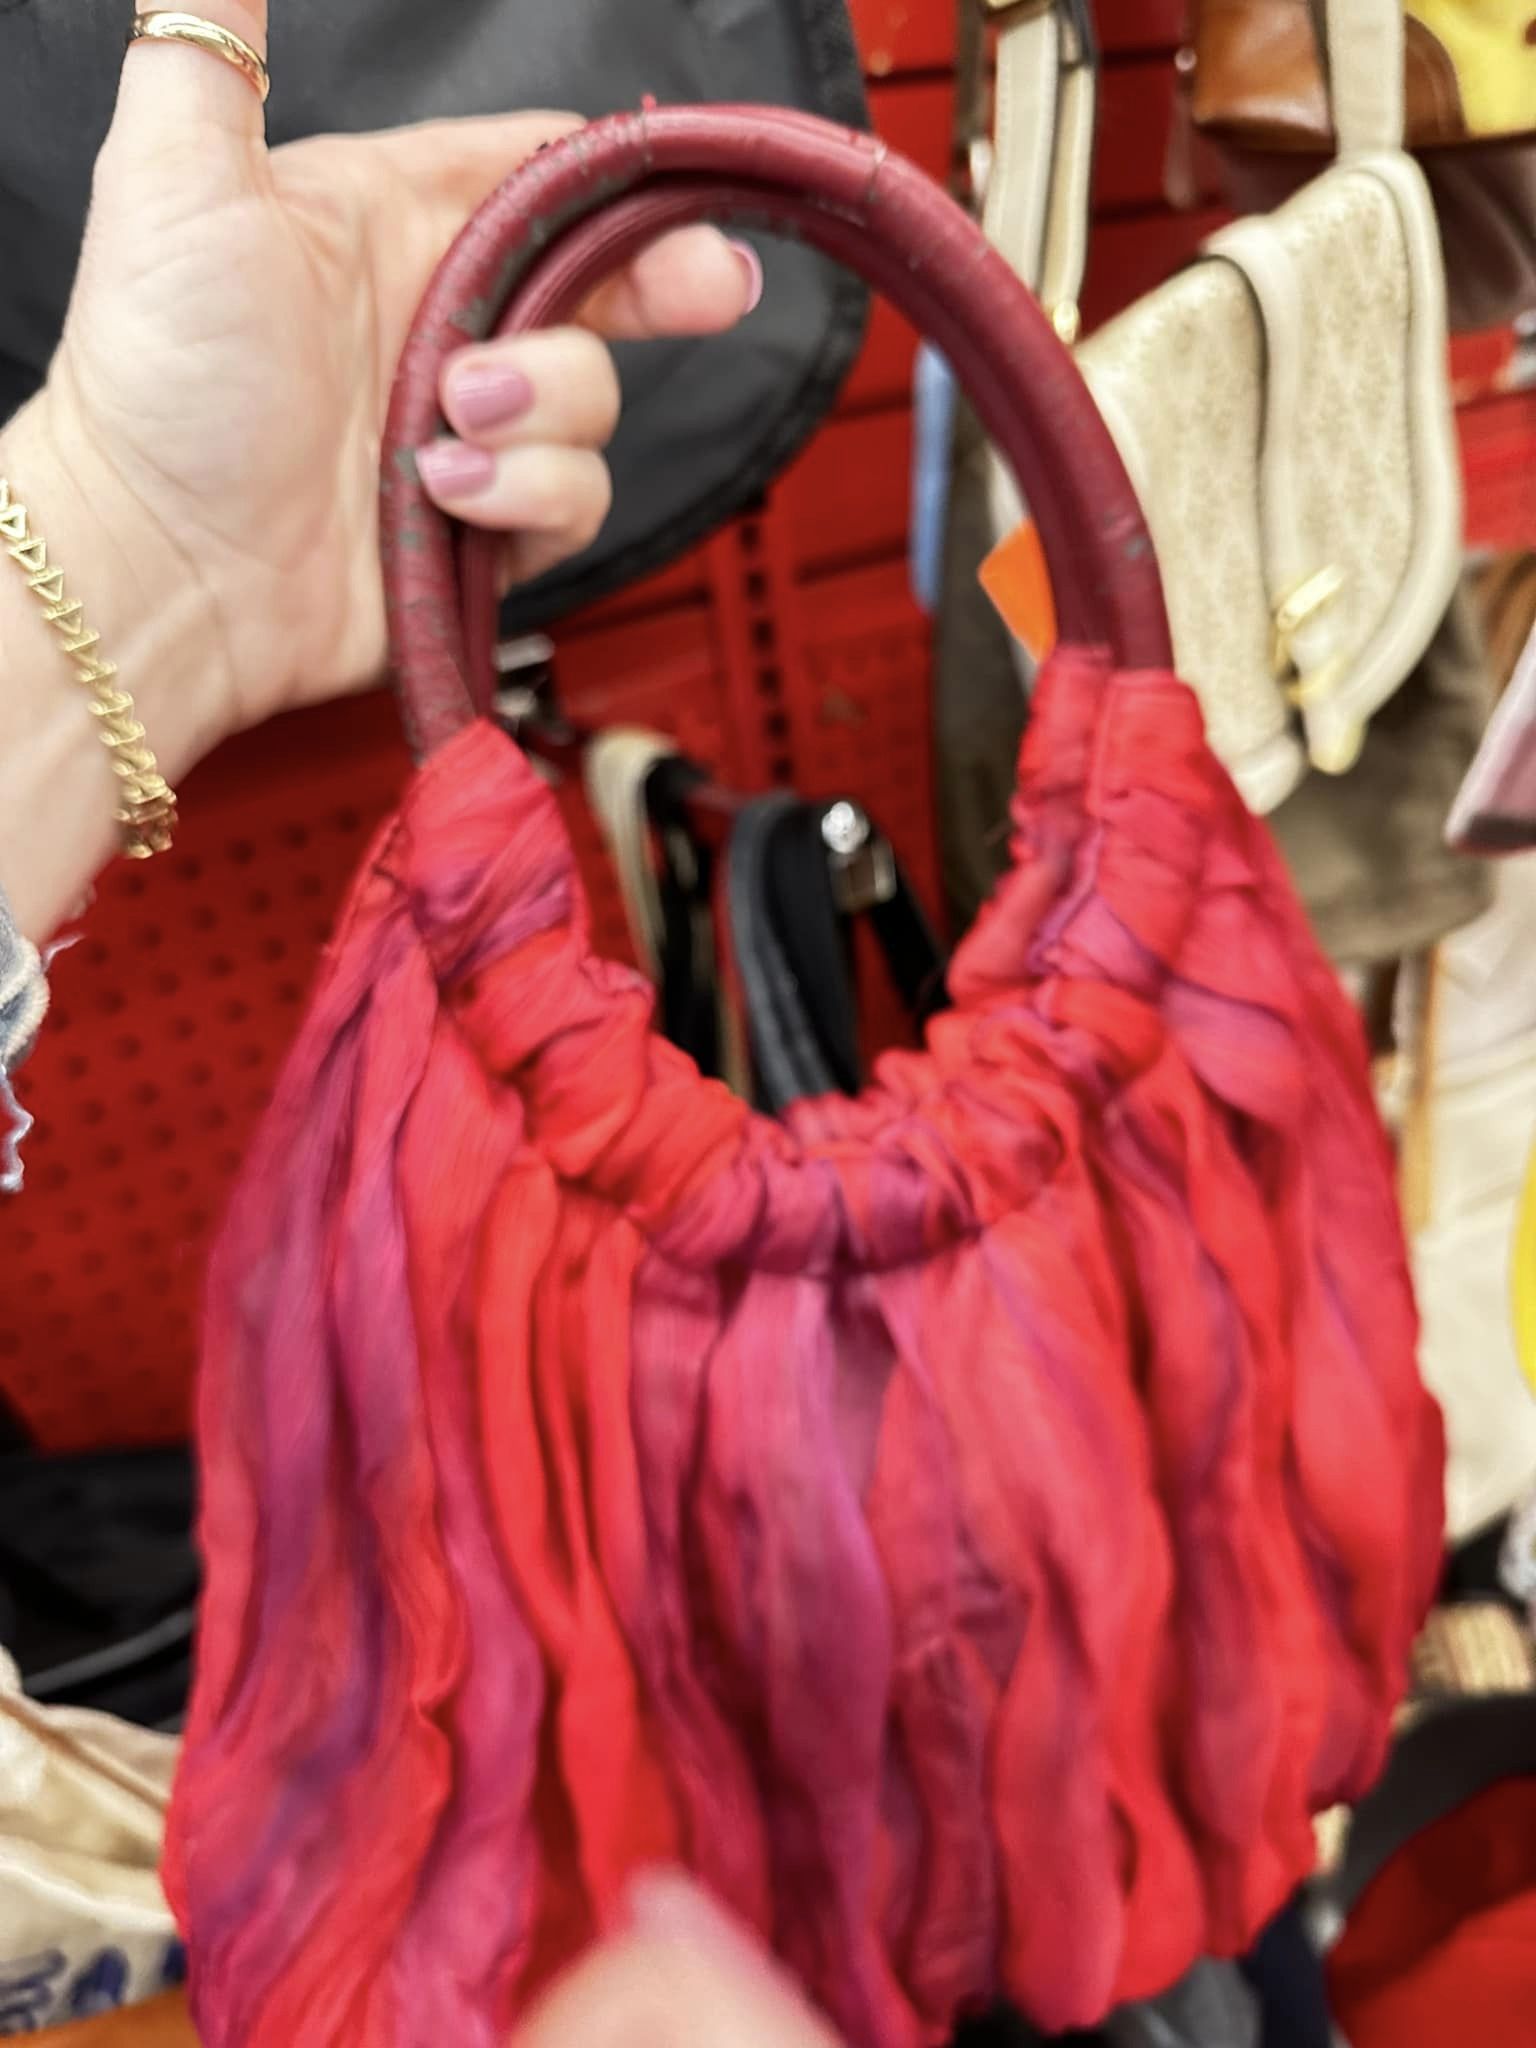
I found this bag at a thrift store and I loved the red and purple fabric. But the handles of this bag were a terrible mess. The vinyl was peeling off and looked awful. The circular handles slid around in the casing they were in so I knew I could replace the handles.

You can see how bad the handles were here. I grabbed my craft scissors. I cut the handles. They were not difficult to cut through.

I was able to slide the cut handle out of the bag easily.

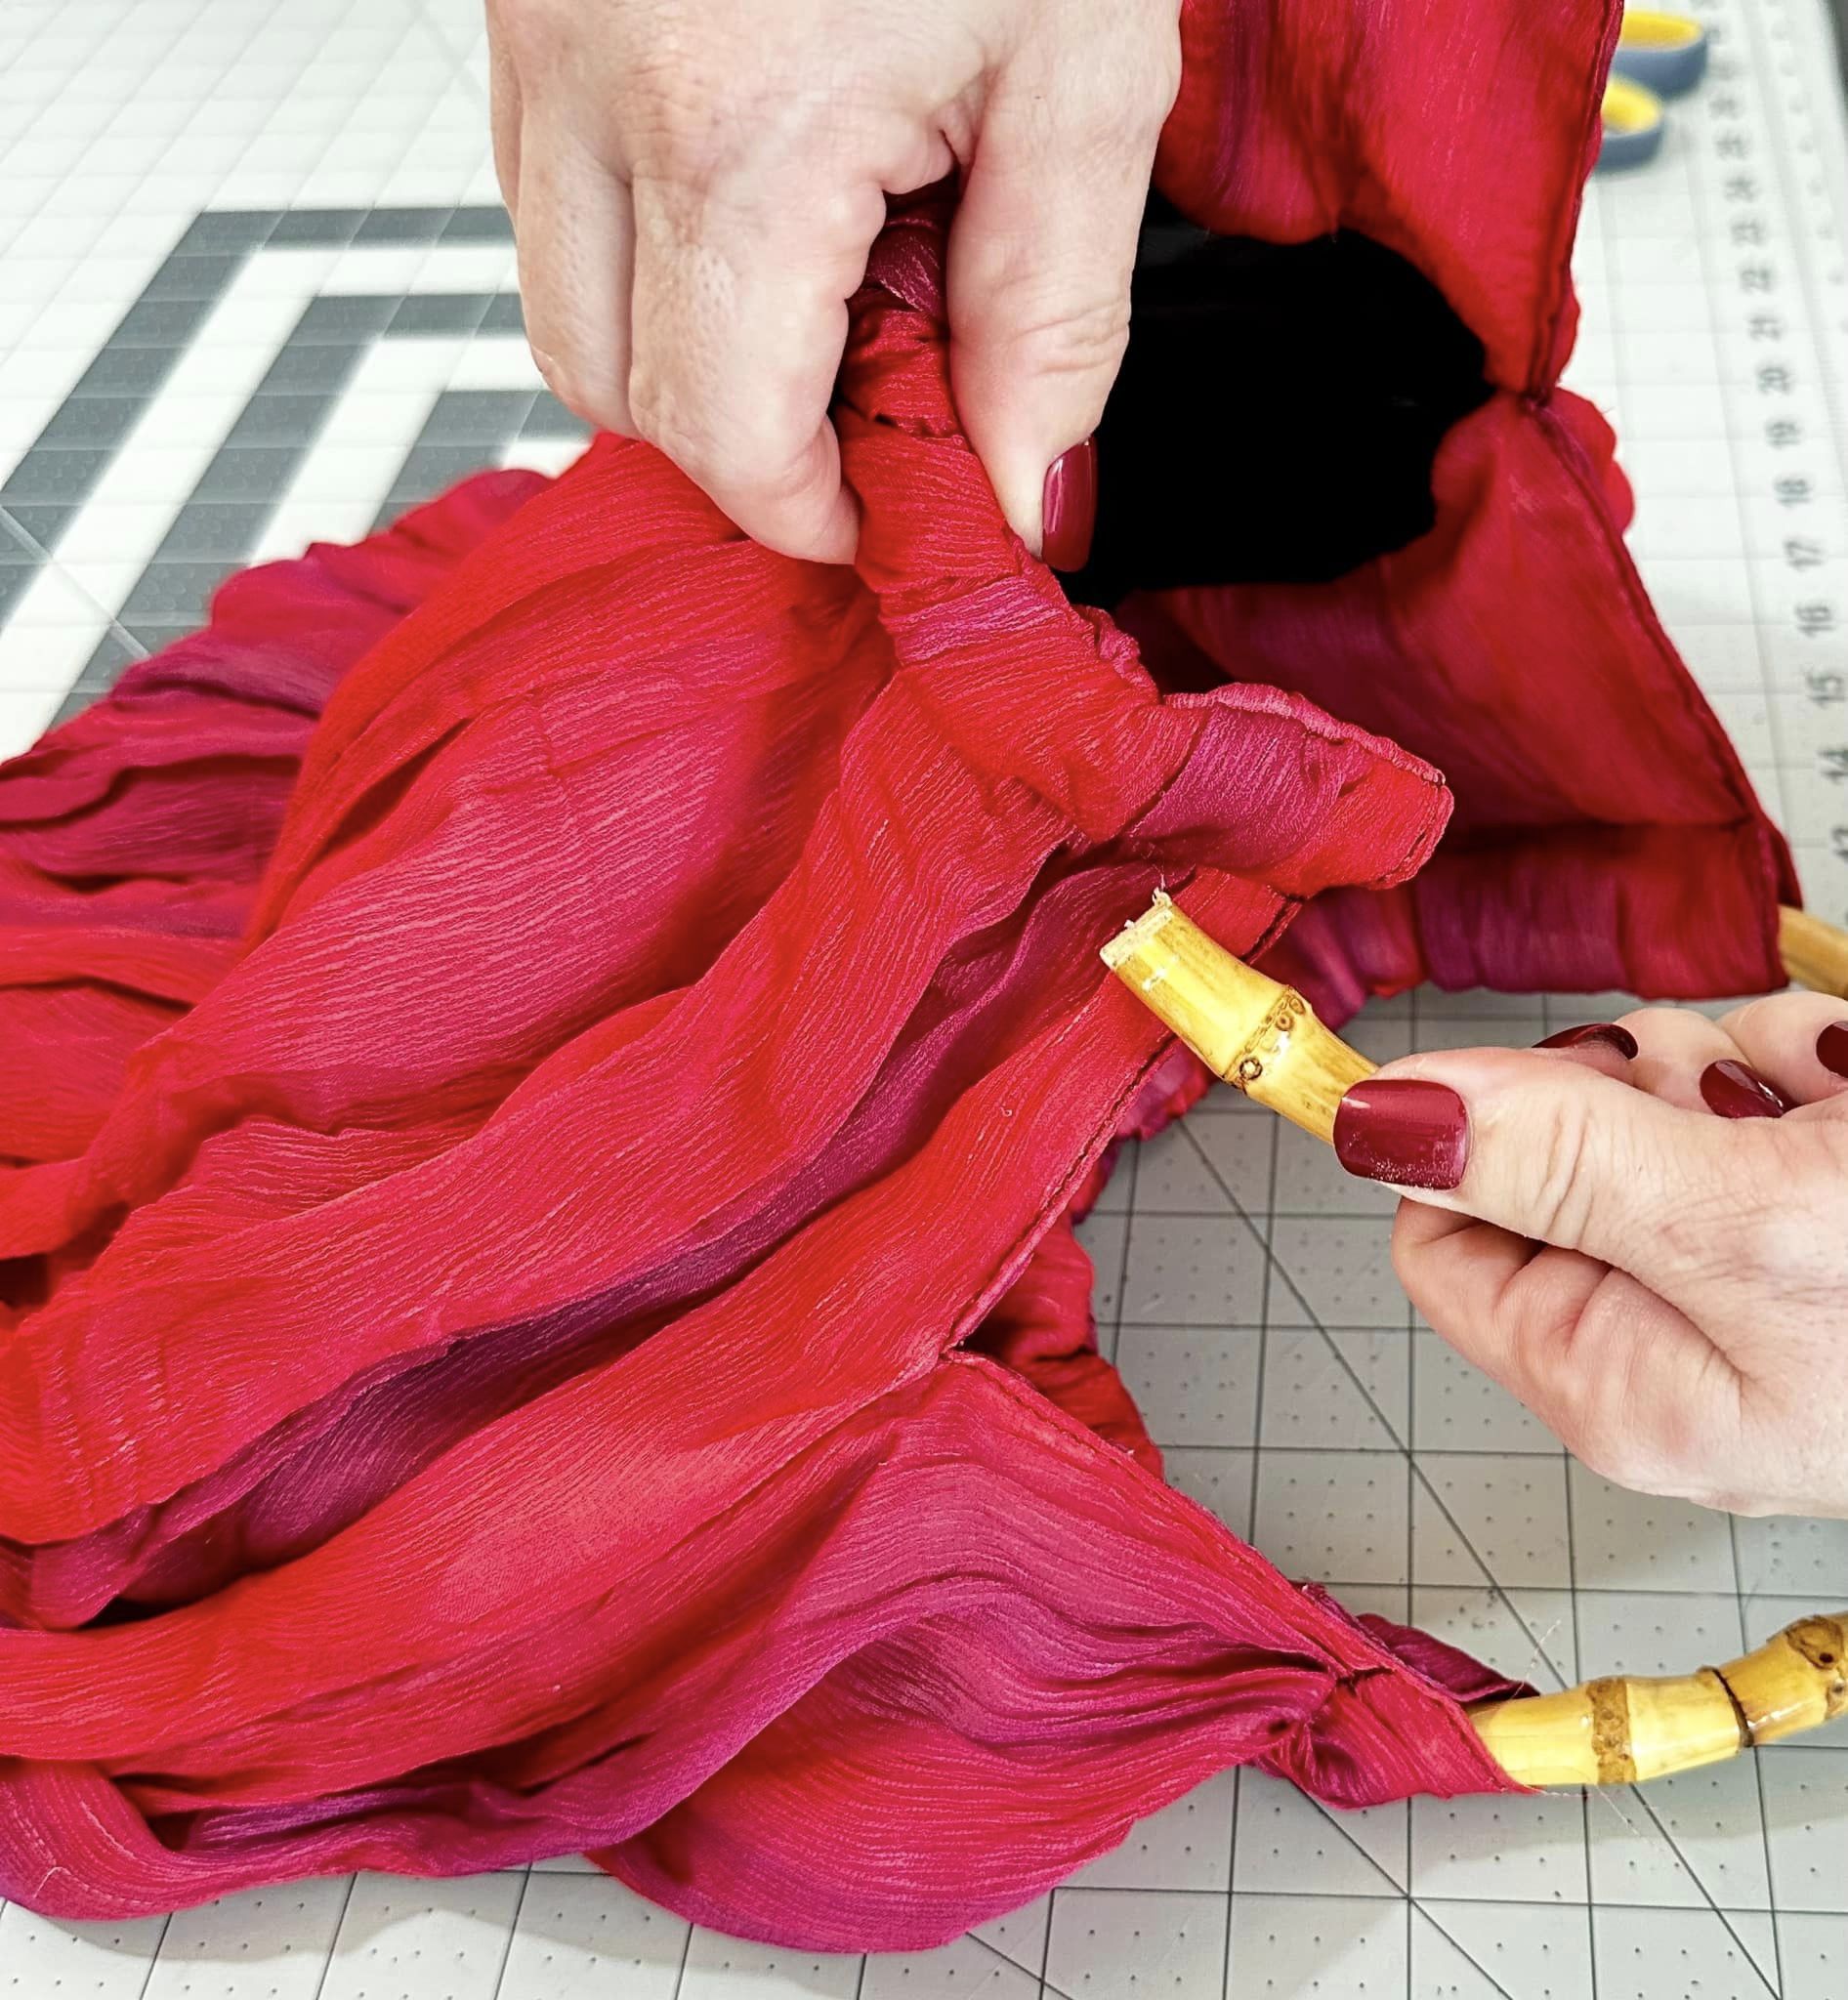
I had these kind of circular bamboo handles in my sewing stash. My mother-in-law gave them to me but you can find them at the fabric store and on Amazon.


I know you are thinking about how I got the closed circular handles into the casing of the bag. It wasn't a magic trick, I cut them. I used a small saw to cut an opening in the handles. The bamboo is light and porous, it's very easy to saw through.

When I cut the bamboo handles they opened up like this. That was just what I needed to slip them into the casing of the bag.

I took one of the cut ends, it doesn't matter which one.

I slid the cut end into the casing. It slid right in.
I kept sliding the bamboo handle into the casing and ...

The cut end came out of the other side of the casing.

I kept the cut ends of the handles inside the casing so they did not show.

The new handles looked great.

I decided to glue the cut ends of the bamboo handles back together to reinforce the spot where I cut them. The cut ends don't show but I wanted the handles to be as strong as possible.

I CAREFULLY added a small blob of hot glue to the handle. I put the HOT glue right in the opening.

I CAREFULLY pushed the cut ends together and held them together while they cooled and dried. This took a few minutes. (Glue guns can burn you. Use caution.)

When my glue was cooled down and set in place, I slid the handle into the casing again to hide that glued spot. Hot glue isn't cute so lets hide it.

The bag looks great with new handles.

***Year End Update***- I love red and this purse was so easy to fix.
No comments:
Post a Comment