Hello Readers. I saw a bag online recently and loved it but I had similar fabric in my fabric stash. I thought I could make a similar bag for myself using what I already have. I used the directions from La Fabrique des Heart'istes below but this time I made a much bigger bag.
I am a short, thrifty, creative upcycler refashioning clothes & more. On the cheap!
Showing posts with label Purse. Show all posts
Tuesday, February 10, 2026
Simple Fabric Bag
I made my own bag.
My finished bag. This is a great project because you can use any piece of fabric. The process is folding the fabric together so it can be any size. Below is the first bag I made from about a year ago. This piece of fabric started at approximately 48' by 42', but all the steps were exactly the same as below.
I made a fun little bag recently. This was really simple to make and the shape was straight-forward. There is a information on this and other projects from the maker La Fabrique des Heart'istes on
My fun new bag!
I wanted to use this fabric sample that I had on hand so I did not follow the recommended measurements very closely. The bag still turned out great.
I folded my fabric square in half with the right sides facing each other. I sewed around the outer edge and left a small opening to turn it right-side out. I turned it right side out like this.
I ironed the fabric so that it would be flat and straight.
I gathered the fabric together like this.
I used a small piece of fabric to wrap around the center. It is going to be a sort of handle. The edges of the faux suede are folded in so there are no cut edges showing.
I sewed the "handle" together so that it wrapped around the large piece of fabric.
The bag needed to be sewn together. I stitched the 2 sides together along the edges, where I was pointing. I only sewed the lower half. The top needs to stay open, that is how I will put things in and out of the bag.
I folded the bag so that the seams were in the middle. I had to sew these 2 sides and the bottom seams together.
I was done sewing all the edges together. You can see all the seams.
I flipped the bag right-side out to hide all those seams inside.
When all the seams are inside the bag looks cleaner and the openings at the top make it easy to tuck items inside. The way the fabric is folded, the inside has the same fabric as the outside. It looks nicely lined.
I made a second larger tote bag from some fun dog fabric. Thanks for reading along, go check La Fabrique des Heart'istes on YouTube or Facebook for more sewing ideas.
***Year End Update***- These bags are so fun. This was a great project.
Thursday, June 13, 2024
The Coolest Purse (Repair) Ever
Hello Readers. I went to a clothes swap and found this wild and wonderful bag. It was a Betsey Johnson purse. Betsey Johnson is famously wild and wonderful as well. This bag was a little beat up. Could I repair it and clean it up? I wanted to try.
Am I repair expert? No.
She is cute but she has been through some things.
The black parts of the bag are literally falling apart. The vinyl is peeling off the bag and it looks bad.
The piping is in the same condition. The bag is sturdy and the seams are strong but the outer layer of the bag is looking rough.
I don't have any specialty tools. I thought I could peel the vinyl off with tweezers.
The tweezers worked really well. I picked and peeled all the loose vinyl off. It took a little while but it was not difficult.
I also used my little sewing scissors to trim the loose edges
These were great for the piping around the bag.
I used some glossy black acrylic paint. This was thick paint and it was great for this project. Watery and runny paint would be too messy.
The areas that I peeled off revealed a gray-ish color. I started painting with the black paint and tried to cover the gray color. I wanted the black to look like it did before I peeled it all off.
I painted everything that I had peeled off.
After 1 coat of the paint it looked like this. I touched up a few spots to make sure it was as dark and glossy as possible.
I thought it looked good when it was all finished. But I wasn't quite done. This bag came with a short black nylon handle.
I found this bag at a thrift store months ago. I bought it because it was a bargain jut for the strap.
I thought it went really well with this bag.
I love these kind of adjustable straps. They just clip on and now this can be a shoulder bag or a cross body bag.
This was a fun project. I was happy with the way the bag looked when I was done. Thanks for reading along, now go make something fun for yourself.
***Year End Update***- I love this bag. I just used it yesterday.
Tuesday, February 13, 2024
Replacing a Purse Handle
Hello Readers. Sometimes the items we purchase don't last as long as we would like. These purse handles were literally falling apart. It wasn't hard to replace them with something better. Let me show you how easy it was.
Before and after.
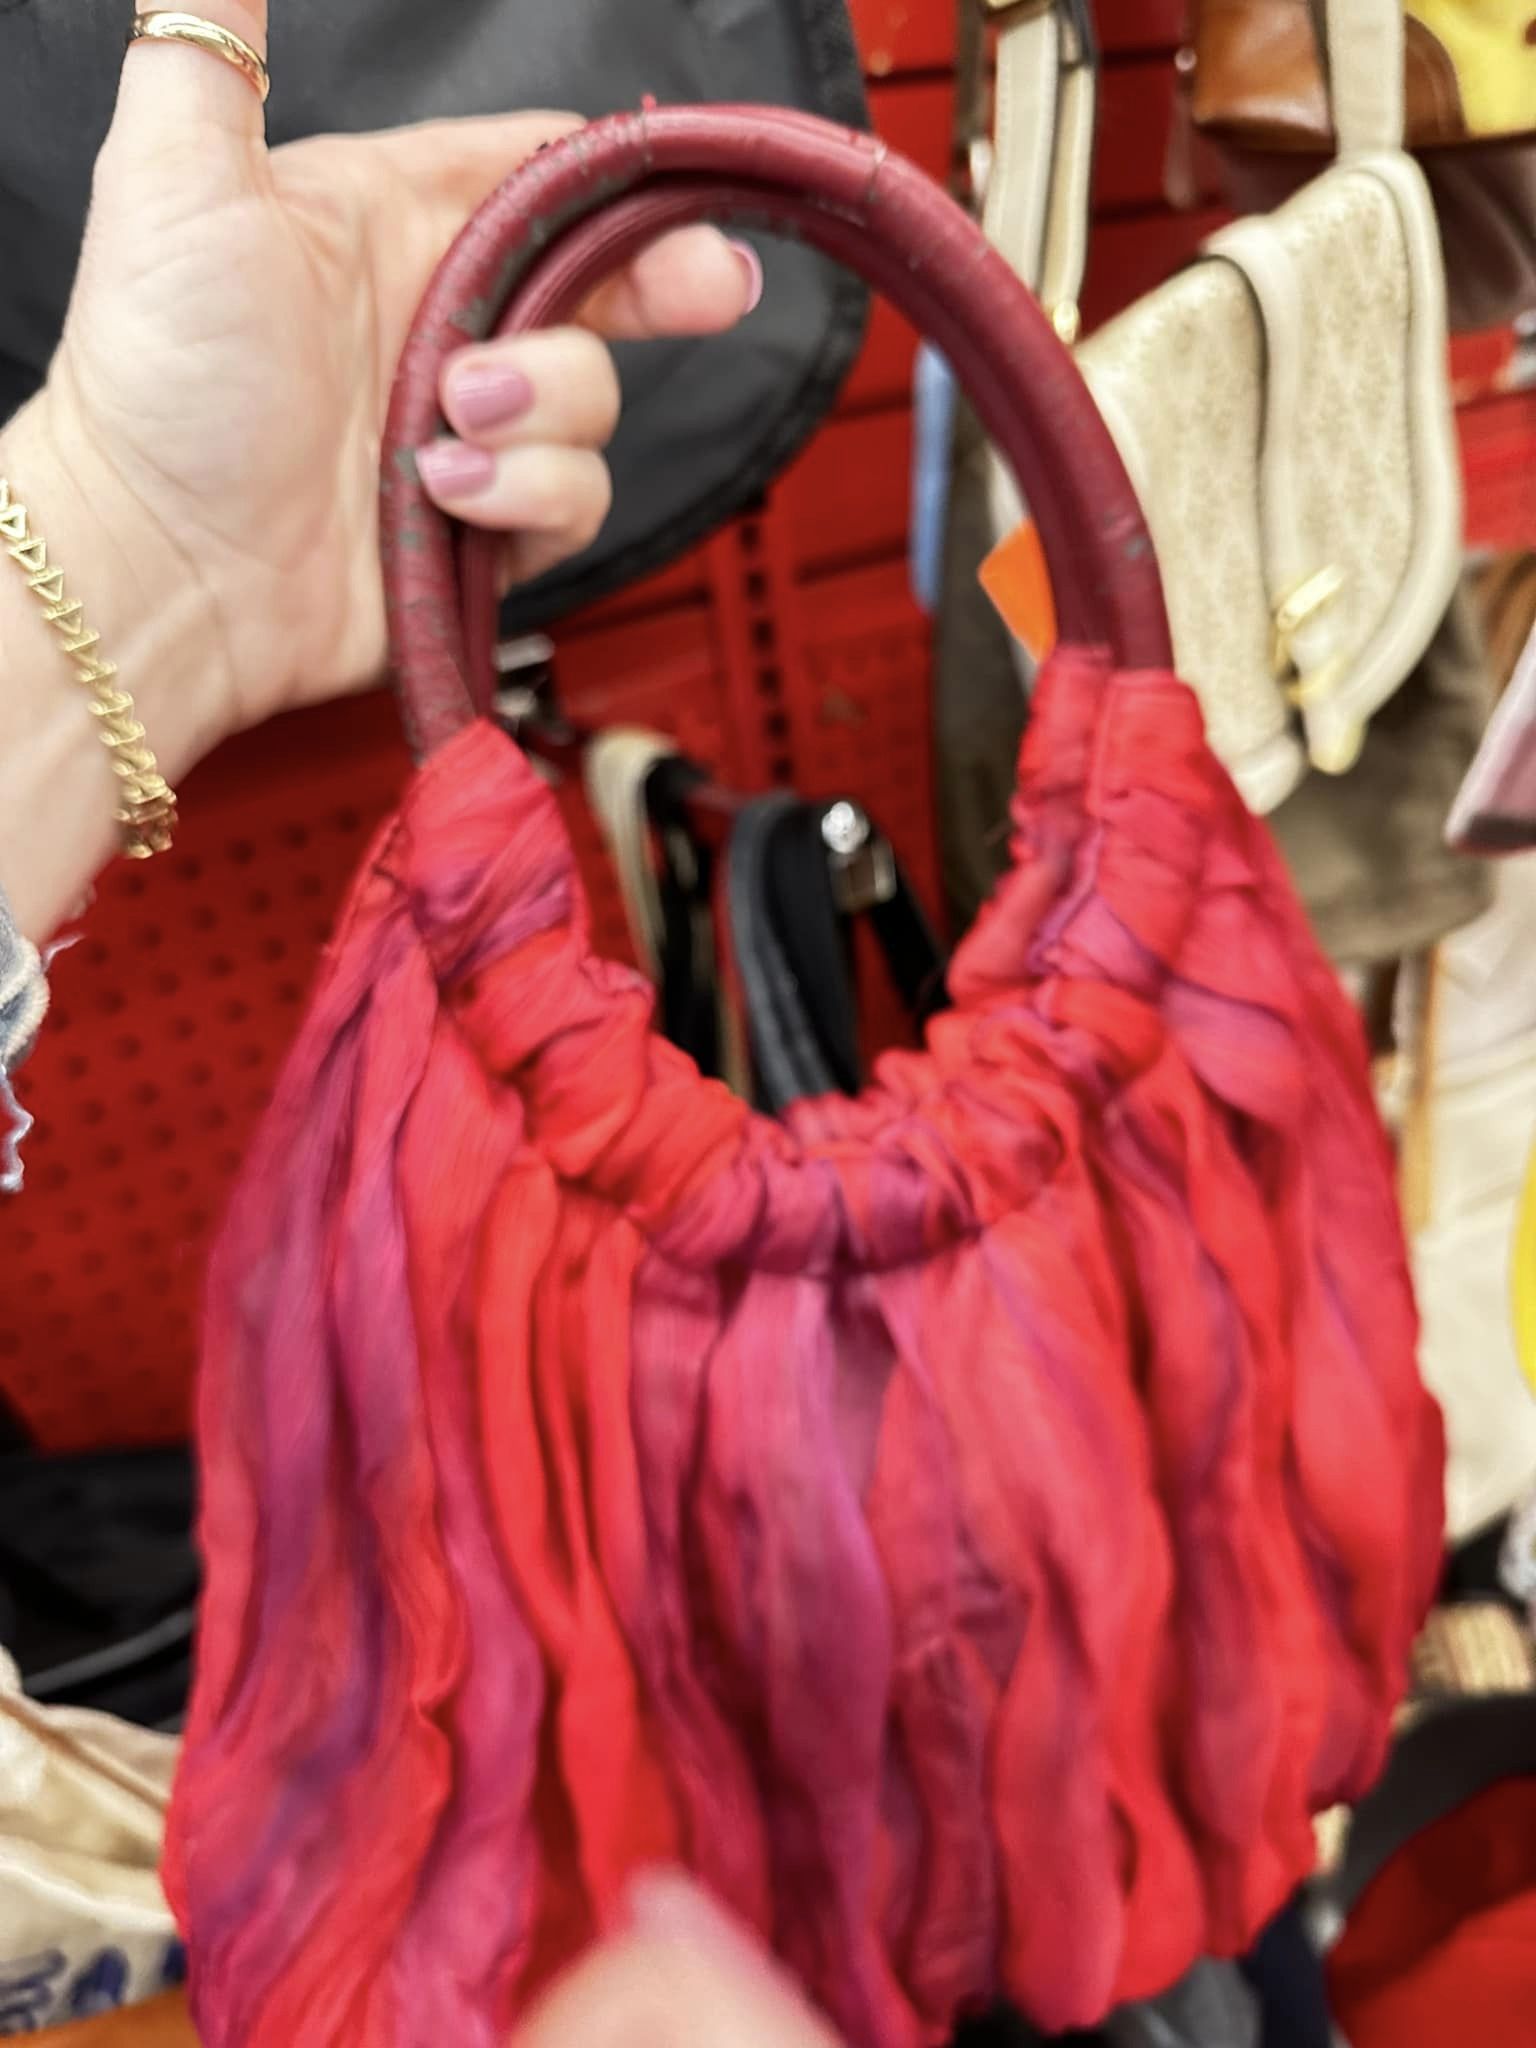
I found this bag at a thrift store and I loved the red and purple fabric. But the handles of this bag were a terrible mess. The vinyl was peeling off and looked awful. The circular handles slid around in the casing they were in so I knew I could replace the handles.
You can see how bad the handles were here. I grabbed my craft scissors. I cut the handles. They were not difficult to cut through.
I was able to slide the cut handle out of the bag easily.
I had these kind of circular bamboo handles in my sewing stash. My mother-in-law gave them to me but you can find them at the fabric store and on Amazon.
I see these kind of handles at the thrift store sometimes too. You can buy the purse and use the handles with a different bag. It would be cheaper to buy this thrift bag and cut away the bag so you can use these handles instead of buying the handles new at a fabric store.
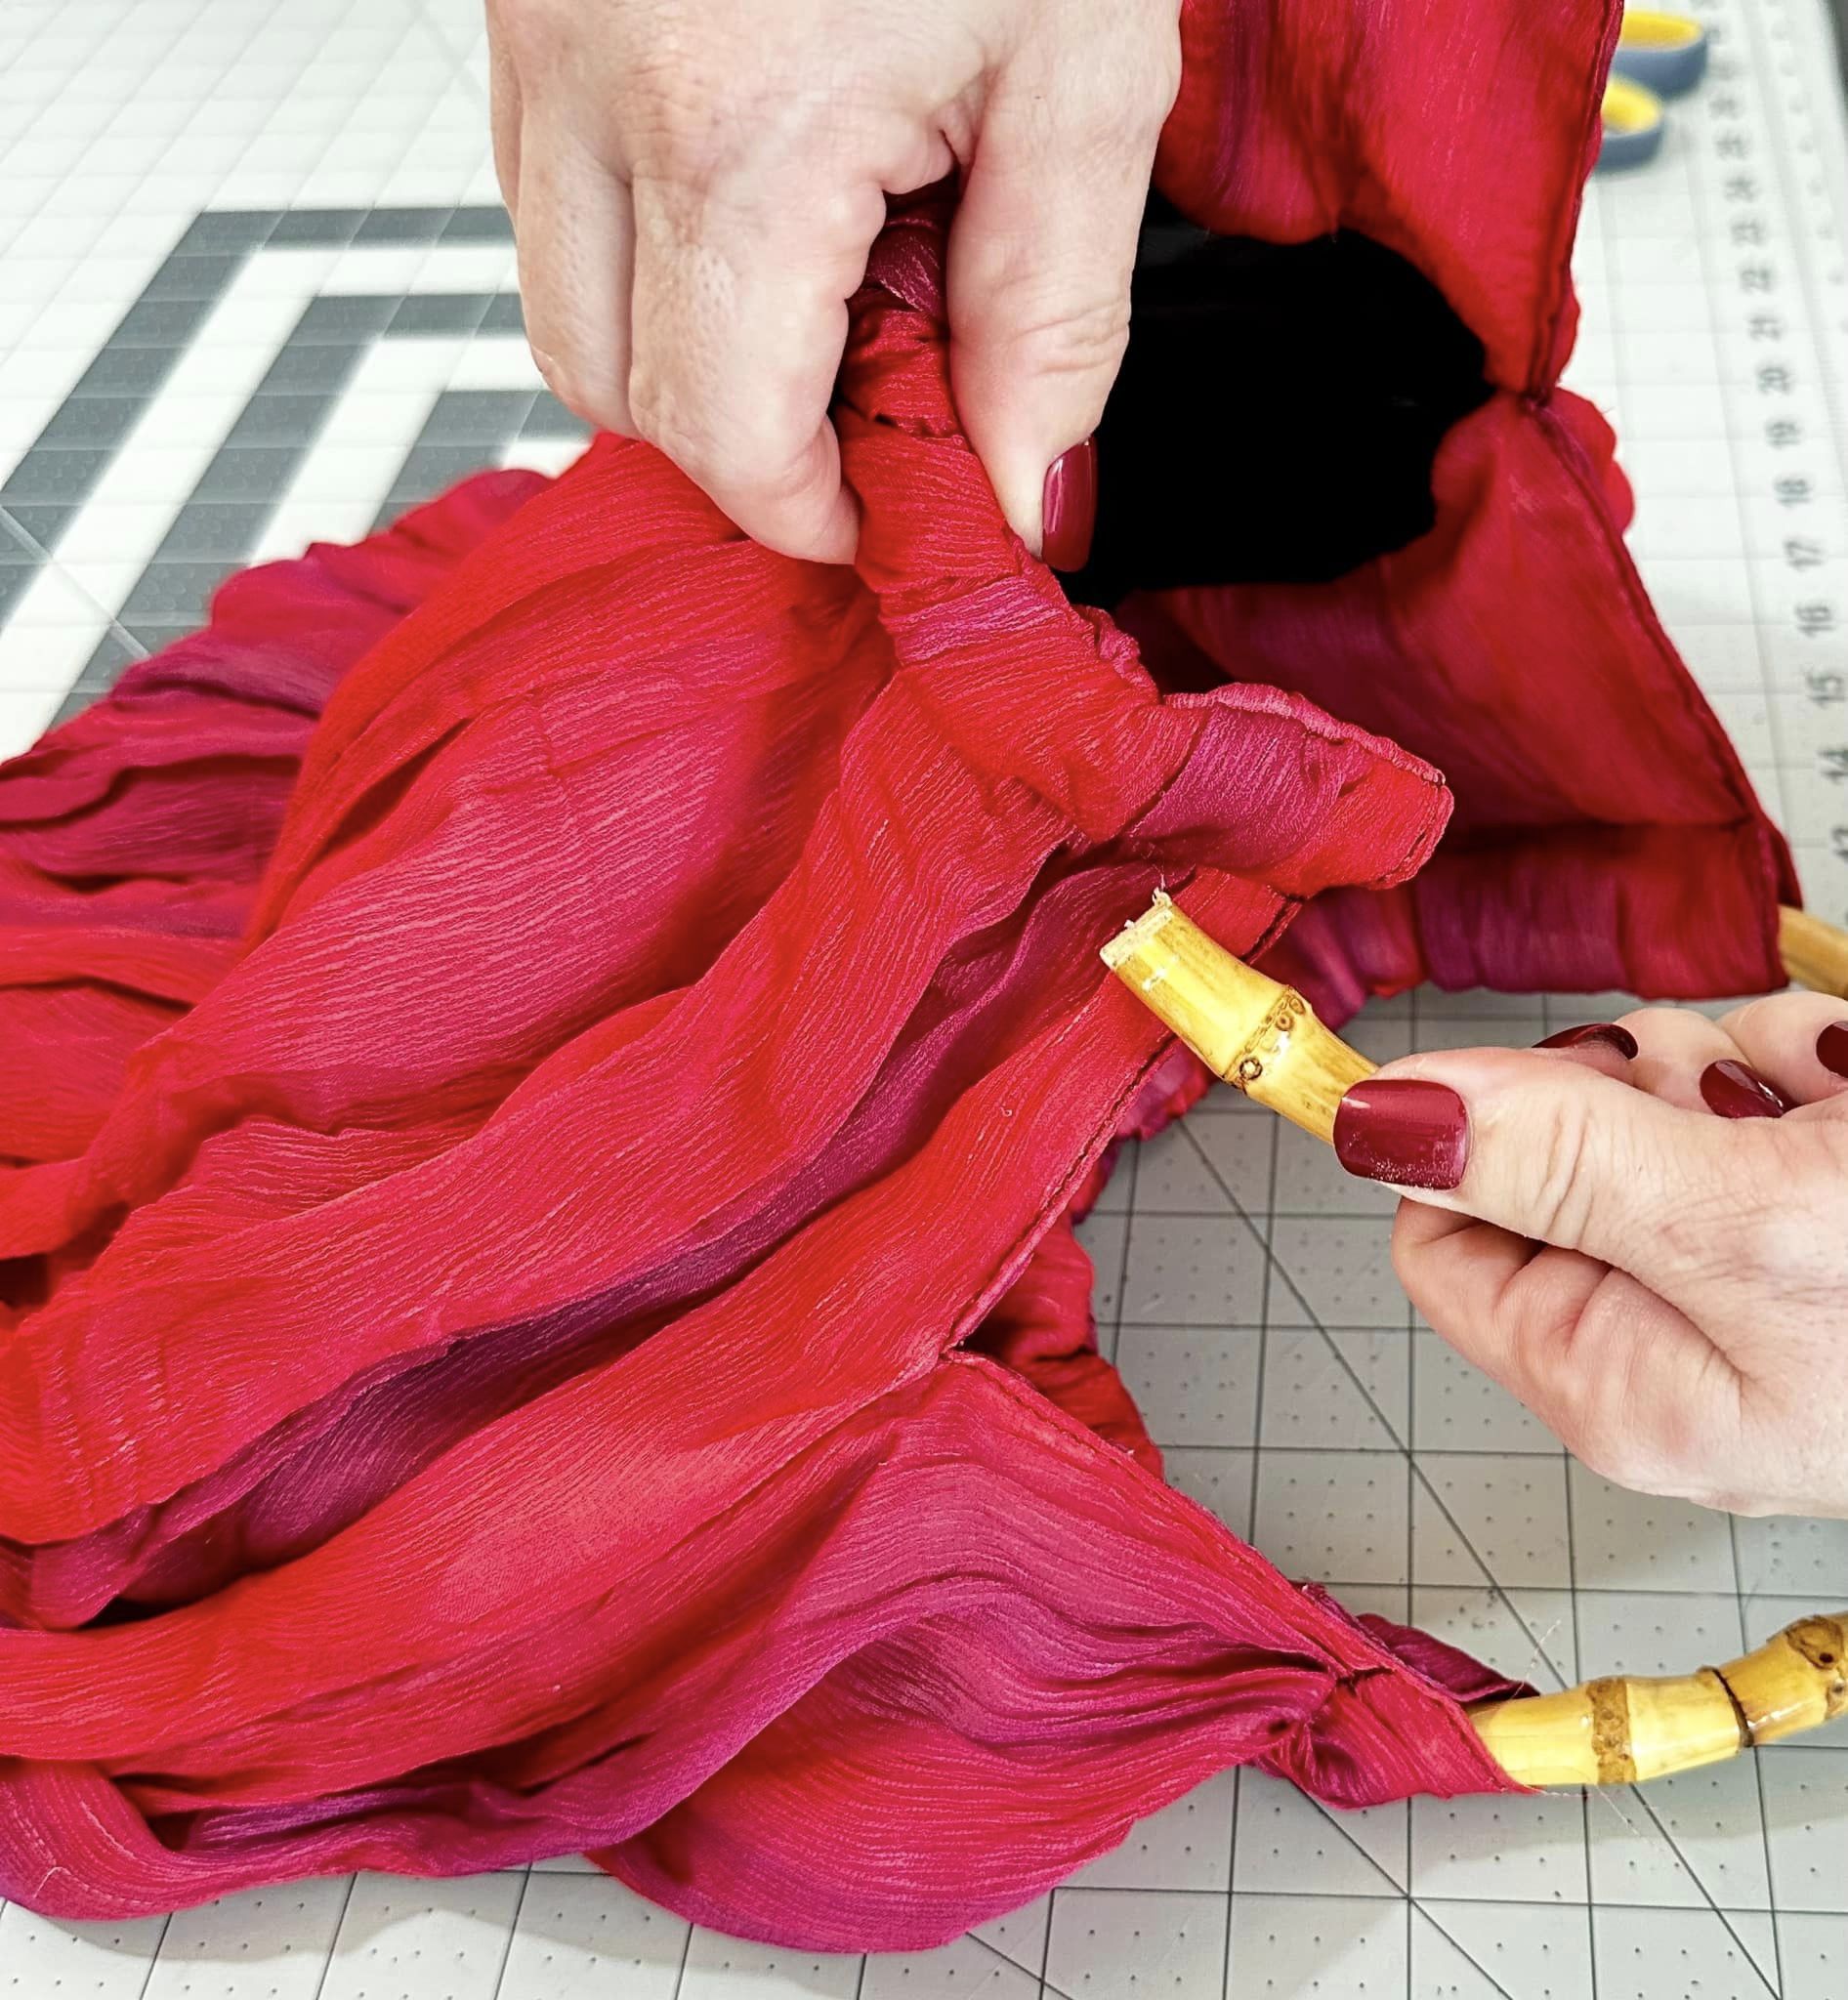
I know you are thinking about how I got the closed circular handles into the casing of the bag. It wasn't a magic trick, I cut them. I used a small saw to cut an opening in the handles. The bamboo is light and porous, it's very easy to saw through.
When I cut the bamboo handles they opened up like this. That was just what I needed to slip them into the casing of the bag.
I took one of the cut ends, it doesn't matter which one.
I slid the cut end into the casing. It slid right in.
I kept sliding the bamboo handle into the casing and ...
The cut end came out of the other side of the casing.
I kept the cut ends of the handles inside the casing so they did not show.
The new handles looked great.
I decided to glue the cut ends of the bamboo handles back together to reinforce the spot where I cut them. The cut ends don't show but I wanted the handles to be as strong as possible.
I CAREFULLY added a small blob of hot glue to the handle. I put the HOT glue right in the opening.
I CAREFULLY pushed the cut ends together and held them together while they cooled and dried. This took a few minutes. (Glue guns can burn you. Use caution.)
When my glue was cooled down and set in place, I slid the handle into the casing again to hide that glued spot. Hot glue isn't cute so lets hide it.
The bag looks great with new handles.
No one but you and I will ever know how bad it looked before. Thanks for reading along, now go make something fun for yourself.
***Year End Update***- I love red and this purse was so easy to fix.
Subscribe to:
Posts (Atom)


.jpg)