Showing posts with label Bag. Show all posts

Tuesday, February 10, 2026

Simple Fabric Bag

 Hello Readers. I saw a bag online recently and loved it but I had similar fabric in my fabric stash. I thought I could make a similar bag for myself using what I already have. I used the directions from La Fabrique des Heart'istes below but this time I made a much bigger bag.

I made my own bag. 

My finished bag. This is a great project because you can use any piece of fabric. The process is folding the fabric together so it can be any size. Below is the first bag I made from about a year ago. This piece of fabric started at approximately 48' by 42', but all the steps were exactly the same as below.
 
  I made a fun little bag recently. This was really simple to make and the shape was straight-forward. There is a information on this and other projects from the maker La Fabrique des Heart'istes on
My fun new bag!

I wanted to use this fabric sample that I had on hand so I did not follow the recommended measurements very closely. The bag still turned out great. 

I folded my fabric square in half with the right sides facing each other. I sewed around the outer edge and left a small opening to turn it right-side out. I turned it right side out like this.

I ironed the fabric so that it would be flat and straight. 

I gathered the fabric together like this. 

I used a small piece of fabric to wrap around the center. It is going to be a sort of handle. The edges of the faux suede are folded in so there are no cut edges showing. 

I sewed the "handle" together so that it wrapped around the large piece of fabric.

The bag needed to be sewn together. I stitched the 2 sides together along the edges, where I was pointing. I only sewed the lower half. The top needs to stay open, that is how I will put things in and out of the bag.

I folded the bag so that the seams were in the middle. I had to sew these 2 sides and the bottom seams together. 

I was done sewing all the edges together. You can see all the seams. 

I flipped the bag right-side out to hide all those seams inside. 

When all the seams are inside the bag looks cleaner and the openings at the top make it easy to tuck items inside. The way the fabric is folded, the inside has the same fabric as the outside. It looks nicely lined. 
 
I made a second larger tote bag from some fun dog fabric. Thanks for reading along, go check La Fabrique des Heart'istes on YouTube or Facebook for more sewing ideas.
***Year End Update***- These bags are so fun. This was a great project.


Wednesday, July 17, 2024

A No-Sew Bag

 Hello Readers. I saw a cute idea for a bag that did not require any sewing. It was a quick way to make a bag from a scarf or a square/rectangular piece of fabric. It is great for a beach bag or produce bag for the farmers market because it can be taken apart and washed easily. 

No sewing needed!

I used a piece of striped cloth that I had on hand. The edges were all finished because it was originally used as a curtain. You could use a scarf or even a tablecloth. Use whatever you have on hand.

I was excited to make this bag because I had a lot of bag handles that my mother-in-law gave me. I was happy to use some. This bag needs handles that are a closed circle or an closed oval. 

I tied 2 of the corners of the fabric around the handle as you can see in this video. The other 2 corners got tied around the other handle.

This bag can hold anything you want and you can take the fabric off easily if you untie the knots. 

This would be perfect to hold all you need to go to the beach for the afternoon. 

I wish I was at the beach right now. The cool ocean breeze sounds wonderful. I hope you can stay cool in the summer heat. Thanks for reading along, now go make something fun for yourself. 

***Year End Update***- I did not actually get to the beach. But the instant bag was a really handy thing.


Tuesday, February 13, 2024

Replacing a Purse Handle

 Hello Readers. Sometimes the items we purchase don't last as long as we would like. These purse handles were literally falling apart. It wasn't hard to replace them with something better. Let me show you how easy it was. 

Before and after.

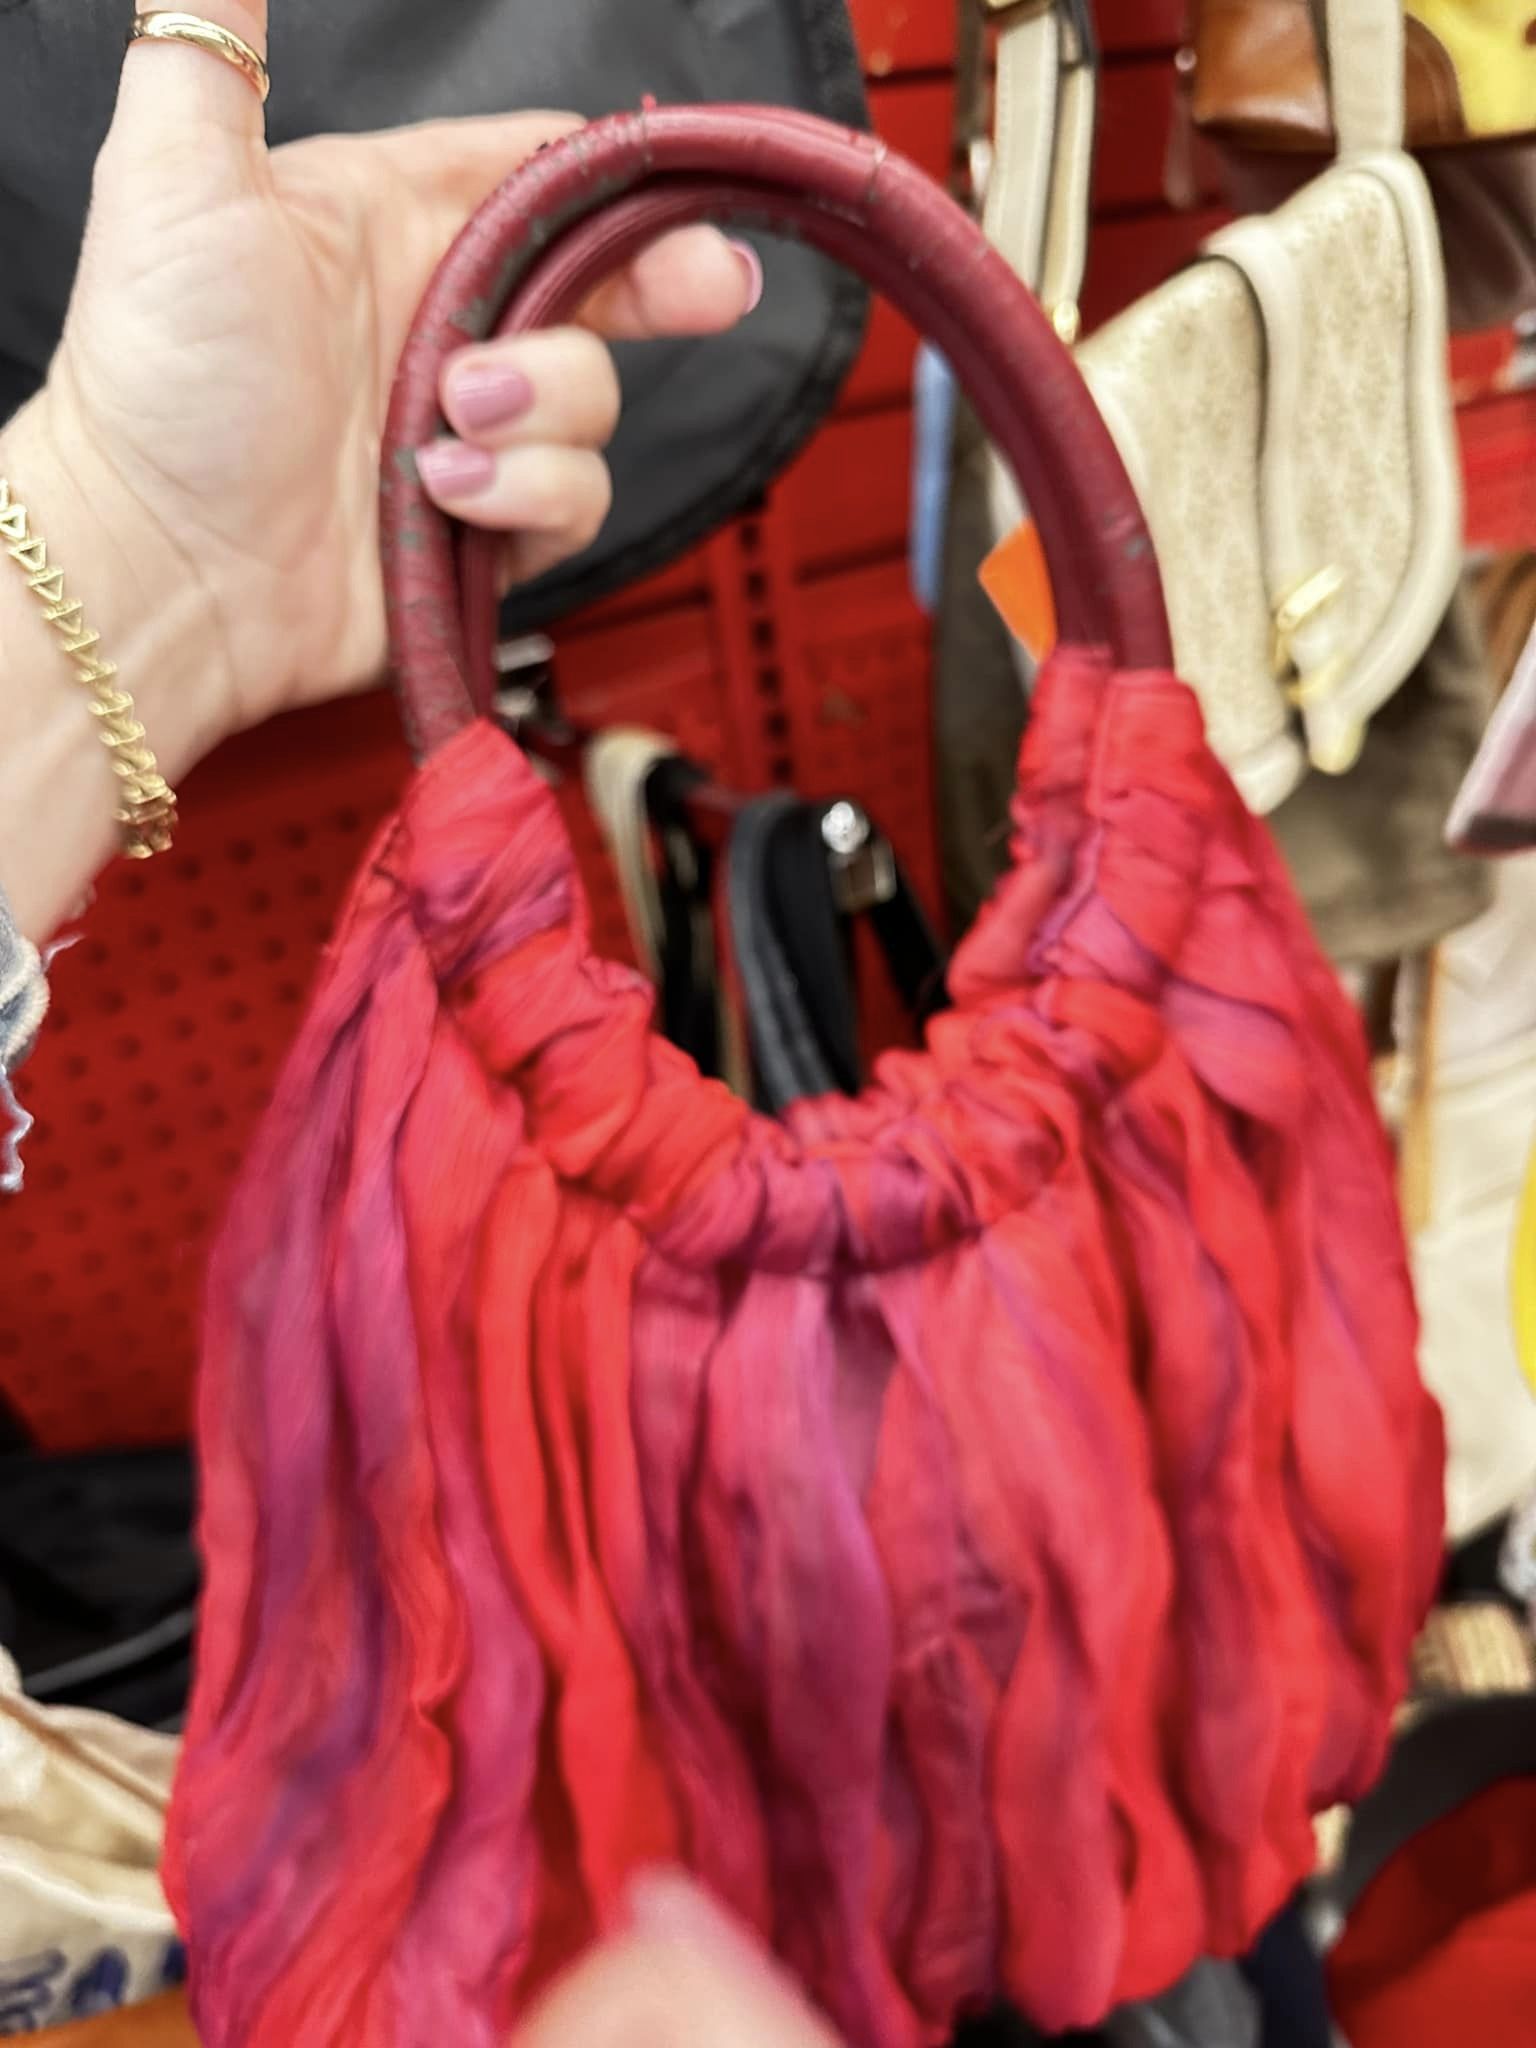
I found this bag at a thrift store and I loved the red and purple fabric. But the handles of this bag were a terrible mess. The vinyl was peeling off and looked awful. The circular handles slid around in the casing they were in so I knew I could replace the handles. 

You can see how bad the handles were here. I grabbed my craft scissors. I cut the handles. They were not difficult to cut through. 

I was able to slide the cut handle out of the bag easily.

I had these kind of circular bamboo handles in my sewing stash. My mother-in-law gave them to me but you can find them at the fabric store and on Amazon.
 
I see these kind of handles at the thrift store sometimes too. You can buy the purse and use the handles with a different bag. It would be cheaper to buy this thrift bag and cut away the bag so you can use these handles instead of buying the handles new at a fabric store.
 
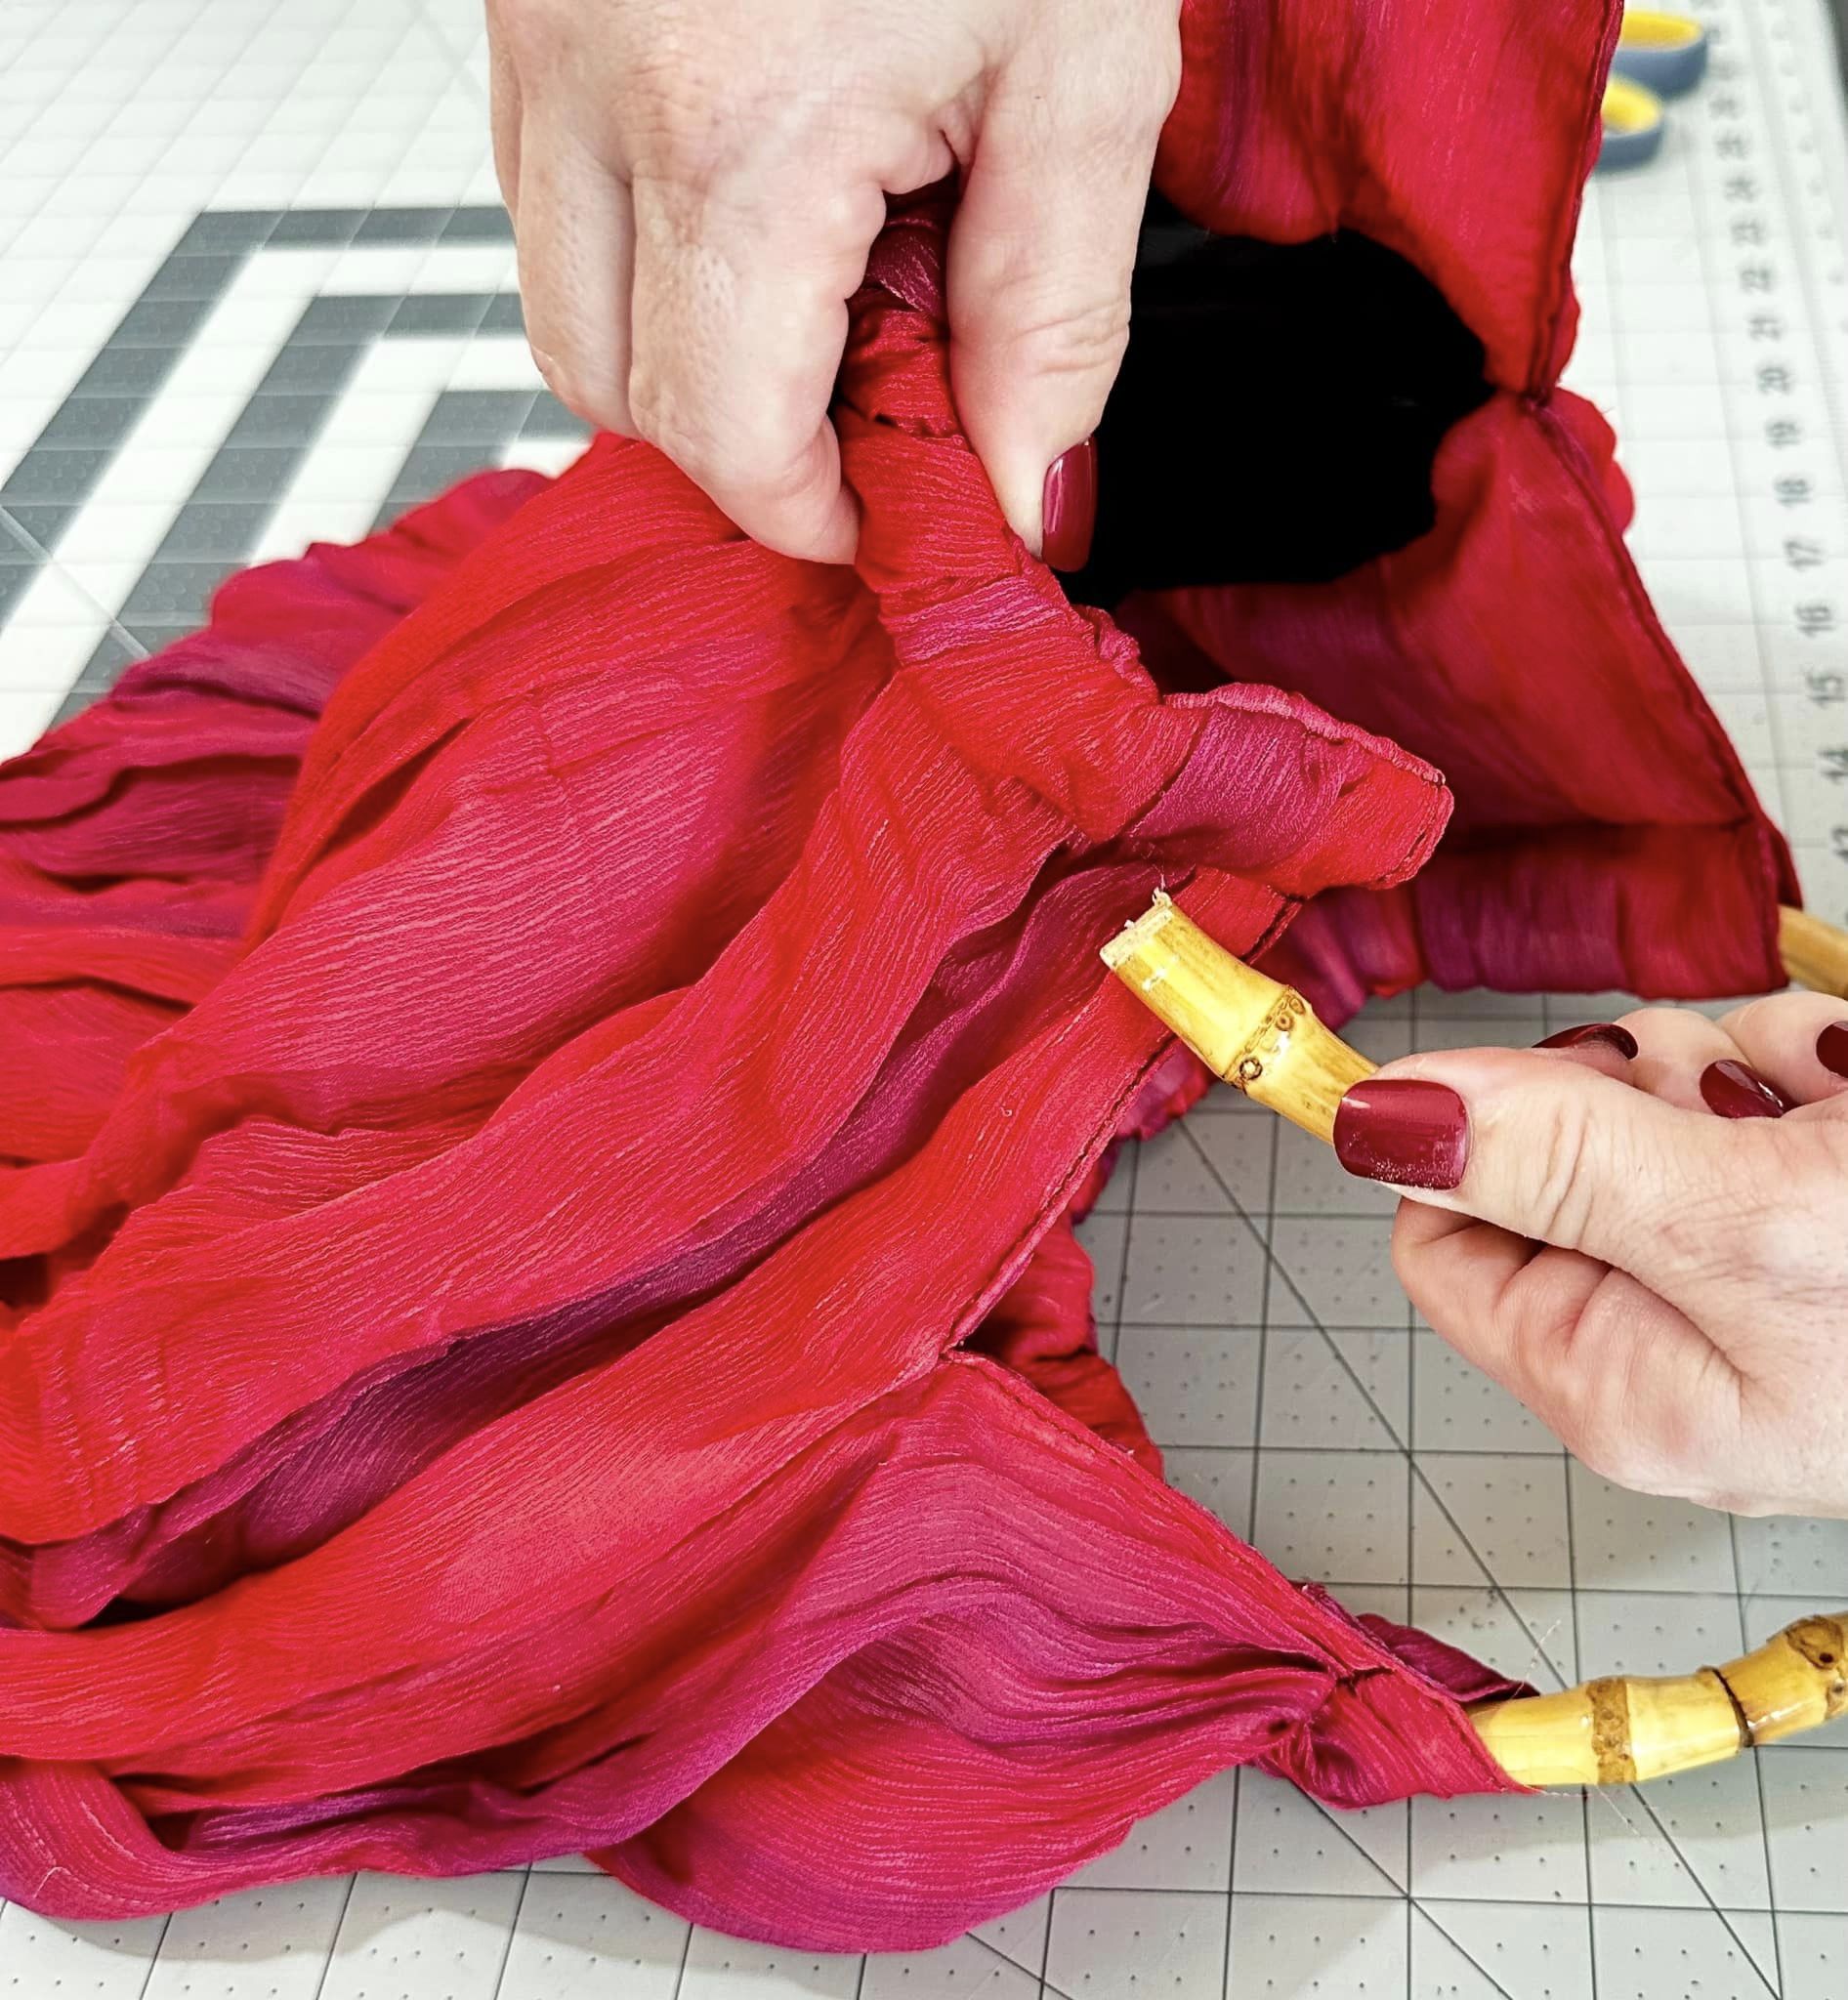
I know you are thinking about how I got the closed circular handles into the casing of the bag. It wasn't a magic trick, I cut them. I used a small saw to cut an opening in the handles. The bamboo is light and porous, it's very easy to saw through. 

When I cut the bamboo handles they opened up like this. That was just what I needed to slip them into the casing of the bag. 

I took one of the cut ends, it doesn't matter which one. 

I slid the cut end into the casing. It slid right in. 

I kept sliding the bamboo handle into the casing and ...

The cut end came out of the other side of the casing. 

I kept the cut ends of the handles inside the casing so they did not show. 

The new handles looked great. 

I decided to glue the cut ends of the bamboo handles back together to reinforce the spot where I cut them. The cut ends don't show but I wanted the handles to be as strong as possible. 

I CAREFULLY added a small blob of hot glue to the handle. I put the HOT glue right in the opening. 

I CAREFULLY pushed the cut ends together and held them together while they cooled and dried. This took a few minutes. (Glue guns can burn you. Use caution.)

When my glue was cooled down and set in place, I slid the handle into the casing again to hide that glued spot. Hot glue isn't cute so lets hide it. 

The bag looks great with new handles.
 
  No one but you and I will ever know how bad it looked before. Thanks for reading along, now go make something fun for yourself.

***Year End Update***- I love red and this purse was so easy to fix.


Thursday, October 26, 2023

Make a Drawstring Makeup Bag

 Hello Readers. I had been wanting a drawstring style bag for makeup and toiletries. I decided to try and make one for myself. I had fabric around to use but I didn't have a pattern. Would I need one? No!  It turned out so easy I had to share. 

This quick and easy bag only took about 20 minutes. 

I searched my fabric stash. My sweet MIL had given me loads of fabric sample pieces and I got 2 out of the closet. These pieces are squares that are about 24-26" across. This is a great scrap busting project.

I used this tray to mark out a circle. The tray is 20' across. I wouldn't make the bag much smaller than this or the finished bag will turn out very small.

I cut out 2 circles.

I put the right sides together. 

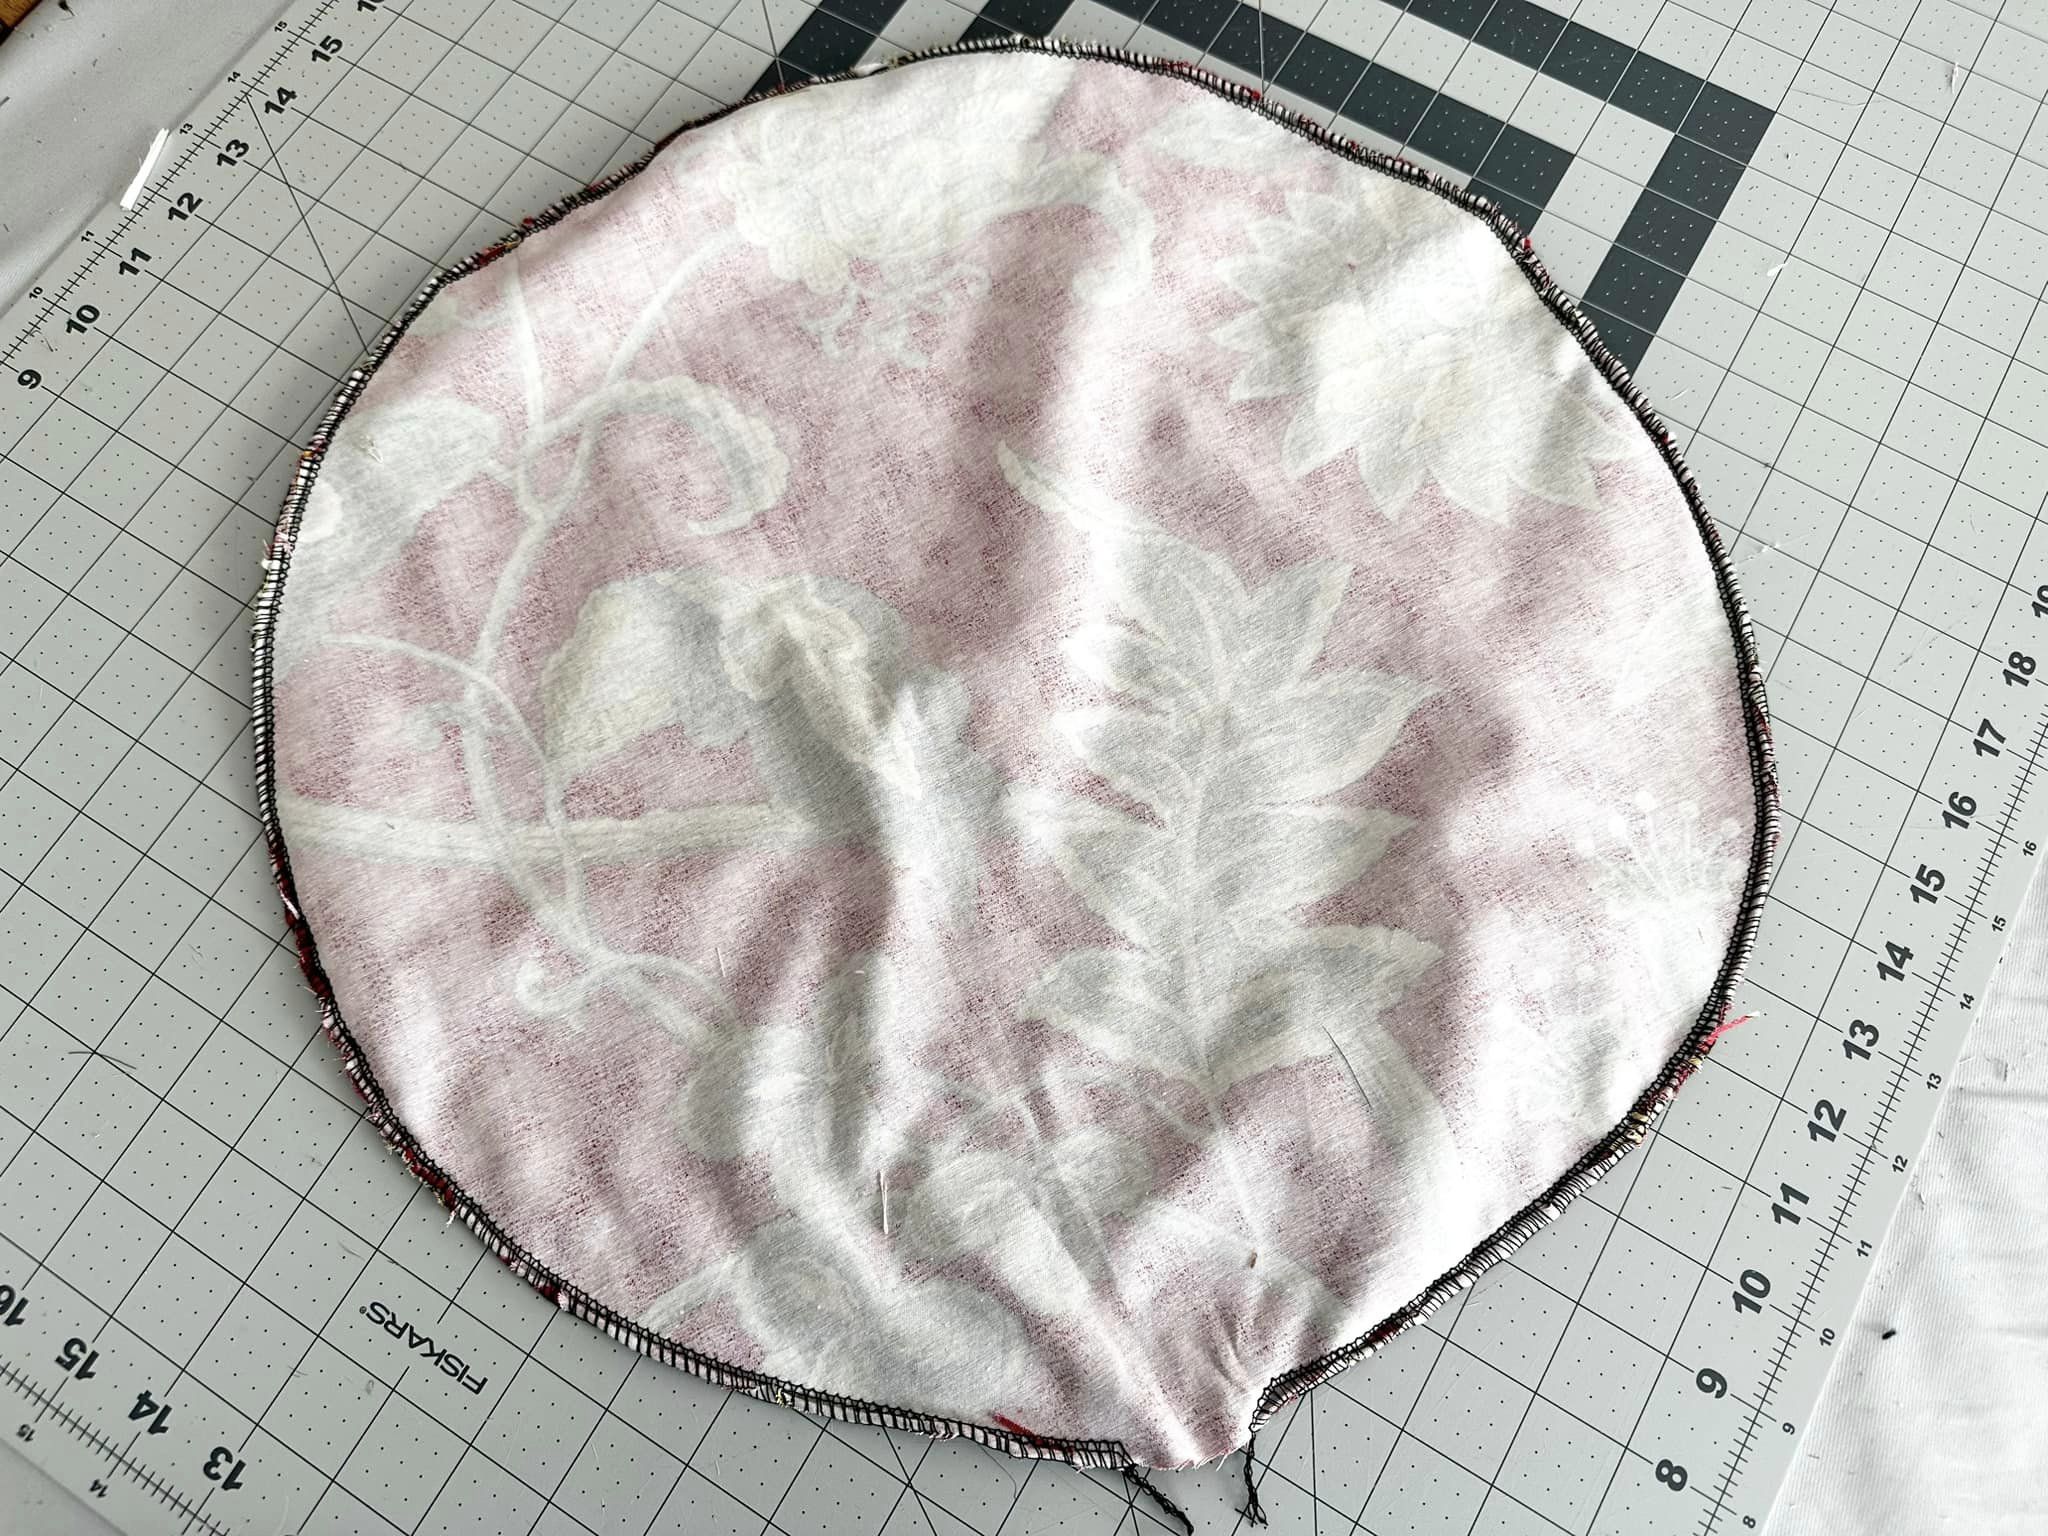
I sewed all the way around the circles so they were connected. Leave an opening so you can flip the whole thing right side out. 

Pull gently to get the good sides on the outside.

My circles were a little wrinkled. 

I ironed it well so the edges were flat and the wrinkles were gone.

The next step is to sew a circle all the way around. I sewed about an inch from the edge. Sew around until you have a full circle. You do not need an opening in this circle. 

At this point you need some ribbon, cording, string to thread through the casing you made around the circle. Push the cord through the opening and move it around the circle until you get back around to the opening. You can pin a safety pin to the start of the cord to help you move it along.

When you pull the cord tight, it closes the bag. My cord is about 30" long. You need to keep it long enough to spread the bag open.

I sewed a few stitches to make the opening a bit smaller and keep the edges tucked into the opening. I didn't want the cut edges around the opening to show. If you have any messy stitches just put them on the inside of the bag. No one will ever know.

This is a great bag to hold almost anything so it is a great gift too. Thanks for reading along, now go make something fun for yourself. 

***Year End Update- I use this everyday and I made a bunch to give as Christmas gifts.