Thursday, March 30, 2017

The Warm Shoulder Top

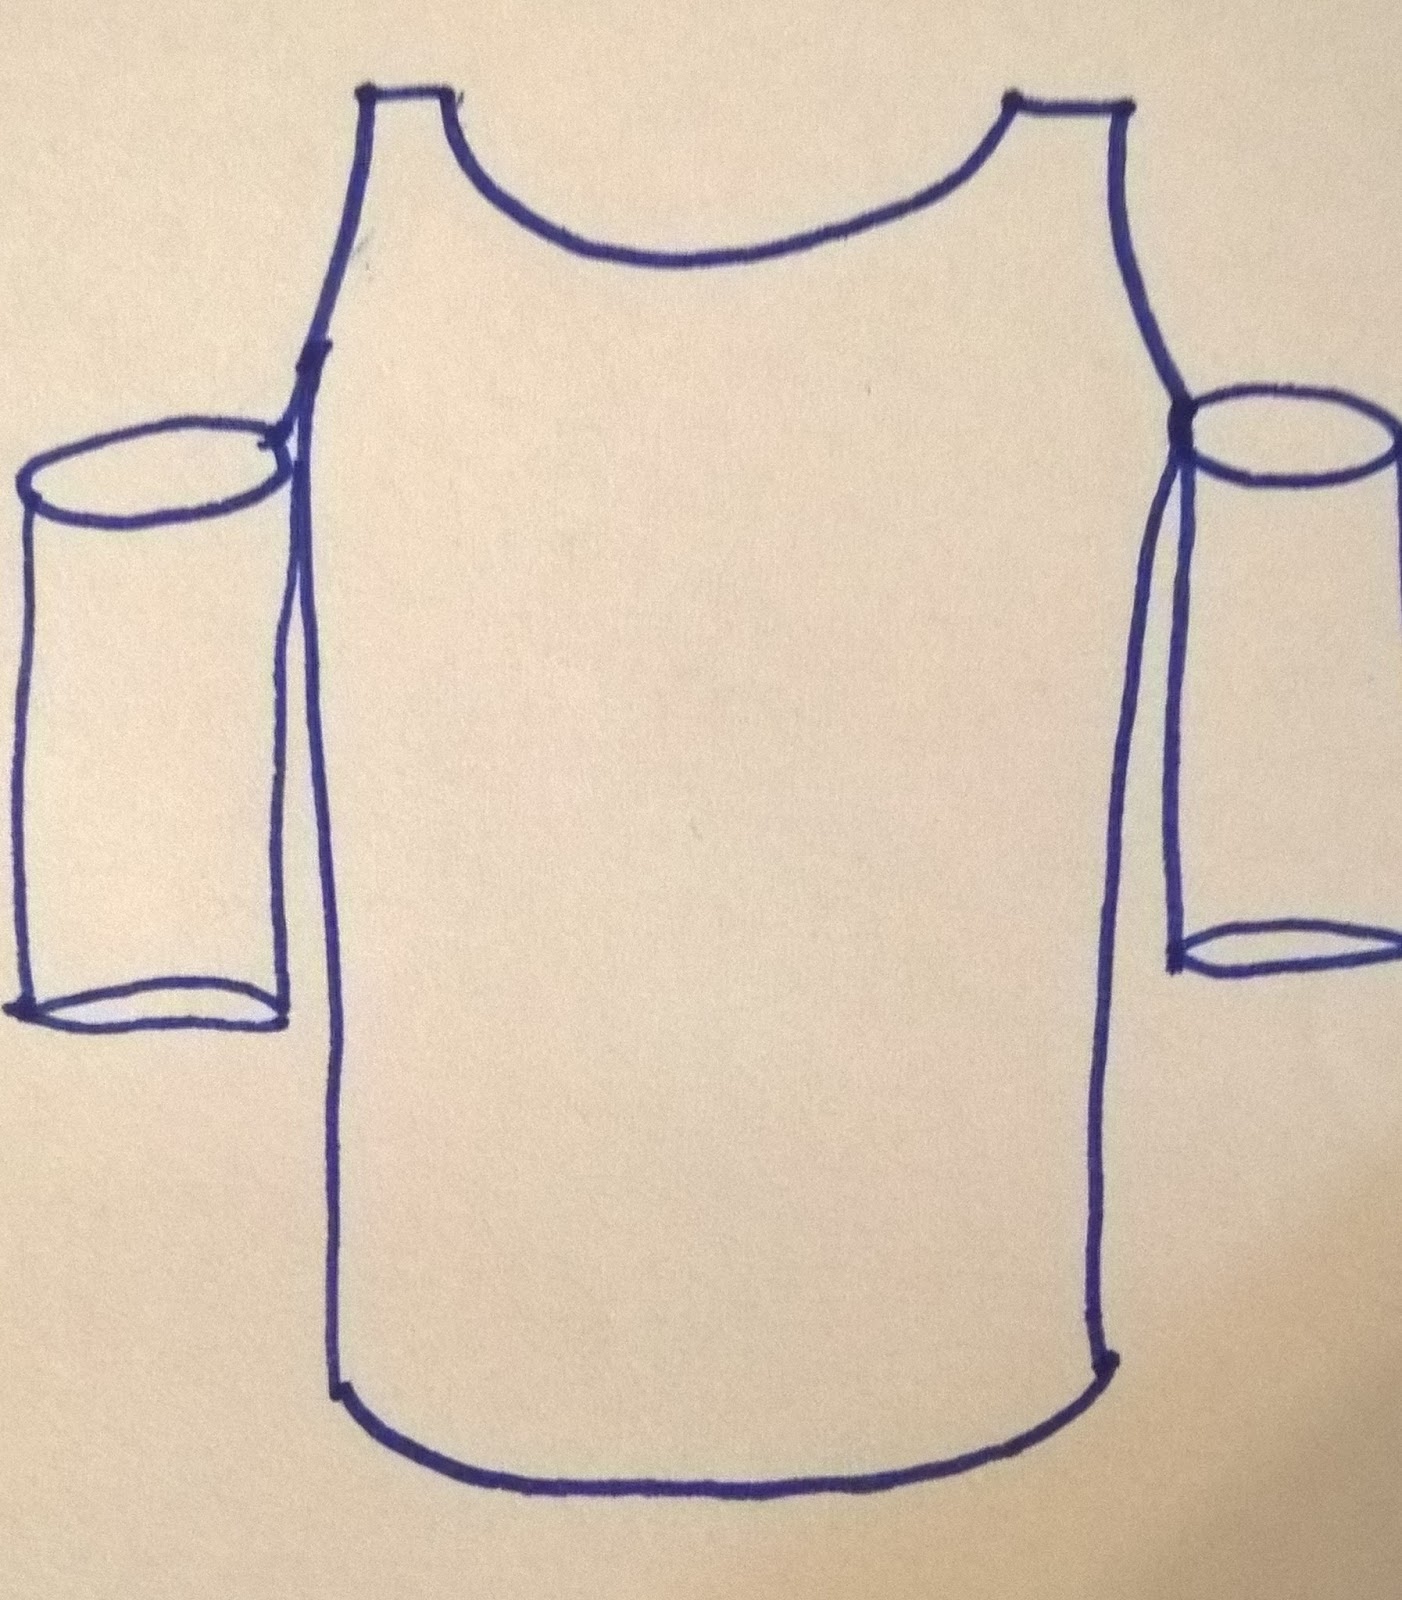
Hello Readers. Let's just get right to it. You are looking at the picture below and wondering what unskilled child drew it. You are thinking, "It wasn't Chickie, was it? Wow, she can't draw at all!" You are right, I can't draw at all. I admit it.

I didn't get a photo of today's project before I did my sewing. I usually like to spread the garment out on the floor so you can see the clothing clearly. When the clothes are on the dress form or worn they can be harder to see in some ways. 

This is a cold-shoulder top. It has the shoulders and upper arms open. These are cute, stylish tops. I don't have any because as the name implies, it leaves the shoulders cold in the Winter. I hate being cold. The open shoulders let you sunburn in the Summe and I sunburn in under 5 minutes. These tops just don't work for me.


This top isn't even mine. It belongs to my friend Erin. She liked the material this shirt is made of but didn't like the open shoulders. She thought the opening could be closed and it would make a cute fluttery cap sleeve. I pinned the opening together and stitched it closed. It had a thick edge that helped stabilize the fabric as I sewed.


The pictures below show the loose fluttery sleeve and the little tuck I made at the base of the sleeve. The tuck gives room for the bust line and looks nice when worn. 


Here is a front view on my dress form, it didn't show the sleeves well so Erin tried it on. Her shoulder is now covered and comfortable. The sleeves have a casual but very feminine look.


Erin is a wonderful children's author. You can see more at her website, here.


Thanks for reading, now go make something fun for yourself. 


Tuesday, March 28, 2017

Too Big For My Britches (Leggings)

Hello Readers. How are you? This post is not really about britches. It's about leggings. You know, those comfy, stretchy pants that women wear for exercise, lounging, pajamas, casual wear ....and I hear, air travel. The United Airlines legging incident of this past weekend, made this post even more timely. 


 I am a stay at home mom so I dress casually. I try to push myself to exercise but it doesn't always happen. I want to be comfortable but also prepared to drag myself out for a walk. I also want to be able to take a nap if I was up the night before with the little guy. Leggings (or yoga pants) fit the bill. But the waistband of some of my leggings was too tight. They were not comfortable enough for my tummy. (This could be due to any number of factors; middle aged belly, large amounts of Chinese take-out, third baby at age 42, cupcakes, winter weight, cookies....) You get the idea. 


These leggings were also really long, or I am really short. It depends how you look at it. Whatever the cause I had extra fabric to play with. I cut a few inches off the legs of the leggings. (Tongue twister!) 


I cut two small triangles from the cut off pieces. I used the hem at the bottom of each leg as the base of the triangle. The finished edge will become part of the waist.


I matched up the height/length of the triangles to the height/length of the cuts I made in the sides of the leggings waistband. You can see where this is going right? The hips have enough stretch to fit comfortably, I just need some extra in the waist. I used my machine to attach the triangle to the cut I made in the waist.


I put the leggings to the test to make sure I could lounge comfortably. They worked perfectly. (Note the complete disaster my toddler has made while I did this legging lounge test.)


I used the same fix for these light blue leggings. They have a denim look but they are just plain leggings/jeggings. You can see the difference in the waistband and the inserted triangle piece really well in this fabric. I always wear long shirts with leggings so I don't think anyone is going to see the details of my refashion. The edge is finished, the stitching is just different in the newly added piece. 


Here is a picture of the blue leggings in action. They had plenty of tummy room but didn't fall down. Perfect! Any stretchy knit fabric would have worked if I hadn't had extra fabric from the legs to work with.


*****      BONUS TRACK     *****

I saw this scarf trick on Pinterest and thought I would try it and share it. I took a light weight scarf and made it into a kimono/wrap/jacket/thing. It was cuter than it sounds in this description. 

I borrowed this zebra scarf from my daughter. It was a long rectangle and it had nice drape. A stiff scarf isn't going to work for this. I spread it out longways and matched the corners. The idea is to tie those corners together to make a sleeve of sorts.


Here is my corner tying demo. 


Here I am putting my arm through the armhole I made by tying the corners together.


Here is the back view. It looks like a loose jacket. You can always untie the corners and use it as a scarf again. Versatile, huh?


Well, that's it for today. Thanks for reading, now go make something fun for yourself.

Thursday, March 23, 2017

The Memento Necklace


Hello Readers. Do you save little mementos as you travel through life? I do. I try not to be a hoarder but some things are hard to throw away. I try to find a way to use them instead of hiding them away in a drawer. My project today came about as I tried to find a way to save/use a little memento I got from a recent wedding. 
I love weddings, doesn't everybody? There's love, joy, music, dancing, cake,.... what more could you want?

Cords of many colors.

When I got to this fabulous wedding (Seriously, it was fabulous, and they put it all together in 3 weeks. Amazing!) there were little place cards that had a cute little brass key attached. Super cute. The cards told me where to sit and what I was having for dinner. 


My whole family went to this wedding, so I had several keys. They were a few different designs and I kept them for a couple weeks as I decided what to do with them. I thought I could make a little pendant necklace with some or all of these keys. I ordered some leather cords pre-cut to a necklace length. It was $6.99 for approximately 2 dozen cords of various colors on Amazon. 


I chose this neutral taupe sort of color and put it through the top of each key. I tied a knot so the keys would stay at the center front of the necklace. I adjusted the over all length so the necklace was a nice length for me and tied a simple knot at the end. I cut off the excess and that was it.


The leather cords were soft and easy to work with. I like long necklaces like this, they are easy to wear. I saved a few cords to make a few more necklaces in the future and my daughter took the rest of the cords. She said they would make great friendship bracelets.


Thanks for reading, now go make something fun for yourself.
And congratulations to the Mulders!

Tuesday, March 21, 2017

Small Fixes

Hello Readers. I think sometimes clothes just need a few small fixes to make them great again. My project today was a great houndstooth skirt that I found at a clothes swap. It was so cute and it looked brand new, why did someone give this away? I soon saw why.


This skirt is super cute but the large woven pattern is easy to snag. I had to pull the snagged threads through to the back to repair the outside of the skirt. Sometimes sweaters snag like this too. It is annoying but it's not hard to fix. (Small fix #1)

This skirt was also too large. It had a zipper on one side and a seam on the other side. I decided to take the skirt in on the side that didn't have a zipper and leave the zipper side alone. Why mess with a working zipper if you don't need to, right? You can see below where I marked the skirt with white chalk. This is going to be my new seam.


I had a lot of concerns about this new seam. The fabric is so loosely woven in some places, I thought it would fray like crazy. I decided to cover the new seam with bias tape and stitch it together. The black bias tape doesn't match exactly, but it is inside so it won't matter. (Small fix #2)


This denim shirt was great but it didn't lay flat down the front. The shirt would gape between the second and third buttons. Button down shirts always seem to do this to me. The only fix that works for me is to make a few stitches over the existing seam. I have to pull it over my head like to get it on but it looks much better and I am more comfortable.
A safety pin would fix this too, but I would rather make a permanent fix. (Small fix #3)


OK, everything is fixed and/or corrected.. I love the skirt. I need 10 more. I like pencil skirts but I really love full skirts with a defined waist. They work so much better for me. 


Thanks for reading, now go make something fun for yourself.


Thursday, March 16, 2017

St. Paddy's Day

Happy (almost) St. Patrick's Day everyone. Or St. Paddy's Day, whichever you prefer. I hope it is a good day for you. I found a cute little video about the origins of the holiday and who St. Patrick was. My kids loved it.


 I had this shirt that was perfect for the day but I thought it was bit plain and boxy. 
I decided to try and dress it up.

                      Boxy T-shirt.                            Old picture of boxy shirt and big pants.

I cut a little hole in the inside of the edge of the sleeve. The way it is folded over and stitched down when it's made leaves a tube around the sleeve. I threaded elastic through the "tube" on the sleeves. I thought it would draw the sleeve ends in and make it look like a ruffle. 


I tied a knot to connect the elastic and tried to make it smaller without being too tight. This took a few try-ons. 


Here is the sleeve. It looked a little better to me so I did the other sleeve the same way. It was quick and easy.


I wanted to dress up the bottom edge of the shirt too. I found a large supply of thin lace in my stash of sewing stuff. I am not sure where it came from. I attached it right on top of the seam at the bottom of the shirt. The hem was a handy guide to keep the lace even around the whole shirt.


The lace made a nice trim at the bottom of the shirt. This was quick and easy too.


That's it for today. It was a short project and post in preparation for St Patrick's Day with the family. We do a combination of weird, silly, Irish, and non-Irish traditions. (Including, but not limited to,  Luck Charms cereal, corn-beef and cabbage, and green everywhere. A leprechaun might visit our house and play tricks. We'll see.)


Thanks for reading, go make something fun & green for yourself.


Tuesday, March 14, 2017

Big, Big, Big

Hello Readers. I love hand-me-downs. You know that if you have read this blog before. Today's project is an outfit made of 3 big hand-me-downs that needed a little help. As you can see the pants were way too long and the sweater was too big all over. We'll get to the brown shirt too. 


I decided to cut some fabric out of the sweater. I cut a wedge shape out of each side. You can see the line where I marked my cut in the picture on the left. This sweater frayed like crazy and I decided to use some bias tape to wrap the cut edges. I used my machine to stitch it into place. It worked well and made for easy sewing.


It made a little cap sleeve. The sides have a little waist indent now I think it will look less big and shapeless. 


Here is a great pair of cords that I thought would be warm in this second Winter we are having here where I live. These pants fit in the hips but the waist was too big and the legs are ridiculous.


The waist was gaping open at the back when I tried them on. I hate that. Sometimes when pants fit me around the hips, the waistband is too large. This is my quick fix for that problem. I made two small tucks in the waistband. I made one on each side right at the seam. It made the waist taper in and stopped the gaping. The fit was much better.


I folded the fabric in and used my machine to stitch a small triangle shape in the waistband. It was easy but I had to sew slowly or my needle would break. It took just a minute.


I also shortened them a few inches. The new hem was bulky and needed to be ironed before I could wear them. Ironing made a huge difference. I should iron more often.....nah.


The pants are great after some alterations. The waist is smaller but comfortable and the legs are short enough for me now. Big improvement.


Here is the brown shirt. My mom passed this on to me months ago. It looks a little baggy but I was afraid to make it smaller because it has no stretch. If I made it smaller it wouldn't be as comfortable. I didn't love the shapeless look of it but it is heavy and warm. It is freezing outside and this is a great warm shirt.


I decided to make an elastic waist using the finished hem at the bottom of the shirt. It is a tube all around the bottom of the shirt. I made a tiny cut in the hem and slid some elastic around the shirt and tied the two ends together. I made the size of the elastic to draw in the bottom of the shirt.


Here is finished shirt with the drawn in waist, it matches the elastic wristbands that were already there. I left the rest the shirt just as it was. 


The elastic at the waist brought the bottom of the shirt up a little. It doesn't look as long and seems to fit better even though I didn't change the size anywhere else.


I went out that day and got a haircut at the fabulous Oxygen Salon in Rockville, MD. I recommend Stephanie, she fixed my crazy chopped up hair. Thanks Stephanie!


That's it for today. Thanks for reading, now go make something fun for yourself.