Showing posts with label shirt. Show all posts

Thursday, June 5, 2025

The Donut Shirt

Hello Readers. Everyone loves donuts, right? In the U.S., National Donut Day is June 6, and I have been thinking about donuts a lot ever since I found out. Do donuts deserve their own holiday?? I think so. They are simple but so delicious. I love having a theme when I do a refashion project and I love to make a shirt for a holiday so I decided to make my own donut shirt. Let me show you how I made this simple but delicious shirt.

I started with a basic white cotton button down shirt. This shirt has been washed and worn many times. New clothes can have chemical treatments on the fabric so you should wash a new shirt before you paint it for this project or the paint might not adhere to the fabric well.

 
I wrapped plastic wrap from my kitchen under the collar of the shirt so the body of the shirt was protected in case I got messy with my paint. I don't want to ruin my shirt before I finish and wear it. (I usually get messy so precautions are always a good idea for me.) 

I used this acrylic craft paint to make my donut collar. This is inexpensive and sticks to fabric really well. It will stay on any fabric so wearing old clothes or a paint smock while you do your painting might be a good idea.

 I used a beige, tan color for the dough of the donut. This went on the outer half of the collar.  I added a second coat of paint later to make the color really strong. I painted with a heavy hand. The acrylic paint paint will NOT wash out in the laundry but it will fade a bit in the first wash. It is important to cover the fabric well. I let the paint dry over night.

I added some pink paint on the inner half of the collar. The pink paint is for the icing. Any color would work, use the color that appeals to you. You could use brown for chocolate or even blue, yellow or purple. I painted the pink with a heavy hand as well. I let it dry and added a second coat to make sure the pink color stayed strong through the laundry, wash after wash. 
 
This bright pink color just seemed like a bright and fun donut color to me. The painted fabric might seem a bit stiff but after you wash it the first time it will become softer and more comfortable.
 
When the pink was dry, I added some little sprinkles. Yes, that is a safety pin. It worked well as a sprinkle maker. I used a variety of colors to make my sprinkles. I randomly placed the sprinkles all around the collar. The specific colors do not matter very much, but having a variety looks more like real sprinkles. And the more colors you use, the more fun the donut collar will look.
 
My shirt is ready for "National Donut Day". You don't have to wait for a special donut holiday, get a donut whenever you want. There are some special sales and deals going on, so check out your local donut shop to see what they have to offer. Wishing you a sweet donut day.


Tuesday, June 3, 2025

The Vintage Bike Shirt

Hello Readers. June 3rd is "World Bike Day". It seemed like a good time to re-post this shirt from 2019. It had vintage bikes all over and was so cute.
I was inspired by this peach shirt. It doesn't look very special so why did I like this shirt?
 
It didn't look like much from far away. It was a little too baggy to wear to work and the 3/4 length sleeves were almost to my wrists. It needed some help. 
And the pants? They almost fit at the waist but the length was out of control.

I loved this shirt because of the print. There were polka dots and these fabulous vintage bikes. I love vintage bikes!

I have a couple. My sister-in-law gave me one that actually folds in half. The other I got from the side of the road. It had a sign on it that said free. When I stopped my car a lady came out of her house and told me to please take it. I love them both.

I looked at the original shirt and decided that I wanted shorter sleeves. It is really hot outside. August is always super hot.

I took the sides in so the fit would be less baggy and I made short sleeves.

The short sleeves seemed a little plain.

 I added a button from the original cuff and pinched the sleeve together to gather the sleeve up a little bit.

Here are the pants my daughter gave me. They would be great for work. I decided to make another pair of cropped pants to survive the summer heat. My daughter told me to put them on inside out so she could pin them for me. Look how much extra fabric there was! She laughed and laughed while she pinned the hem for me. Then she stuck me with a pin.

I took them in just a little and I made them much shorter.

This was a great summer outfit for work. It looks like I am showing of my bicep but I am just pointing to the sleeve. My biceps are nothing I want to really point out to anyone.
Thanks for reading along, now go make something fun for yourself.
***Year End update-  I thought of this as a summer shirt but I wore it in winter under a sweater. The little bikes are so cute. I love it.

Thursday, August 29, 2024

The Back to School Shirt

Hello Readers. It is "Back-to-School" time in most of the U.S. Do other countries start the school year in late August or early September? I'm not sure.....but I have a fun project for you! This is a great shirt with a school theme. It's perfect for teachers, school kids, homeschoolers, parents really excited about school... and no sewing is required.
 
You need any white cotton t-shirt. The thicker the fabric, the easier this project will be. 
(I learned this the hard way.) You also need a blue and pink fabric markers. Regular markers will not work well for this project.
 
 I put something inside of the shirt in case the marker went through to the back of the shirt. I tried to draw straight horizontal blue lines across the front of the shirt. My shirt was very thin and stretchy. The shirt stretched when I wrote on it. It would have been better if the shirt was not stretchy, it would have been easier to draw my lines. It's OK, it doesn't need to be perfect. This project is supposed to be fun. Don't stress about it. The mistakes are all part of the fun.
 
I drew one pink vertical line on the left. I let the lines dry over night. The next day I searched around for something round and found this bottle. I wanted to make the 3 holes on the left that notebook paper has. I painted the top of the bottle and used it as a giant stamp. 
 
I made 3 big gray dots and let that dry over night too. I kept something inside the shirt so the paint wouldn't go through to the back. Newspaper or cardboard will work for this. 
 
You can wear this shirt to school. Or to shop for school supplies. Or to meet the teacher. Or at home while you homeschool your kids. Or anywhere! 
 
Thanks for reading along, now go make something fun for yourself.
***Year End update-  This shirt was so useful. It was part of a "Rock, Paper, Scissors" costume at Halloween. I wore white jeans with it and my costume was ready.

Friday, May 26, 2023

Pouch Pocket Top

 Hello Readers. I hope you are enjoyed spring and looking forward to summer. I have loved all of "Me-Made-May". It is fun to scroll on Instagram and see what other people are sewing. Today's post is about a fun top I made with fabric from my stash. 

I love these pockets!

This top all started with this sewing book for beginners. "One Piece Wearables". All the patterns included are actually one piece so it is easier to make a completed project. It can be overwhelming when the pattern has a dozen pieces to put together.

I have been wanting to make this top for a while. The pockets look really big. I could put so much stuff in there. This was my daughter's book and she had already cut out all the pattern pieces so I was ready to get sewing. 

This pattern was one big piece that got folded and sewn together one small step at a time. The first step was to sew bias tape along the edges of the pockets. I used some bias tape I had on hand.

I did all the pleats next. When that was done I started connecting the center front. It was going to have a V-neck. 
 
 I was getting ready to add the bias tape to the neckline and I realized I did not have enough bias tape. I was going to have to add this plain beige bias tape onto the fancy bias tape I was using to make a long enough piece to go around the neckline.
 
I went on a side quest to get my bias tape situation figured out. I have never connected 2 pieces of bias tape and it was so much geometry and shapes and angles that my brain was stretched to it's limits. It was like high school math all over again. (Math was NOT my best subject.)

I got back to work and used the bias tape to finish the neckline and also the arm holes. 
 
There was supposed to be a tie in back made of even more bias tape. I added elastic across the inside of the back panel and called it a day.
 
It worked to define the waist.
 
This was a fun project and I really liked the pockets. Thanks for reading along, now go make something fun for yourself. 
 
***Year End Update- This top is cozy and the pockets are so handy. 


Friday, September 9, 2022

Make a Skirt Bigger

 Hello Readers. I am always trying to save my small pieces of fabric for later in the hopes that eventually I will find a way to use them. I hate to waste fabric. Today's post is about using some of the pieces of clothes that I have cut up for refashions. Like what could I do with the legs of some old pants? Let's see...

 
Before and after.
 
 
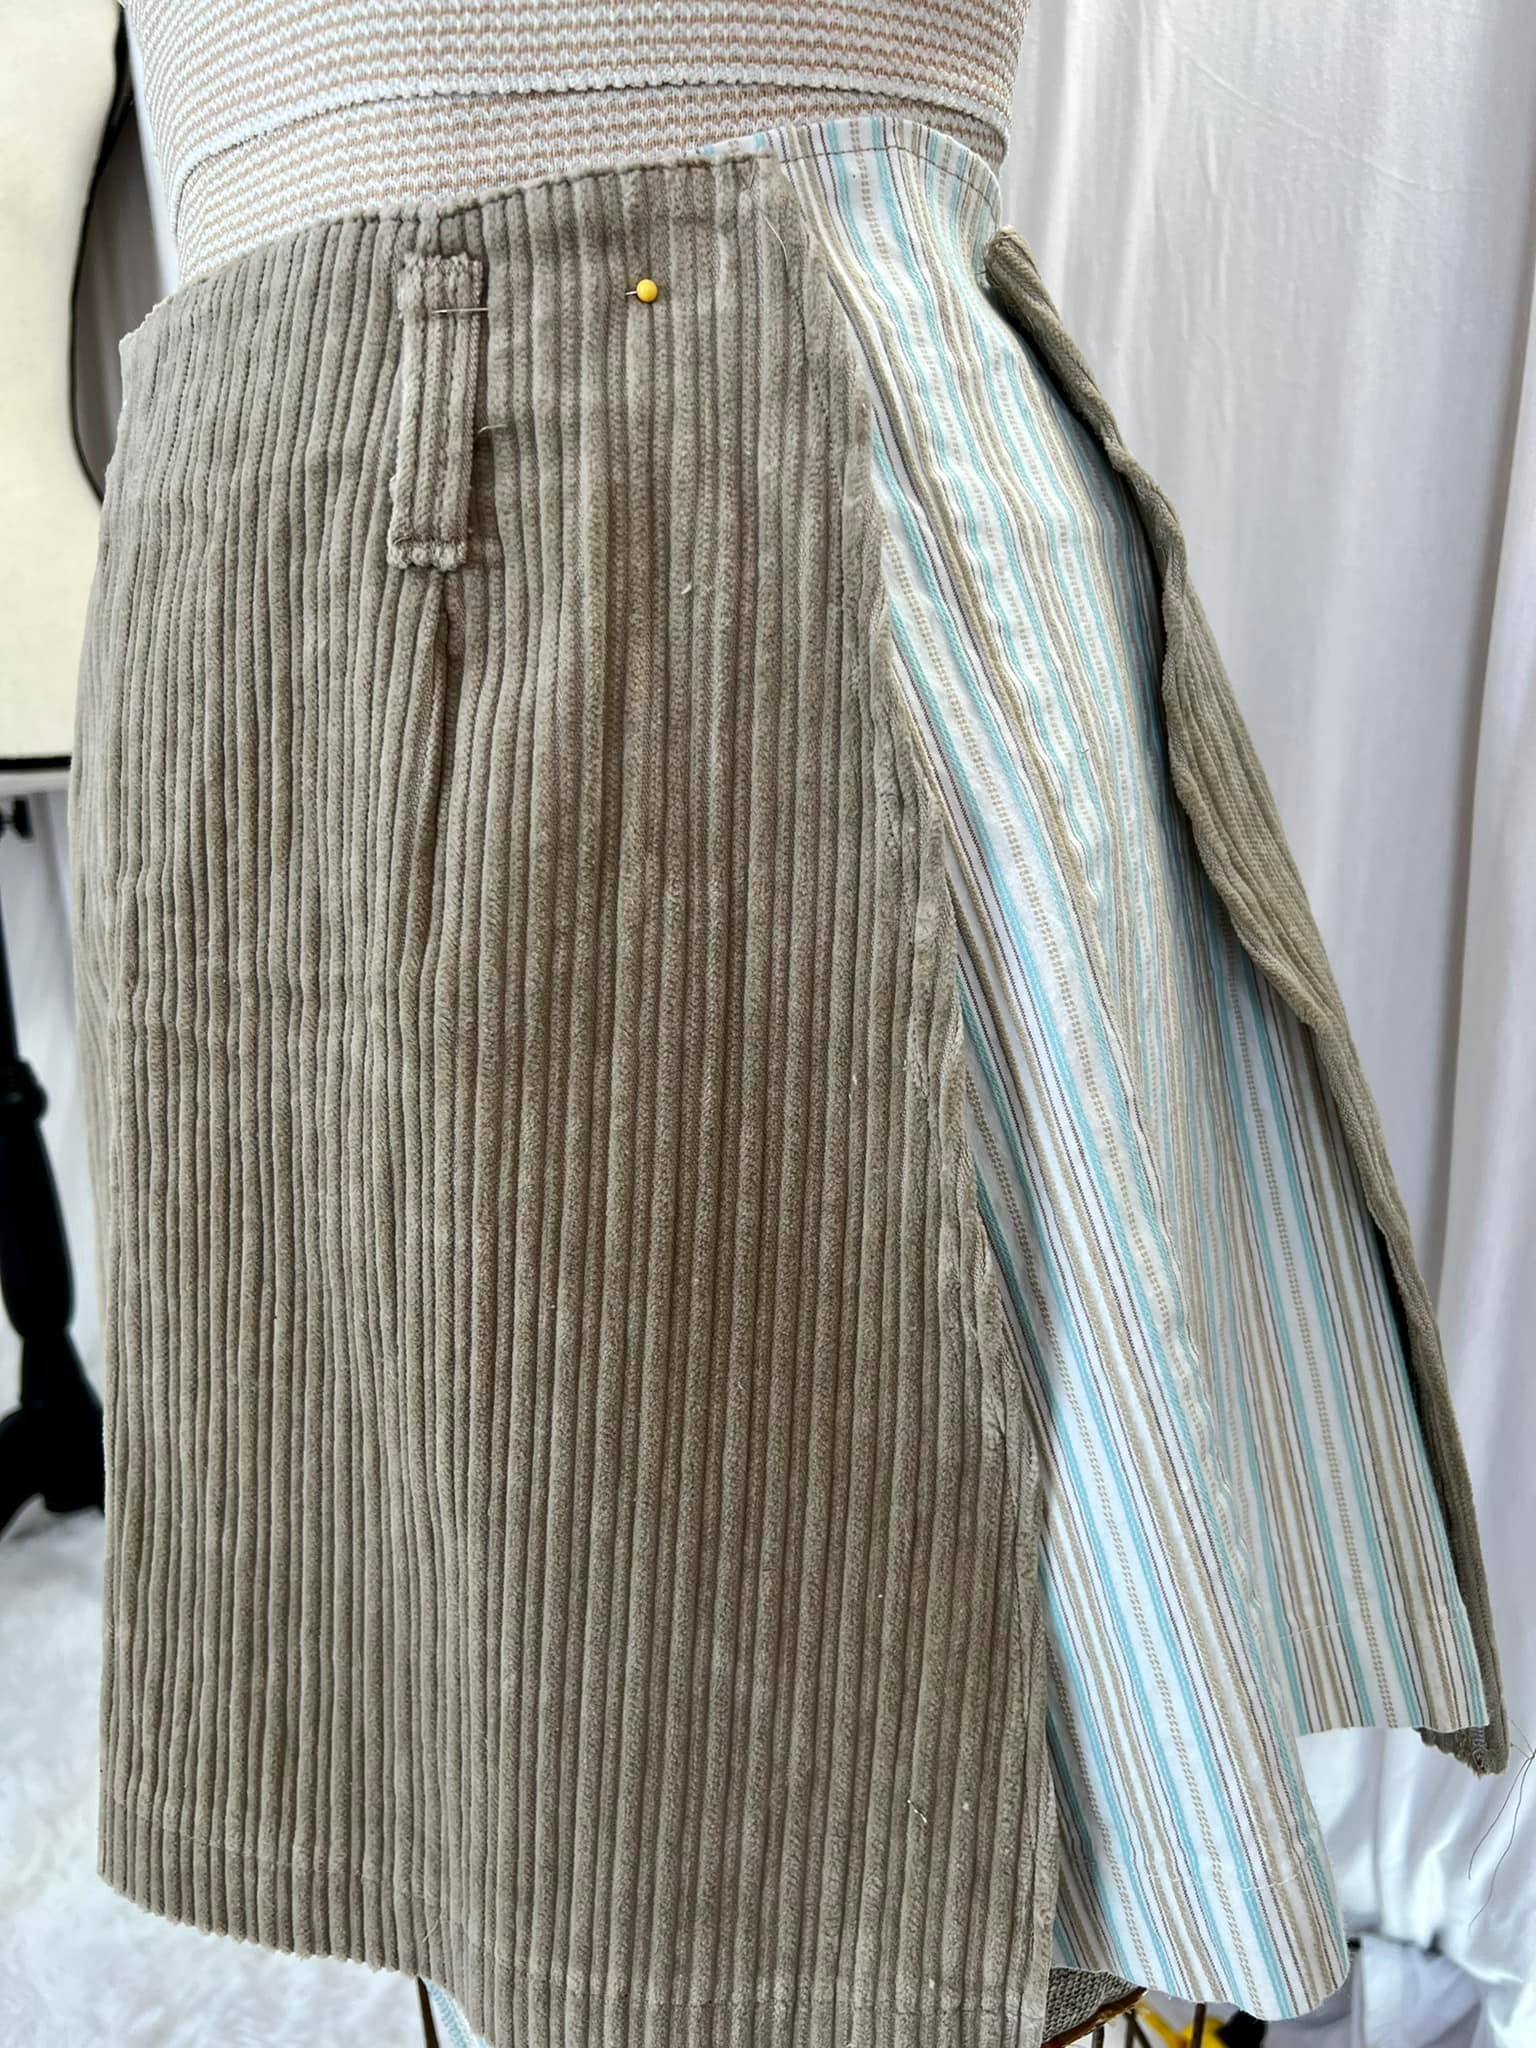
This skirt was cute and I liked the shape but it was way too small. I saved it forever because I like corduroy. These white striped pants were a hand-me-down that I made into some nice summer shorts. I saved the pant legs because I liked the material. I thought they would be a good match because the striped pants had some tan color in them.
 
This skirt was too small so I knew I would need to add fabric to make it larger. I cut the side seams open on the skirt. It had a zipper in the center back to get the skirt on and off. I did not need to do anything to the zipper. These pant legs were going to fit in the sides and make this skirt a bit bigger for me. They will also add a little pop of color.

I had to cut off some of the pant leg to make them the same length as the skirt. I cut off the tops of the pant legs because I wanted to keep that hem at the bottom of the pant legs in place. That will save me time later.

I used my serger to finish the edges and then I used my sewing machine to stitch the edges under so my skirt would look nicely finished.

I used my dress form to make sure I was getting a good fit around the waist. neither of these fabrics had any stretch so I needed to get the waist correct. I also wanted to see how the fabrics looked together.

When all the pieces were ready I needed a lot of pins to hold all 4 pieces together for sewing. So. Many. Pins.

Finally, it was time to sew it all together. I used a straight stitch with matching tan thread to connect all the pieces.

I found this linen jacket/shirt/shacket at a clothes swap and I love the monochromatic look here. 

This outfit seemed perfect for this weird time of year when we think it should be fall but it is literally 92 degrees outside. Thanks for reading along, now go make something fun for yourself. 
*Year End Note From Chickie- I liked this skirt a lot. I am getting it out as soon as it warms up a little. It was a good combo of fabrics for me.


Friday, June 17, 2022

One Last Giraffe

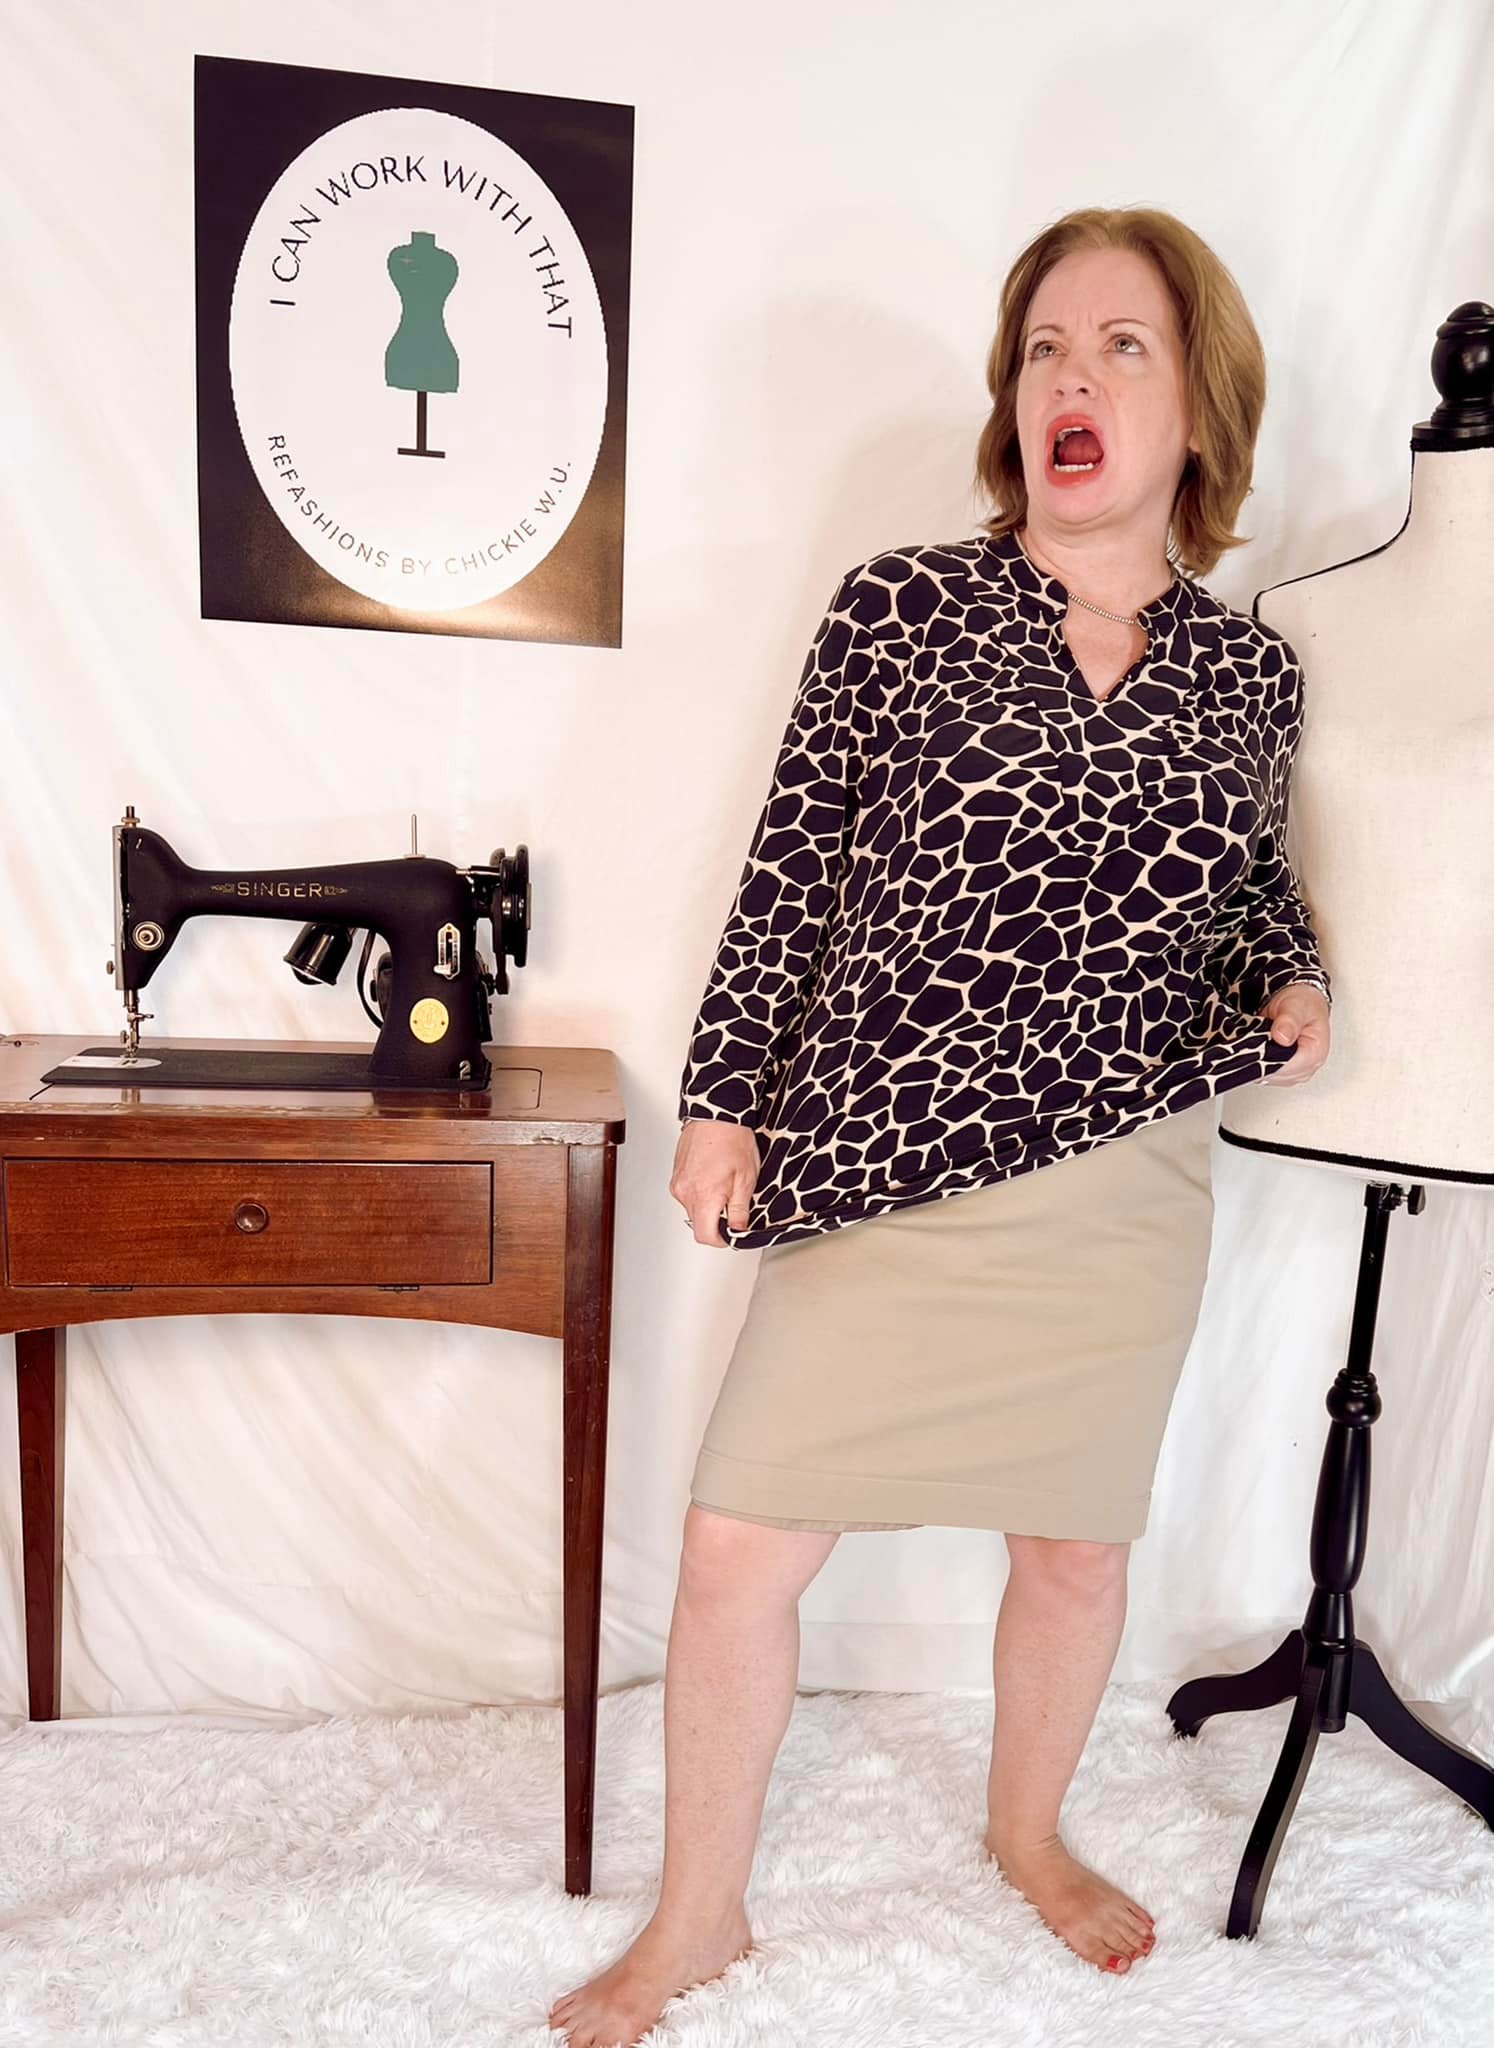
 Hello Readers. I know this month has been a lot of animal prints and most of them were giraffes. But... I have one more giraffe to share. This long sleeve shirt was soft and stretchy but I just felt like it might be too much. Like too much giraffe print? Let's see how we can calm down a print that feel like too much. 

Before and after. 

This shirt was a little baggy and a little long on me and the skirt was a mid knee length, that wasn't great on me either.

I decided to size the shirt down a little. 
 
These cut edges just need to be put together again with a zigzag stitch or a serger. Use what ever you have.
 
The skirt got a little trim and a new hem for the lining and the skirt itself.

I loved how this outfit turned out. It was looking much better but...it was so hot when I wore it that I went back to the sewing room asap.

I decided the sleeves needed to be shorter and the length of the shirt could be shortened also. I wanted to use my serger and do a flatlock stitch. I am still learning how the serger can do different things. 

I stitched the right sides together and then ....

Here is a close up of my first flatlock stitch. This will be great for other knit clothes too. Thanks for reading along, now go make something for yourself. 
*Year End Note From Chickie- I love this shirt. It is soft and gets a lot of wear. I haven't worn the skirt as much. Maybe tan is not fun enough for me?