Showing posts with label Pants. Show all posts

Tuesday, June 3, 2025

The Vintage Bike Shirt

Hello Readers. June 3rd is "World Bike Day". It seemed like a good time to re-post this shirt from 2019. It had vintage bikes all over and was so cute.
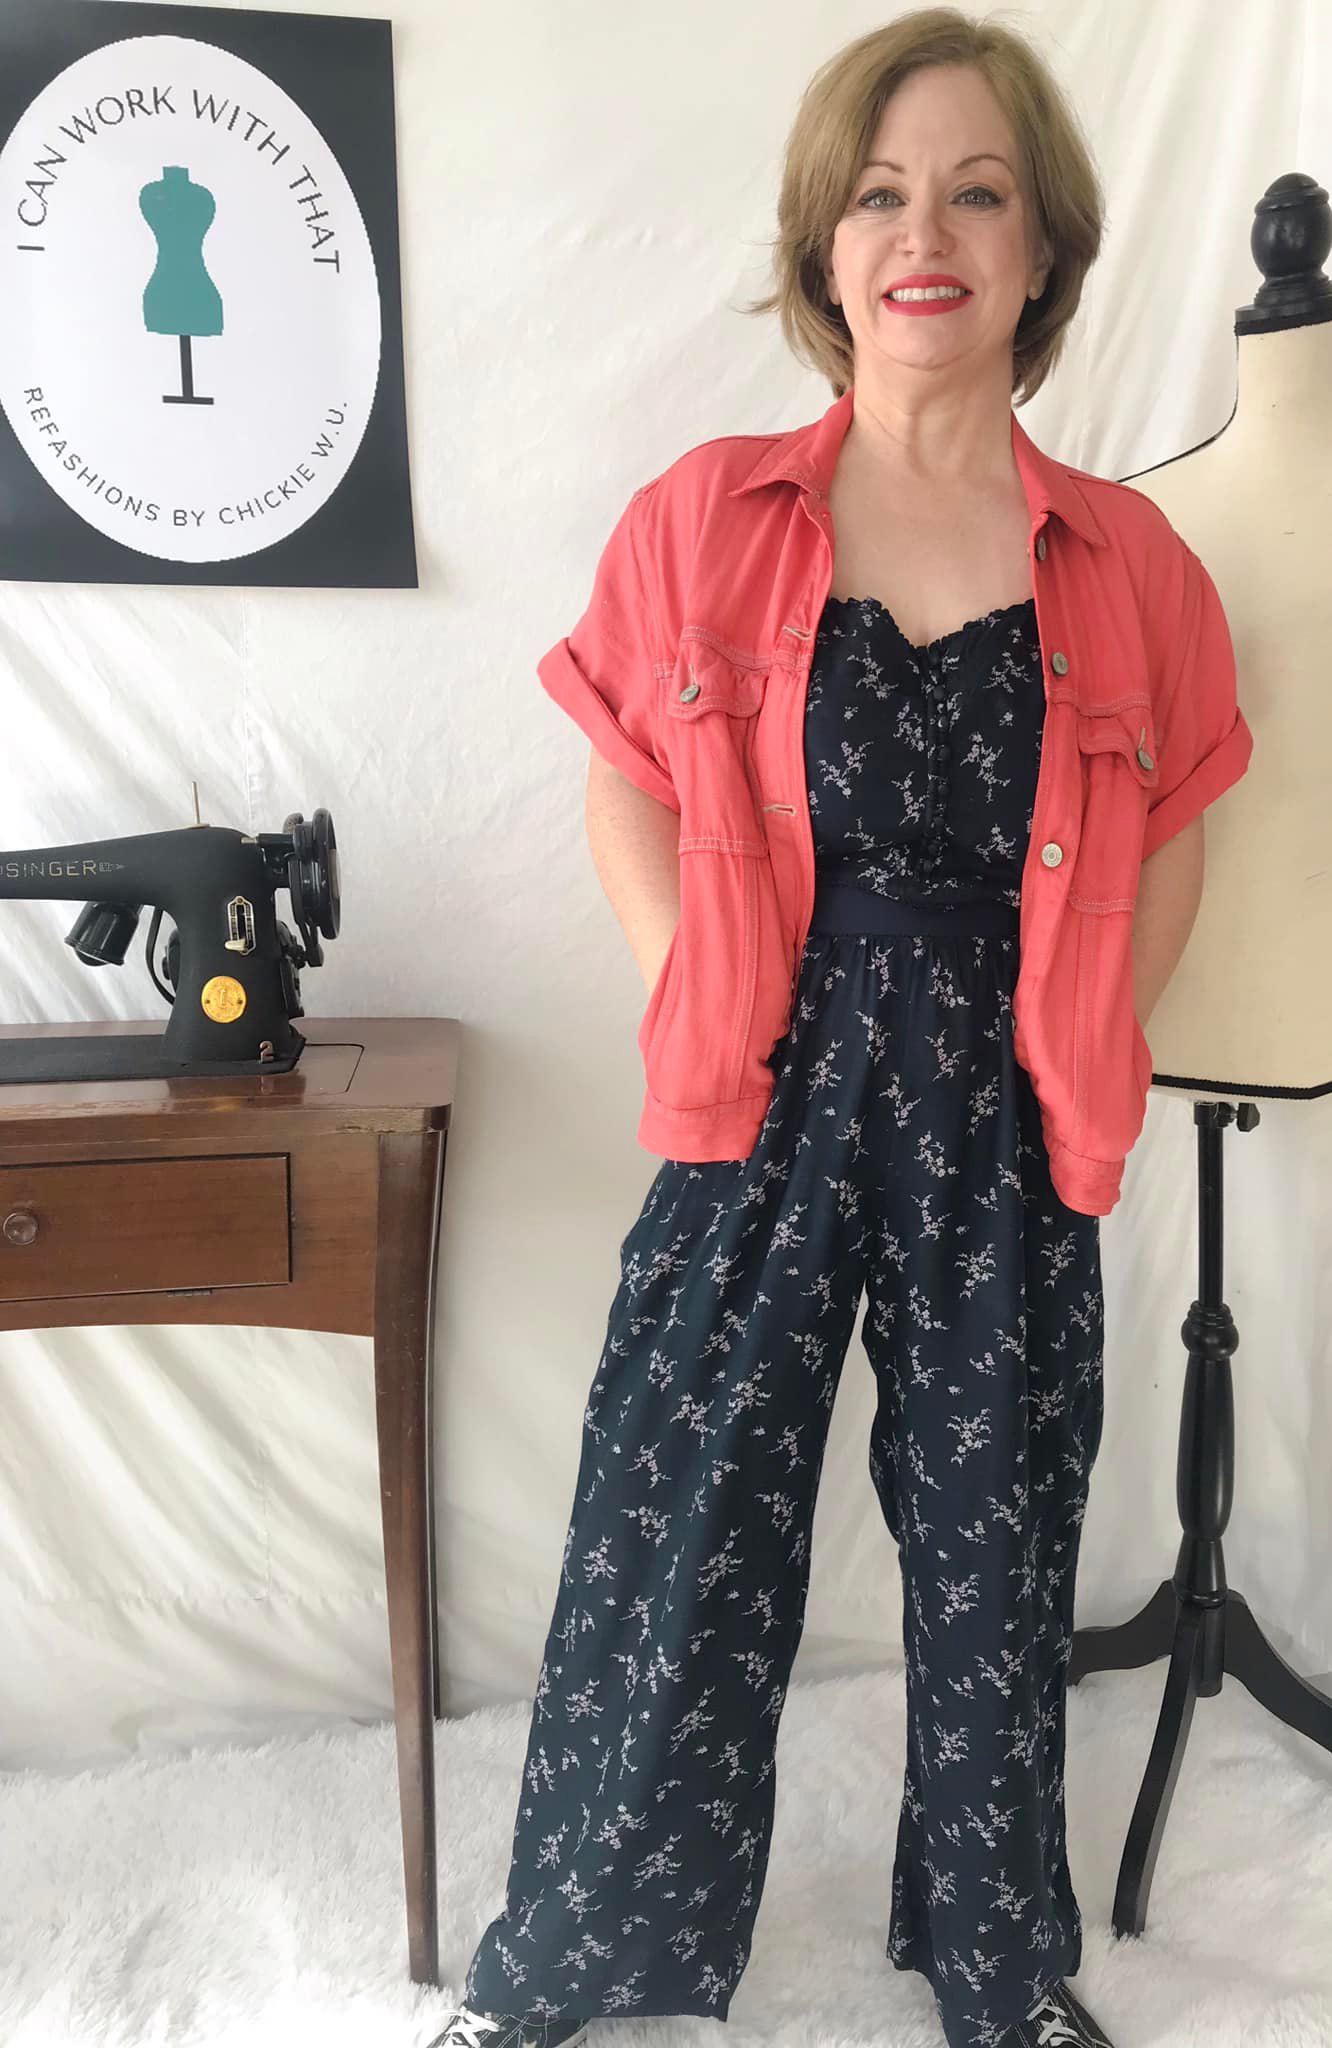
I was inspired by this peach shirt. It doesn't look very special so why did I like this shirt?
 
It didn't look like much from far away. It was a little too baggy to wear to work and the 3/4 length sleeves were almost to my wrists. It needed some help. 
And the pants? They almost fit at the waist but the length was out of control.

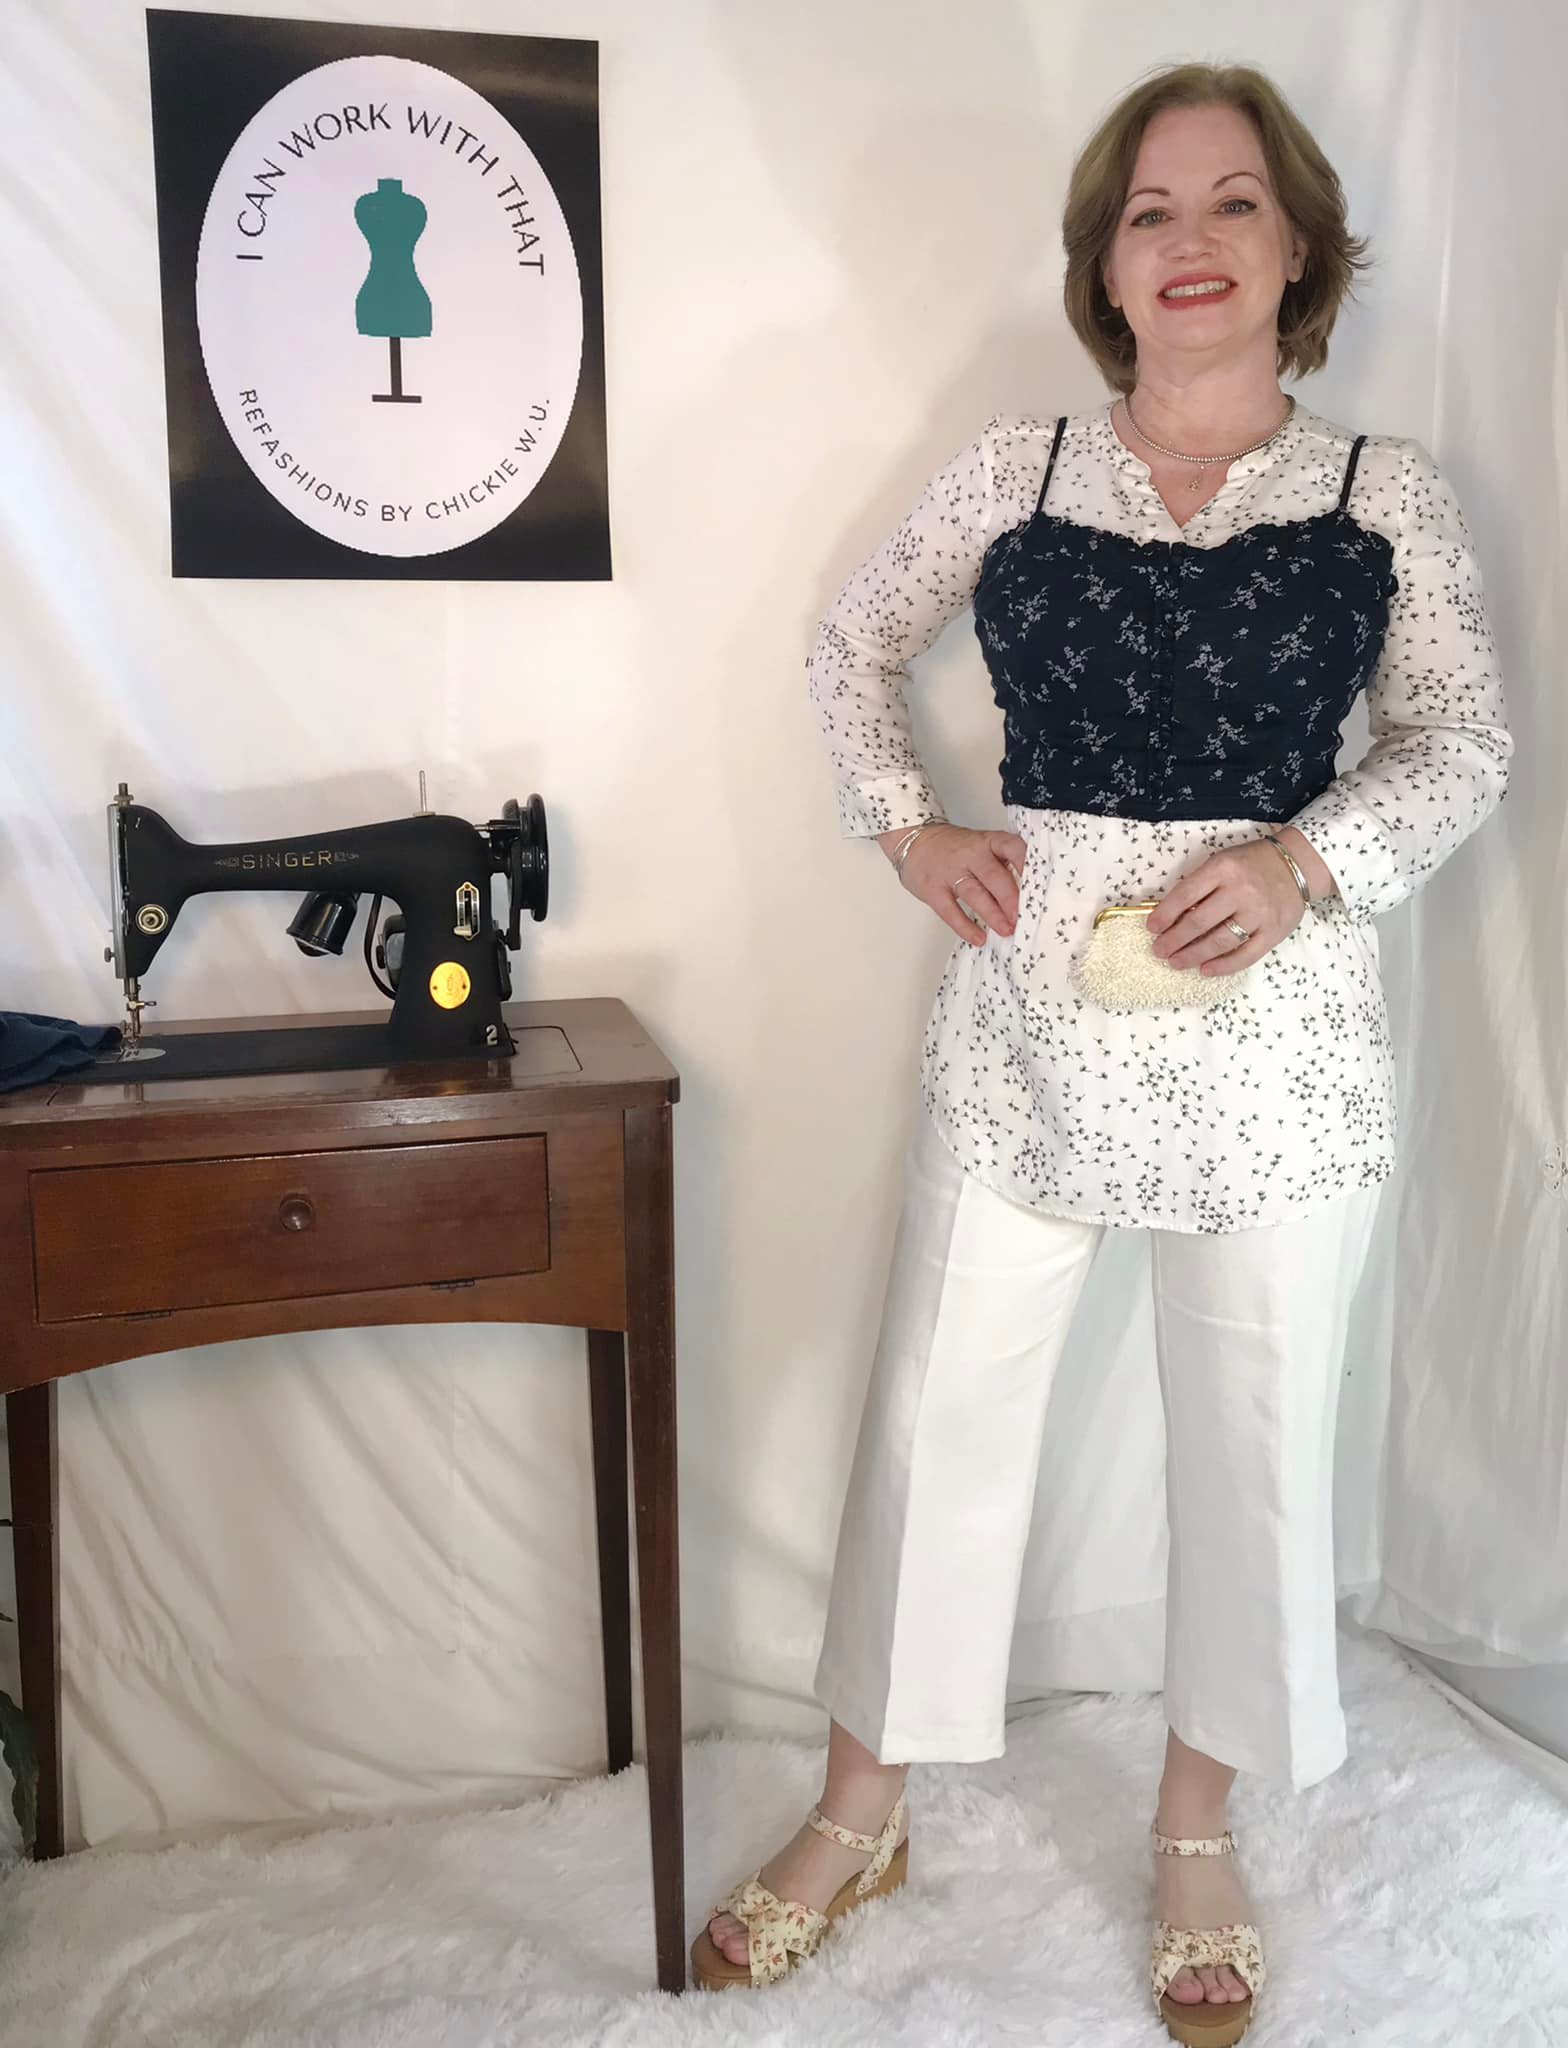
I loved this shirt because of the print. There were polka dots and these fabulous vintage bikes. I love vintage bikes!

I have a couple. My sister-in-law gave me one that actually folds in half. The other I got from the side of the road. It had a sign on it that said free. When I stopped my car a lady came out of her house and told me to please take it. I love them both.

I looked at the original shirt and decided that I wanted shorter sleeves. It is really hot outside. August is always super hot.

I took the sides in so the fit would be less baggy and I made short sleeves.

The short sleeves seemed a little plain.

 I added a button from the original cuff and pinched the sleeve together to gather the sleeve up a little bit.

Here are the pants my daughter gave me. They would be great for work. I decided to make another pair of cropped pants to survive the summer heat. My daughter told me to put them on inside out so she could pin them for me. Look how much extra fabric there was! She laughed and laughed while she pinned the hem for me. Then she stuck me with a pin.

I took them in just a little and I made them much shorter.

This was a great summer outfit for work. It looks like I am showing of my bicep but I am just pointing to the sleeve. My biceps are nothing I want to really point out to anyone.
Thanks for reading along, now go make something fun for yourself.
***Year End update-  I thought of this as a summer shirt but I wore it in winter under a sweater. The little bikes are so cute. I love it.

Tuesday, May 13, 2025

Simplicity 1165 Pant

 Hello Readers. It's Me-Made-May! That means wearing and sharing about the clothes you have made. I made these tapered pants a few days ago. The pattern was easy to follow and they have pockets!! This pattern was Simplicity 1165. It also had a shorts pattern included as well as the pants..

Before and after.

When I saw this pattern the pants on the model reminded me of this fabric I had in my stash. I had just barely enough to make these pants. I always seem to have just enough but no more.

I had to iron and cut out my paper pattern pieces so I could cut the fabric pieces accurately. 
 
I used my serger to put most of this together. This fabric would fray inside and the seams would be messy. I tried them on as soon as the legs were connected. I wanted to see how they fit before I put the waistband on. I am glad I did because the waist was way too big. The hips fit well so I was able to take the waist in a little before I put the waistband on. 

The waistband was elastic and the pattern had a classic casing. 

Clearly I had to shorten the legs. If I had measured how long the pattern legs were in comparison to my legs I could have adjusted them earlier. That's OK. I cut some of this length off and hemmed them. 

I liked how the pants turned out and I am excited to make more things for Me-Made-May. Thanks for reading along, now go make something fun for yourself.

***Year End Update- These were so fun and I love the colors. They were light and more appropriate for warmer weather. It is too cold for these now.


Wednesday, October 26, 2022

Fix a Wide Neckline

 Dear Readers. Do you have any weird fitting clothes in your closet? Sometimes things just don't seem to look right or feel right when you wear them. This orange shirt was one of those items. I loved the orange color, but the shirt just didn't fit in a way I liked.

 Before and after.
 
This orange color is so warm and cheerful What's not to love? The weird neckline. I didn't love it. I had an idea to fix it though. 

I wanted to use this silk ribbon to keep the shirt from falling off my shoulders. I have been waiting a long time to use this piece of ribbon. I save everything because eventually I will find a way to use it. Today was the day for this ribbon.

The new shirt was bright and fun and unique with the addition of the ribbon. I just needed some bright, fun and unique pants to go with it.
 
The fabric was so pretty but they are miles too long.
 
I needed to cut off a few inches to make these pants fit better. I turned the cut edge under twice and stitched it down with  straight stitch.
 
My daughter gave these pants to me and they are so wild and colorful. I couldn't resist. They just needed a hem because I am super short. Thanks for reading along, now go make something fun for yourself.
*Year End Note From Chickie- I loved these pants but they didn't seem right for winter. They will come back in spring for sure.  


Sunday, April 24, 2022

Cut Your Jumpsuit in 2

 Hello Readers. I found this cool jumpsuit at a clothes swap. I really do love a jumpsuit. This one had tiny flowers on it so it went really well with my florals in April theme.

Before and after. 

This jumpsuit was fine as it was but I had an idea. The top would make a cute but quick bustier top. They seem to be all over Instagram so I wanted to try and create one for myself. But I wanted to create it quick and easy. This was my chance. 

I cut the top off the jumpsuit. You can see in the picture that I cut the top fully off the pants. I kept all the seams intact. I cut as close the bottom of the waist seam as I could. The stitching of the seam will keep it from fraying and falling apart but...
 
To be sure it stays looking nice I used a zigzag stitch along that bottom edge. The zigzag stitching along the edge will keep it all together with absolutely no fraying. I used black thread to make sure it blended in. 

 
What about these pants? They have no waistband so I need to fix that. Where could I find a waistband?
 
I cut the waistband off these jeans. The waistband is just the right color for these pants and I love elastic waistbands. (I am getting old. I just want to to be comfortable.)
 
*Inside view.*
I used my serger to keep the layers of the waistband together. Then I used a zigzag stitch in black to connect the pants to the waistband. I put the right sides together and zigzag-ed all the way around the waist.
 
 *Outside view.*
The waistband is soft and works perfectly for these pants. The waistband was so stretchy it fit these pants well. All my stitching is hidden inside the pants.
 
I can wear the 2 pieces together and it still looks like a jumpsuit. 
 
I can also wear the pants by themselves with a different shirt. 
 
 And I can wear the bustier top without the pants and with a different top underneath. I liked this look because I was more covered on my shoulders and arms. I have more to say about the blouse I am wearing under the bustier top in this picture. Come back for the next post to see more. See you then. 
*Year End Note From Chickie- I loved both these pieces so much and I gave them to my daughter.


Wednesday, January 5, 2022

Pants to Skirt

 Hello Readers. I love refashioning clothes and thinking about what they can become. I also like to think about what clothes I do not have in my wardrobe and make them. That is how we got here to today's project. 

 
Before and after. 
 
These tan dress pants were great with this sweater. They did not fit my short legs well at all though.  I already wore and loved the sweater. I wasn't going to refashion the sweater.
 
 
The sweater reminds me of this book. It a favorite kids book that I read to my kids  a lot. (This little girl does get over her case of stripes and stops trying to please everyone but herself. It is really a great story book for kids.)

 
I want to turn these tan pants into a tan skirt. I don't have one of those. First, I  cut the seam between the legs of these pants. I just cut from one hem, up the leg and down the other leg. 
 
 
The pants were now open at the inner seam and I could start to make a new shape.

 
 I used my dress form to hold the "pants" and start pinning my new skirt. You can do this without a dress form but this just makes it easier.

 
I pinned the sides of the waist to make it higher and more fitted and I pinned the front of the pants to create a new seam down the center. I tried to make it straight so it would be smooth when I wore it. I pinned the back seam the same way. This made the skirt shape I wanted.

 
I cut off some of the extra fabric from the bottom so it would be out of my way when I was sewing it all together on my sewing machine. 
 
 
This is what the back looked like when I was sewing it together. The pins are out of the way. That little pointed piece to the right is the old crotch from the pants. It needs to be removed after the new seam is sewn. 
 
 
I gave my new skirt a quick hem and I was done. 
 
I loved this new skirt. Here is an inside view of a the new center seam with the excess fabric cut away.
 
 It was a simple straight skirt and lets the striped sweater be the star of the show. Thanks for reading along, now go make something fun for yourself.
*Year End Note From Chickie- I loved this skirt but it got too tight. It was donated.