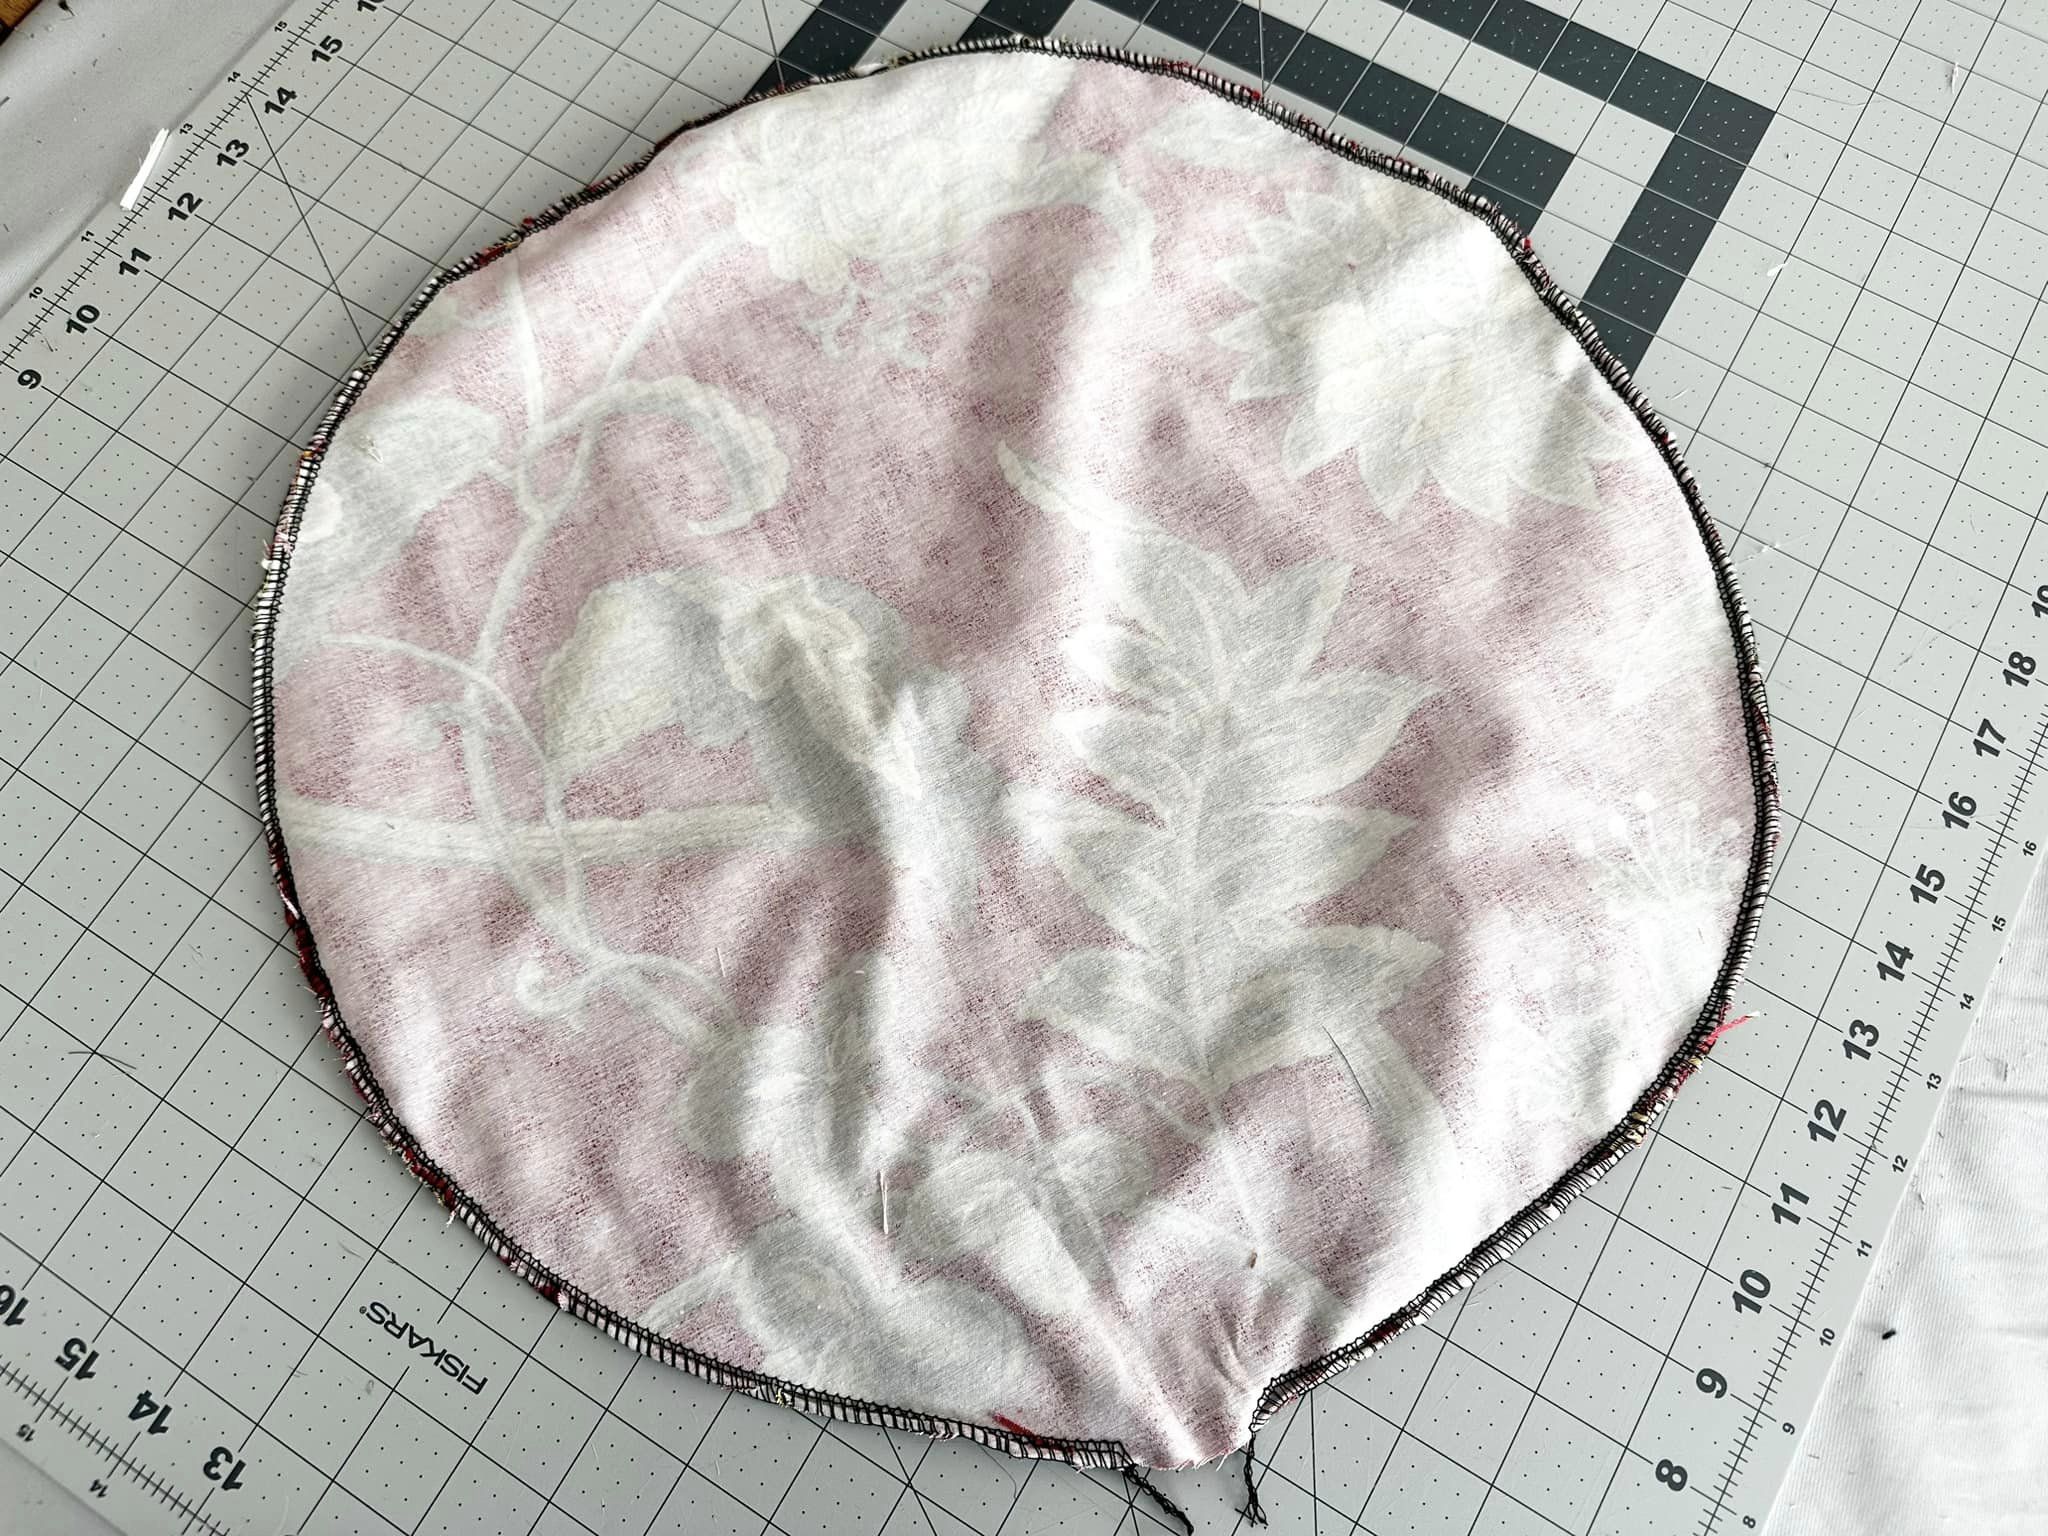
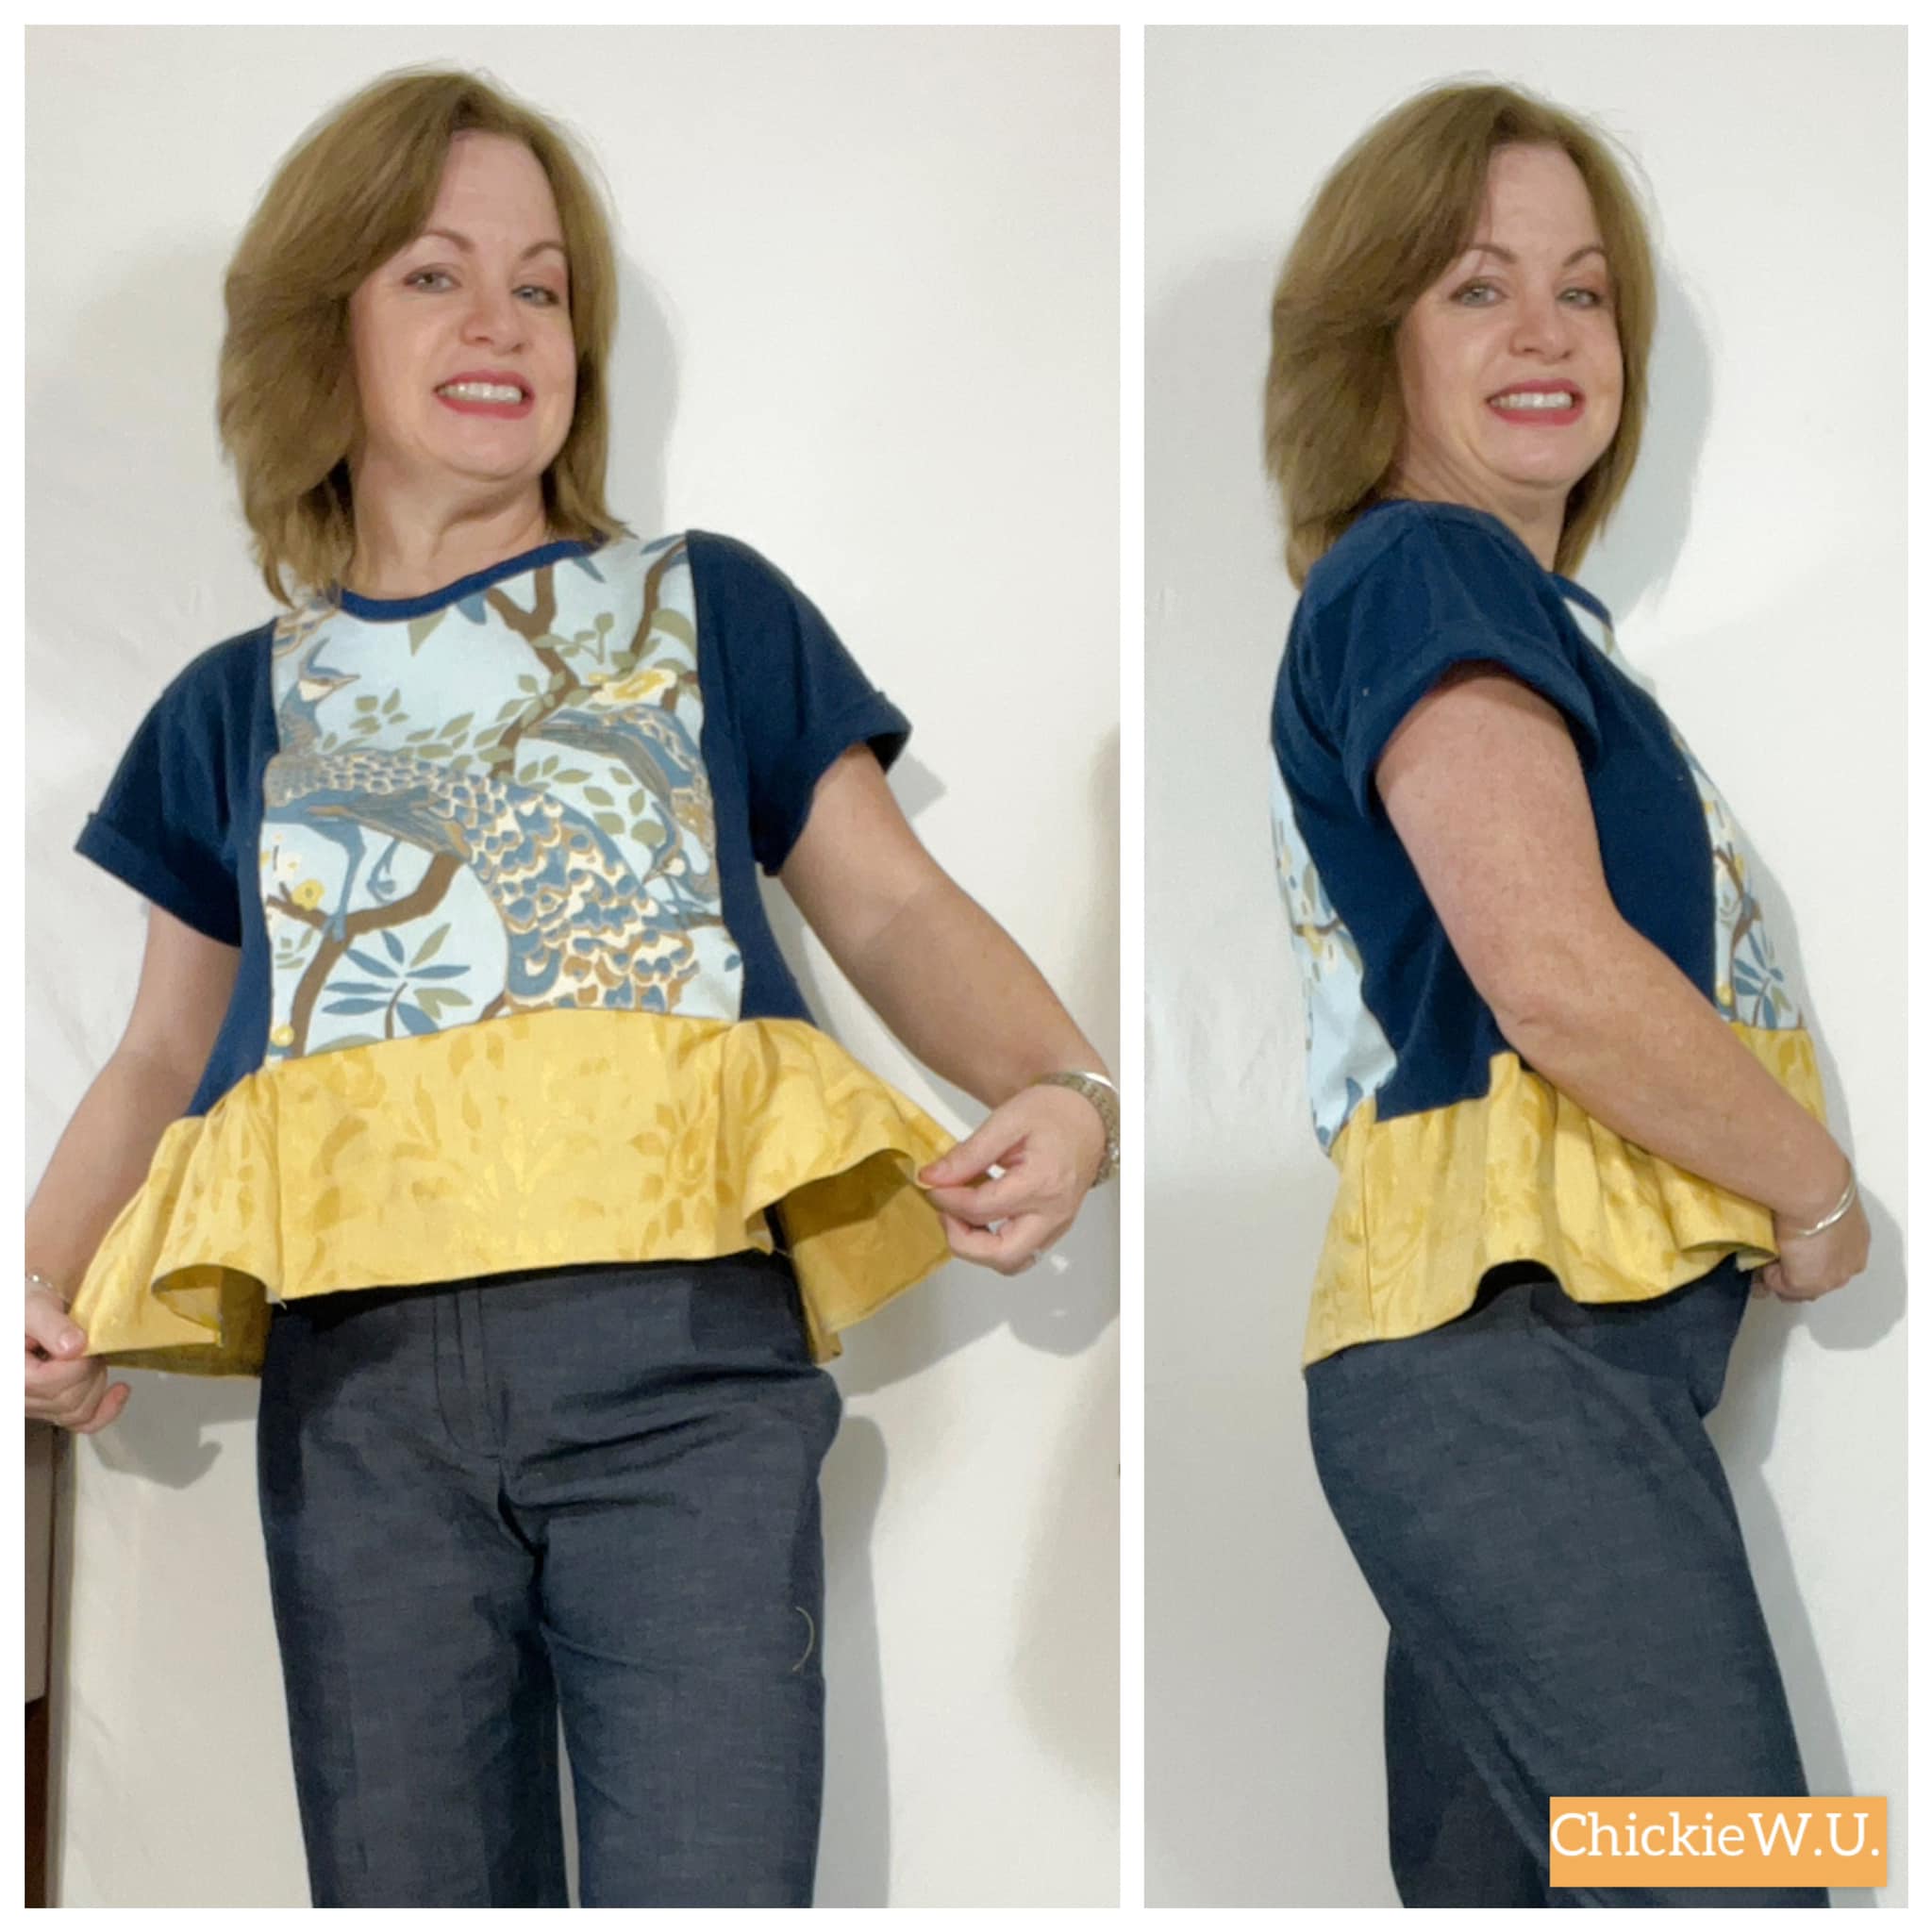
Hello Readers. I had this piece of fabric in my stash and I liked the colors and softness of it. What could I make from it? It was a smallish scrap and it was an unusual shape.
I am a short, thrifty, creative upcycler refashioning clothes & more. On the cheap!
Showing posts with label Scrap Buster. Show all posts
Thursday, November 21, 2024
Long Sleeve Bolero Jacket
Before and after.
Here is a look at my plan. Do I have any talent or skill at drawing? No. But this is the best I can do. I thought I could make a bolero type jacket.
I cut the piece of fabric a bit so that each side was the same or symmetrical.
I also had this satin sample square and I thought it would make a nice lining for the back of my little bolero jacket. I also thought it was just pretty and was happy to use it.
I cut the satin piece the same size and shape as the green fabric. I was going to sew them with the right sides together along the top and bottom.
I had already used my serger on the open edges to prevent fraying. When I was done sewing them together I turned the whole thing right-side out.
Here is a look at the 2 pieces sewn together. I liked the satin as a lining. I wanted to connect the sides to make sleeves next.
I am not sure how this was heavy and thick enough to break both needles in my serger but it was. The back of the collar can stand up or...
Or I can fold it down and let the satin inside peek out.
The hemline of the jacket is curved because the piece of fabric I had to work with was curved. I love how it looks though. The sheen of the fabrics makes this look quite dressy and I think it will be nice for a holiday party or event.
But I might just wear it to the grocery store because I like it so much. Thanks for reading along, now go make something fun for yourself.
***Year End Update***- I haven't had the chance to wear this jacket. But I love it.
Thursday, October 26, 2023
Make a Drawstring Makeup Bag
Hello Readers. I had been wanting a drawstring style bag for makeup and toiletries. I decided to try and make one for myself. I had fabric around to use but I didn't have a pattern. Would I need one? No! It turned out so easy I had to share.
This quick and easy bag only took about 20 minutes.
I searched my fabric stash. My sweet MIL had given me loads of fabric sample pieces and I got 2 out of the closet. These pieces are squares that are about 24-26" across. This is a great scrap busting project.
I used this tray to mark out a circle. The tray is 20' across. I wouldn't make the bag much smaller than this or the finished bag will turn out very small.
I cut out 2 circles.
I put the right sides together.
I sewed all the way around the circles so they were connected. Leave an opening so you can flip the whole thing right side out.
Pull gently to get the good sides on the outside.
My circles were a little wrinkled.
I ironed it well so the edges were flat and the wrinkles were gone.
The next step is to sew a circle all the way around. I sewed about an inch from the edge. Sew around until you have a full circle. You do not need an opening in this circle.
At this point you need some ribbon, cording, string to thread through the casing you made around the circle. Push the cord through the opening and move it around the circle until you get back around to the opening. You can pin a safety pin to the start of the cord to help you move it along.
When you pull the cord tight, it closes the bag. My cord is about 30" long. You need to keep it long enough to spread the bag open.
I sewed a few stitches to make the opening a bit smaller and keep the edges tucked into the opening. I didn't want the cut edges around the opening to show. If you have any messy stitches just put them on the inside of the bag. No one will ever know.
This is a great bag to hold almost anything so it is a great gift too. Thanks for reading along, now go make something fun for yourself.
***Year End Update- I use this everyday and I made a bunch to give as Christmas gifts.
Friday, March 24, 2023
Making a Bag from Scraps
Hello Readers. I refashioned a quilted skirt in my last post and I had some of the fabric left over. I wanted to make a matching bag from the scrap pieces.
Before and after.
I had these 2 scraps from the bottom of my skirt to make my bag. I don't like to waste scraps of fabric and I thought a matching bag would be fun.
I didn't have a pattern and I just tried to piece together 2 rectangles with sides and a bottom and I thought it was going well. (Spoiler-It was not going well.)
If at first you don't succeed, try, try again.
I made a new shape with the scraps of the first bag. It was getting smaller each time so I had to get this right.
I liked the new little bag.
Wednesday, August 3, 2022
Collage Top Pattern Review
Hello Readers. I recently tried out the new Collage Gather Top pattern from Matchy Matchy Sew Club. I really liked it so let me tell you all about it.
When I saw the new Collage Gather Top pattern online I decided to get it. I am really glad I did because it turned out so cute and it's such a great scrap buster too.
I printed the pattern out on my printer, cut it out and put it together. This I was the hardest part for me, but it is nice because I didn't have to go to the store. I could print and cut this out at 11pm.
I used fabric samples from my mother-in-law, a stained dress, a
"grandma" shirt, my husband's old shirt, tight linen pants, and scraps
from a navy blue t-shirt. And maybe one or two other fabrics that I can't remember. It's great to use up pieces that are too small to make a whole garment.
This pattern has separate pieces for the center front, center back and multiple shoulder and side pieces. The multiple separate pieces allow you to use lots of different fabrics and mix them up. We all have small pieces that we want to use. I know I have tons of different small pieces in my stash.
The shirt can have long sleeves or very short sleeves that are part of the shoulder pieces. Since it is summer and the world is on fire I decided to make short sleeves.
There are also lower pieces. They make a sort of peplum on the sides. They can also use up even more coordinating pieces from your fabric stash.
I liked this top so much that I made 3 of them. I couldn't stop. I had fun putting different fabrics together.
I think this one is my favorite. It has rayon center panels and lace sides, the drape was really pretty.
The heavier weight fabrics would be great for cooler weather too. Thanks for reading along, now go make something fun for yourself.
*Year End Note From Chickie- This was such a great pattern. The different pieces made it fun to combine fabrics. The heavier linen I chose was too heavy for a shirt, I recommend lighter weight fabrics for this one.
Subscribe to:
Posts (Atom)