Tuesday, June 21, 2016

How I Spent A Few Days Making A Skirt I Hate, From A Pair Of Jeans

Hello Readers. I had this pair of jeans in the refashion pile waiting to be made over. The jeans themselves were in good shape. They just didn't fit or flatter me in anyway.


 They are too low at the waist and way too long. Ridiculously, too long!


I decided to make a skirt out of them. I have seen other people make really cute denim skirts and I love anything made of denim. It seemed like a great idea. What could go wrong? I started by cutting the legs apart along the inside seam. That part was easy.


When I looked at the jeans at this point I started to lose my focus. I didn't like how the center seam curved to the right. I wasn't sure what to do.


I connected the legs at the center a sewed a new seam. I wasn't sure if this would work.


Here is the center seam from the back. I trimmed some of this off and then stitched it down so it would stay put. I was really not sure what I was doing at this point. This skirt seemed doomed.


I used the bottom of one leg to fill in the front of the skirt. I tried to keep my center seam straight and positioned the seam of the pant leg in place.


I pinned it in place so it wouldn't shift around. I used some thick gold thread to sew it together because that was the thread used in the original jeans. I thought it would make it more unified. I was honestly not sure of any of my decisions anymore.


Here is the finished front and back of this new skirt. It came out better than I thought it would.I trimmed the bottom to make all the pieces even and I stitched all the way around with the gold thread. Sitting here by itself it seems harmless. It looks so much better here than is does on me.

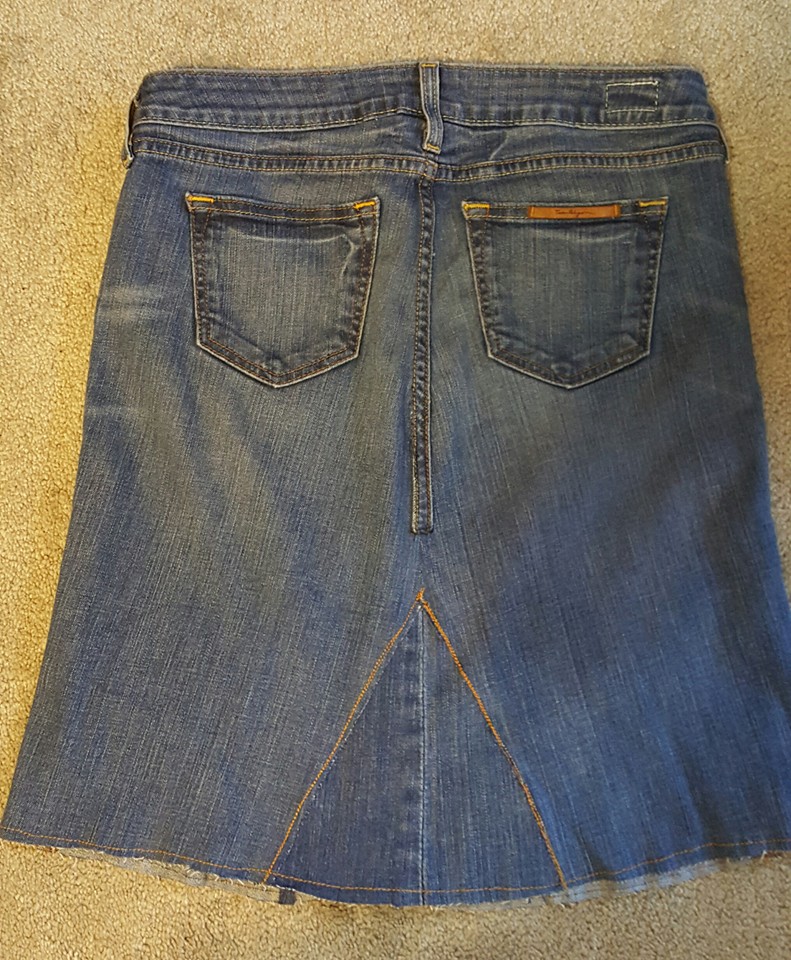
This style just doesn't work for me. It is too straight and narrow. It makes my upper body look like a huge gorilla or something. I can't figure it out, it's just off. I am passing this skirt on  ASAP!


I think this face pretty much sums up how I felt about these jeans before and after.


Thanks for reading, now go make something fun for yourself.


Thursday, June 16, 2016

"Small" Black Floral Dress

Hello Readers. How is everyone today? Feel free to reply in the comments section below. I hope you are all well and happy. My project today is a pretty black floral dress that was handed down to me from a fabulous woman who was cleaning out her closet. (Thanks Sharon!) I love it when people do that. It helps me with my goal of not actually buying anything to refashion. I have cheated once or twice and gone to the thrift store but almost everything on this blog was free to me.


You can see from my face, something is wrong. This dress is a size small but it is still quite big. The arms are loose and baggy and so is the body of the dress. A loose dress can be nice in the summer heat but this is too much bagginess.


I tried it on and got an idea of what needed to be taken in. I wanted to leave that nice full skirt alone. I thought if the arms fit better the dress would look more appropriate on me. I pinned a new seam along the arms and sides. I moved the new seam in about an inch, and tapered it out at the waist.


Here is the finished dress. You can't see the little tie/belt/sash thing in the back. I just left it as it was. Cutting off the excess fabric caused some fraying inside. I really want a serger because it makes those kind of seams so nice and neat. But a zigzag stitch will control that crazy fraying.


I wore it out that night to get my hair done. This is the face of a woman that needs to get out more.


As always, thanks for reading.


Monday, June 13, 2016

The Green Dress Skirt

Hello Readers. I found this dress at a clothes swap (of course) and loved the style and the color. When I got home I discovered the top was saggy and too skimpy to cover what I wanted covered. I was disappointed, I thought it would be a great dress for summer.


You can see how it sags in the front. A saggy chest area is not the look I want. Does any woman want this look? Something is wrong with this dress.


I cut the top off. I was careful to keep the waistband intact. I cut very slowly to get as close to the edge of the top portion without cutting the seam of the waist. It was going to make an easy skirt. 


I made an opening in the waistband and ran elastic through it. I had already checked it against my own waist to know how long to make it.


I connected the two ends and tucked it all in the opening I made. I know the elastic is striped, no one will see it. It's OK. 


Here is my easy finished skirt. I wore it to a picnic. It was nice and cool in the heat. After I saw this picture I started to dislike the shirt. I don't know why but it isn't working for me. Maybe it's the dorky pose? I look like I am on a ship scouting for land.

                                                        
Thanks for reading, now go make something fun for yourself.

Wednesday, June 8, 2016

Baby Clothes Display Shelf

Hello Readers. I saw that my neighbors were getting rid of this shelf, so I took it. That's right, I took it. As soon as I saw it I knew what it should be.


As you can see. it was a little beat up and it appeared that it had been chewed on a little by their dog. That's OK, I can work with this.


I sanded the rough damaged areas with some sand paper. I didn't try to make it perfectly smooth, I just wanted to get the worst of the chips off.


I dusted it off and started painting with this white paint. The shelf isn't the important part of the end project, it is just going to be used to hang some special things.


It took a few coats to really cover the original brown wood. I painted really heavily on the scratches to help fill them in.


When I finished it was a nice clean fresh white. The flat paint makes the rough spots less prominent. Glossy would have made them stand out more. And it will be hung on a white wall which will also help it blend in.


It made a great display shelf for some of my little guys cutest outgrown clothes. These are all special for different reasons, so it is sweet for me to see them.  


It looks nice above his dresser. While I was hanging the clothes he was emptying the container of baby wipes. It's his new favorite activity.


Thanks for reading, now go make something fun for yourself.

Monday, June 6, 2016

Two Too Small Dresses

Hello Readers. My project today is a combination of two dresses that were too small. I put them together so I could wear them in public and keep everything covered that regular old moms want to cover. 


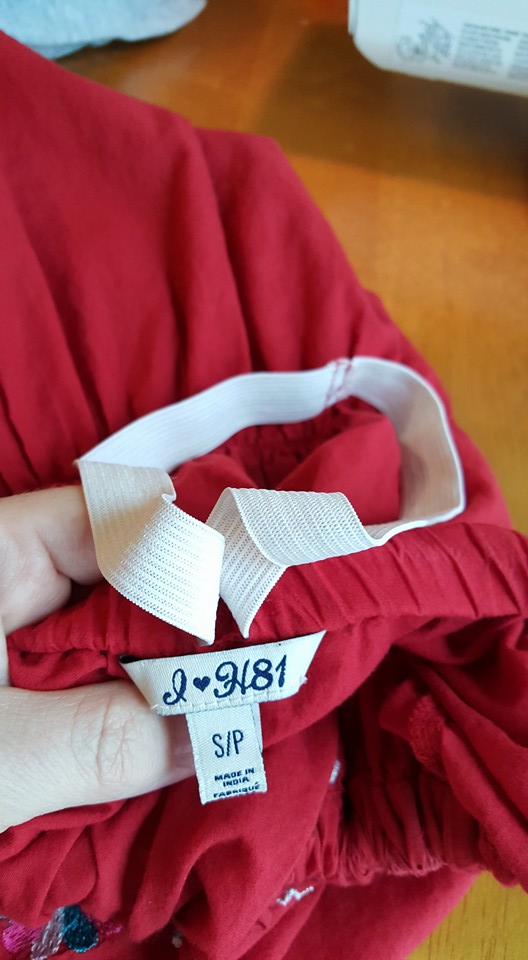
This little red number is cute and colorful but I didn't expect it to be so short. I thought it was a dress but I think it is a long top. It was roomy enough but way too short. I thought about just adding straps but I didn't want a long shirt. And hemming away the appliqued stitching was out of the question. It's too pretty.


I also had this gray T-shirt "dress". It was also very short and too tight through the back-end. So, no pictures, just take my word for it. I thought about cutting off the bottom and just using it as a T-shirt, but that sounded boring.


I started by removing the elastic from the the red top. I am going to attach it to the gray dress, I won't need the tight elastic. I pinned the side seams of both dresses together to keep it all lined up. I had already tried them both on together and I knew how much of the gray dress I needed at the top. It was eight inches. I just tried to keep it as straight and even as possible while I sewed. I cut off the extra gray dress from the red dress.


I also added a few inches of the gray dress to the bottom of the red dress. I just cut off the bottom of the gray dress and attached it to the red dress. The only challenge was keeping it all the fabric from overlapping and getting tangled on my machine.


I have a normal mom life and I wore it to clean up my kitchen. With 2 teens and a baby, it is usually chaos in the kitchen. The dog and the baby are usually trying to climb in and lick the dirty dishes. They seem to work as a team, they are very organized and systematic in their approach.


Thanks for reading, now go make something fun for yourself.

Friday, June 3, 2016

The Purple Nightshirt Peasant Top

Hello Readers. It is really summer now and I am working on new tops for hot weather. My project started today started as a night shirt. I assumed it was a night shirt. It was very light weight and the weave was a lacy and open in places. It was very large so I needed to address that too. 


I took a little off the straps and some out of the sides. I cut the excess off with pinking shears to help with fraying. That made it smaller but it is still too sheer. I can't go out in a see-thru shirt, I'm not a pop star. I need real clothes.


I decided to line this top with a dark purple T-shirt I had. The T-shirt was a little worn out but it would make a great contrast to the light purple. It had a large round neckline just like the nightshirt. I attached the two with my sewing machine. I followed the seam on the nightshirt and stitched over it. I did the same thing with the arm holes and cut off the excess T-shirt.


Here you can see the two shirts are attached but the night shirt is much too long. I like the outer shirt to cover the under shirt, but this is way too long.


I cut off a few inches from the bottom. That made the length work. That cut was right in the  middle of the two front pockets.


I removed the two pockets. It would make the lines of this new peasant top cleaner and simpler. This top will be loose and the pockets would just add unneeded detail and look too clunky.


Here is my finished top. I like the loose comfortable fit and the light weight fabric should be great for the heat of summer. You can't really see the dark purple T-shirt underneath from a distance. Up close you can see it through the lacy parts of the fabric. 


Thanks for reading, now go make something fun for yourself.


Wednesday, June 1, 2016

Re-wrapping the Wrap Shirt

Hello Readers. I wanted to fix this wrap shirt. There isn't anything wrong with it. It is just a little big and it's just too low cut. But I love the color so much and I need some tops in my wardrobe.


I cut the front, but not in the middle. I cut it up the side so the cut would meet one side of the V cut neckline. I wanted to just pull the shirt tighter and make it less low cut. 


I stitched it closed along the cut in the mid-section and I closed the V neck so I could wear it without a shirt under it.


You can see the difference in the neckline on the dress form. It is much less low now.  This was a quick project but it made a huge difference. 

Much too low!                                            Now, it's just right!

Here is my new/old shirt. I love the new fit and I can wear it more easily now.


Thanks for reading, now go make something fun for yourself.