Friday, September 23, 2022

Removing a Cowl Neck From a Sweater

 Hello Readers.September feels like back-to-school season to me. It's not really true because in my area kids go back to school in August. I have been doing a lot of skirt refashions this month because when I was a kid having nice skirts for school was a thing. I don't think it's as important anymore but it is stuck in my brain. So... skirts for September it is. 

Before and after.
 
 I started with this cowl neck sweater. I cut the neck off this sweater in my last post so that I could make a tube top out of it. It worked great under a low cut dress. But what about the rest of the sweater?


I had a plan to fix the neck of the sweater and I explain it here. When I cut the cowl neck off I left about 1/4 inch of neck fabric.

I used a zigzag stitch to sew the new round neck line. I tucked the leftover neck fabric into the sweater and stitched it down. It was super easy. I would have been done at this point but the sweater was a little looser fitting than I wanted. I wanted it to fit like a t-shirt. 

I decided to take some fabric out of the back to make the sweater more fitted. I cut some fabric out and made a new seam down the center back. 

 
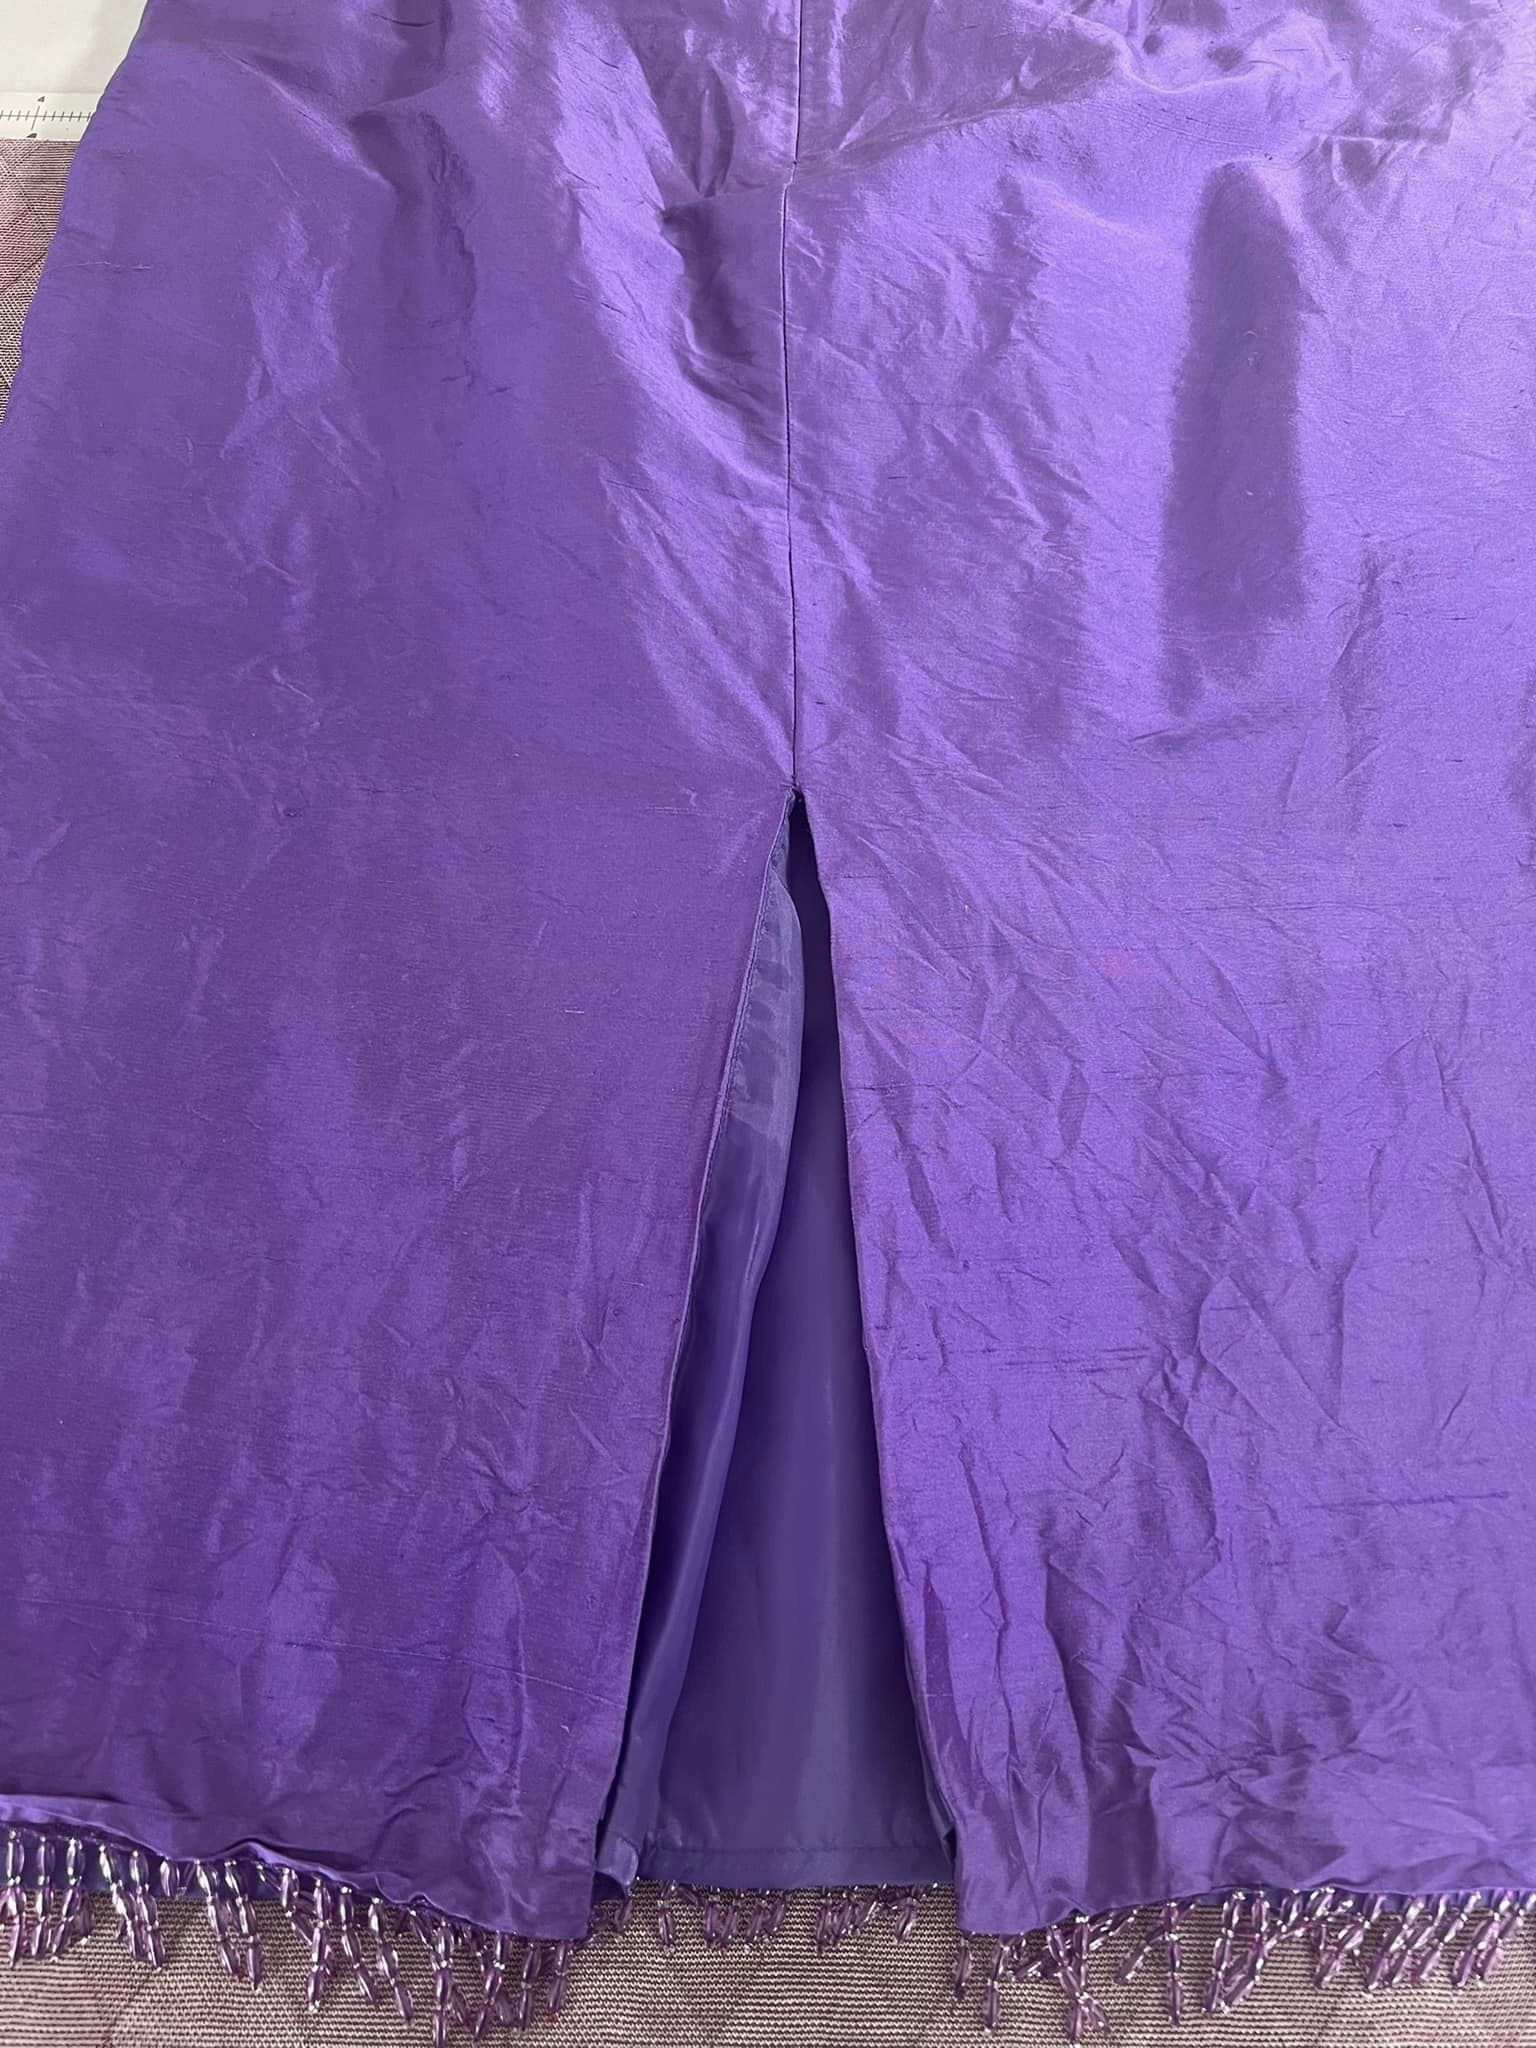
This plaid skirt was not very flattering. I loved the plaid fabric. I thought shorter would be better for me because I am pretty short.

I used a skirt that I knew fit well and used it as a guide for cutting my plaid skirt. I cut that excess off, turned the edge under twice and stitched it with a straight stitch all around the skirt. It was a very basic new hem. 

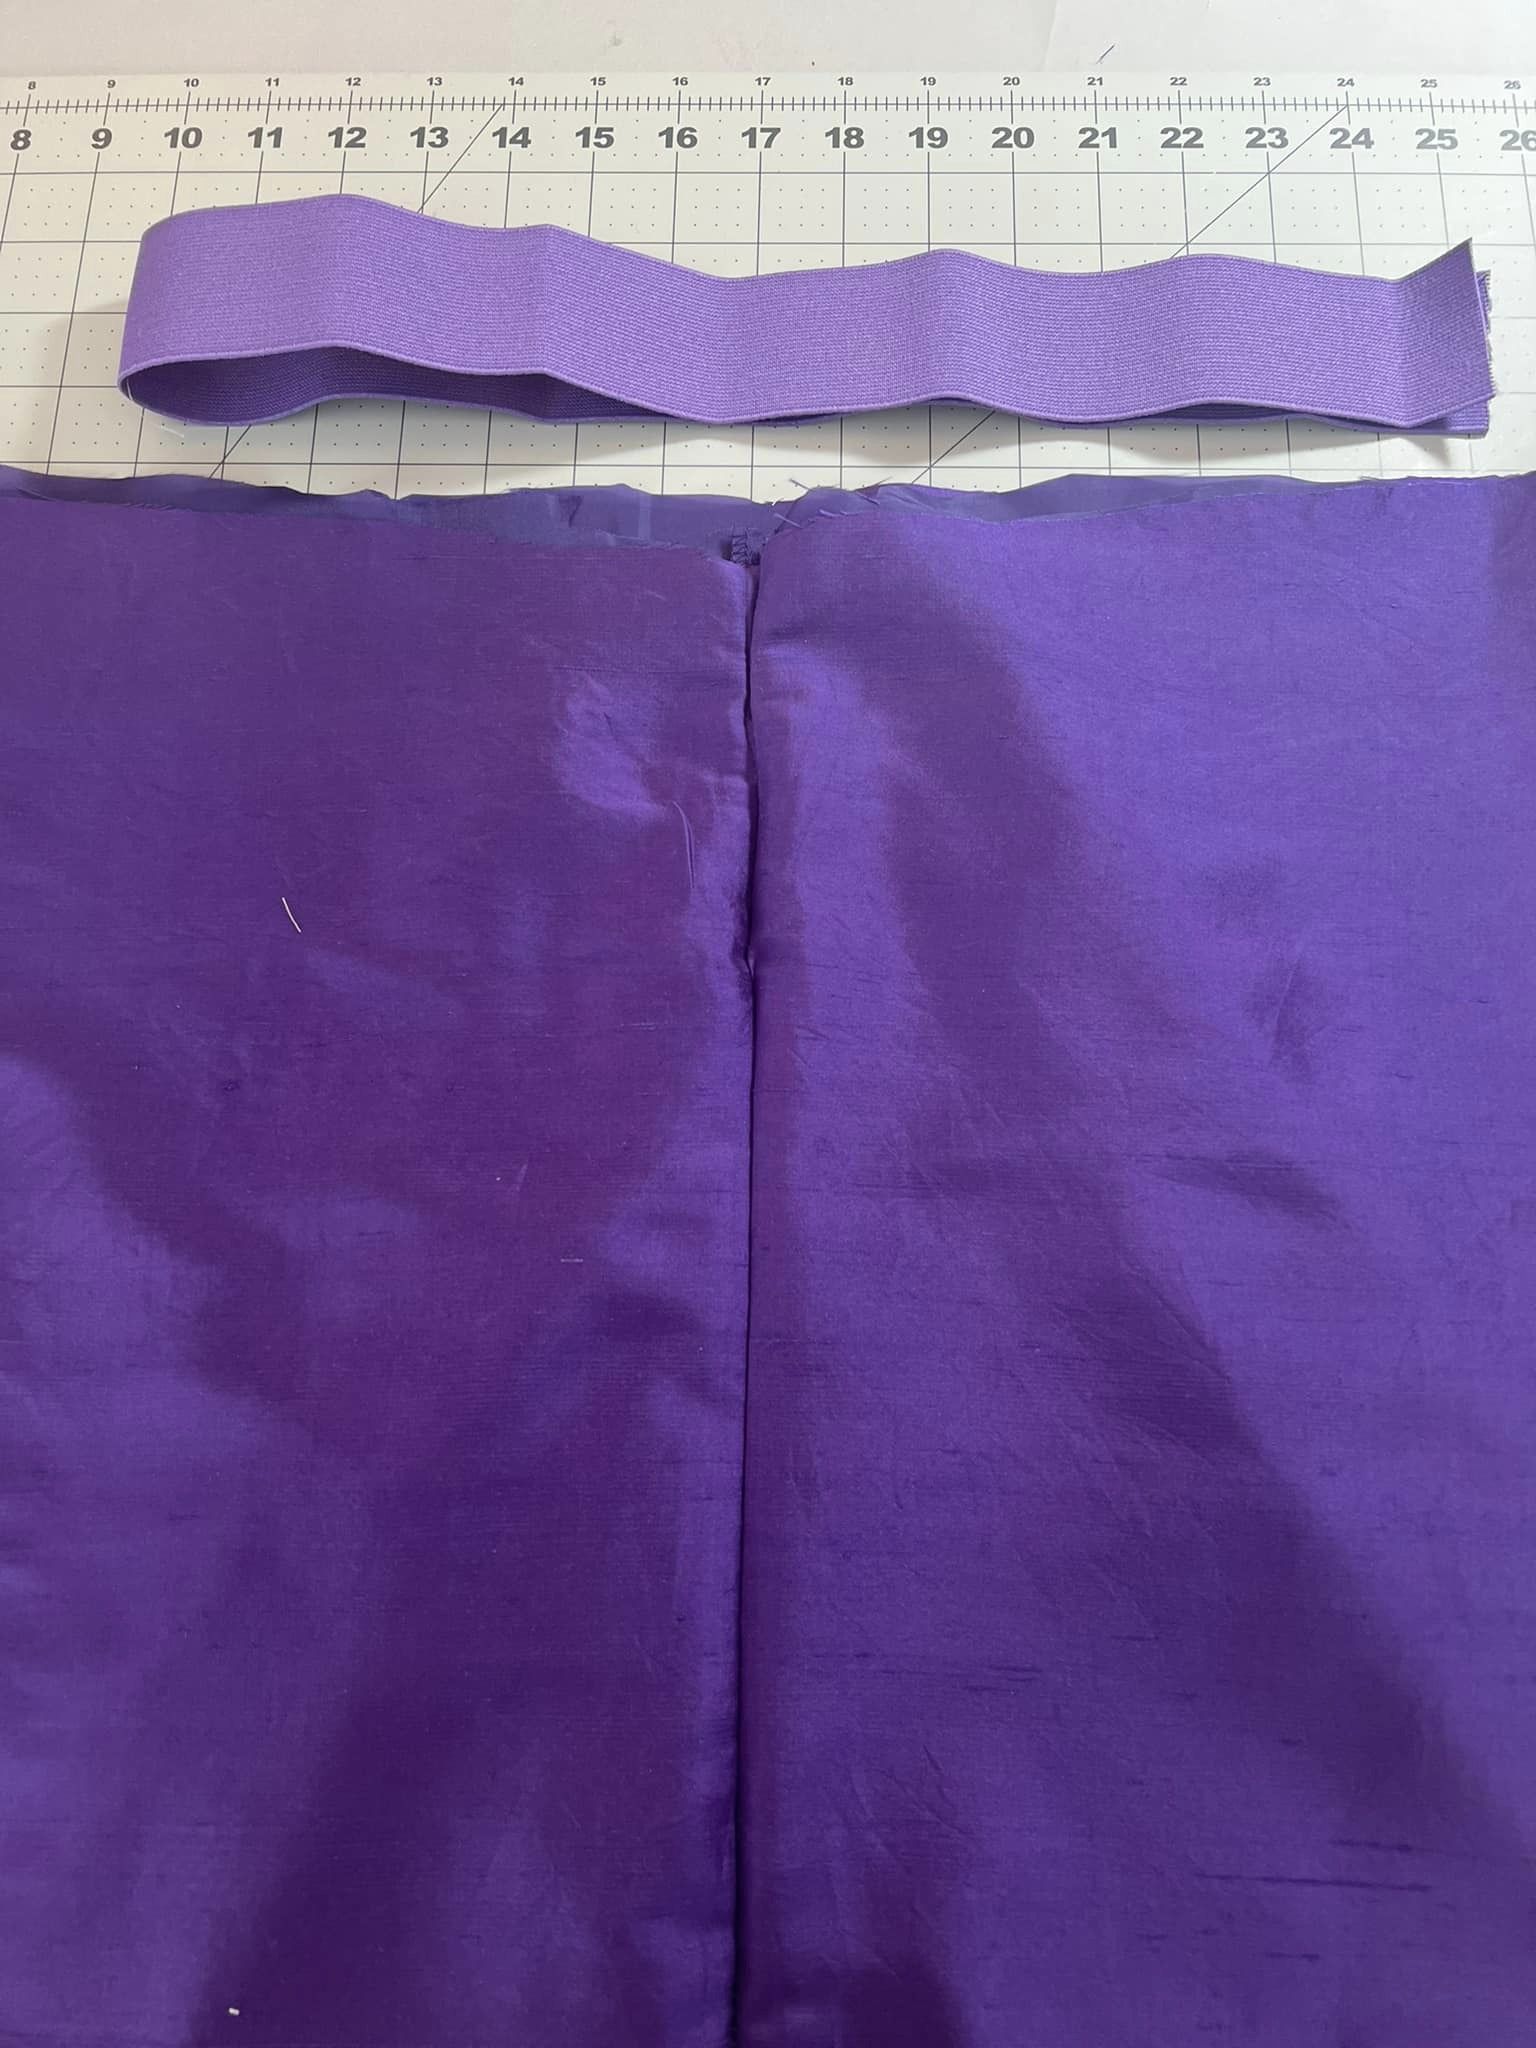
I also took a little fabric out of the waist. I stitched new side seams on each side and then cut off the extra fabric. Sewing the sides like this makes the waist a little smaller. Doing this on each side makes the skirt balanced and the new sewing blends in with the old side seams easily. I zigzag stitched at an angle to meet the existing side seam.

My new outfit was done. 

These pieces are really classic and I think I can wear them a lot. 

Here is a look at that new back seam I made in the sweater. It turned out great too. Thanks for reading along, now go make something fun for yourself. 
*Year End Note From Chickie- I could wear this to an office but I don't work in an office setting. I liked this combo but actually weather sweater with other clothes more than I wear this skirt. I am going to get this skirt out and wear it. It worked so well as an outfit.


Wednesday, September 21, 2022

Filling in a Low Neckline.

 Hello Readers. Look at this wild dress. I loved all the colors and the fit of the dress was great. I didn't like the neckline and I wanted to fill it in with something. I really wanted it to blend in though. That dress really wants to be the star of the show. 

Before and after.

I had a plan to solve this problem, it involved part of a cowl neck sweater. I cut the cowl neck right off. I just cut around all the way around the neck of the sweater and it was ready for the next step.

It was made of 2 layers so I used my serger to connect the two layers at the cut end. I thought it would keep it nice and neat. I didn't want it to shift around while I was wearing it.

Here is a sweater tube top. It wouldn't work for me as a shirt but it will be perfect under my wild dress.


I like how the color of the tube top and the colors of the dress work together. The neckline is filled in and I can wear the dress without worrying about the low cut neckline. I didn't want to put on a cleavage show.

I will show you what I did with the rest of the sweater next time. Thanks for reading along, now go make something fun for yourself.
*Year End Note From Chickie- I loved this crazy dress. It's really lightweight so I will get it back out in spring. The top I made is perfect under it. It totally solved the low-cut problem but blends in with the dress so well.


Friday, September 16, 2022

The Simplest Skirt You Can Make

 Hello Readers. Sewing is so much fun. I love to put pieces together and make something new and hopefully wearable. My daughter gave me a piece of amazing argyle fabric that she didn't want and it was perfect for making a very simple, very basic skirt. This is the kind of skirt I wish I learned to make in junior high sewing class when I was forced to make a tote bag. The bag wasn't fun or cute or colorful. It felt like a wasted opportunity. If the sewing isn't fun, why are we doing it? We can answer that later. For now let's make a skirt.

 
Before and after.
 
 
This is the fabric my daughter gave me. It is a soft knit and I love that. The argyle pattern was fun and nostalgic. It was also a perfect rectangle. Believe it or not, that is a great start to making a simple skirt. The wider the rectangle the fuller the skirt will be.Wrap it around yourself to see if it will fit well. If you want a very full twirly skirt, you need a wide rectangle. I only had the amount I was given so I will work with what I have.

The first step was to fold the right sides together and sew the ends together. This is going to make a tube shape and that is the beginning of the skirt. 

Now, we need a waist of some kind. There so many ways to make a waistband. I wanted this to be so simple that a very beginner could do this. I am going to attach wide elastic to the top edge of the skirt. That is going to be the waistband. Elastic is comfortable and it is easy to fit. It forgives when You had a big slice of cake and it is easy to put together. Choose a color that matches your fabric.

Measure your waist. This is so important. You want the elastic to fit around you comfortably. Even elastic can be tight if it is too small. Every body is different. Your waist isn't the same as mine. Cut your elastic the size you need. You want it tight enough ti hold up your skirt but not so tight it hurts your tummy. Connect the ends of the elastic with a zigzag stitch. I like to sew over mine back and forth a couple times to make sure it will never come apart. I overlapped the edges of my elastic and stitches over the edge to hide any fraying threads.

Use pins to attach the skirt to the waistband. You want the skirt fabric to be evenly spread around the elastic waistband.

Now, My skirt is all pinned and it's time to sew. I like to use pins or clips to arrange my fabric for sewing. It makes it easier to sew. I used a zigzag stitch because I want to be able to pull the skirt on over my hips and bum. It needs to stretch to do that. If I sew the elastic on with a straight stitch it won't be able to stretch as I want. 

Now I can check my sewing. Did I miss any spot of fabric? If I did (Or you did.) It's OK. No one is perfect. Just go back to that spot and go over it again. If your thread and elastic match well, it won't show at all. 

The last thing I need to do is hem the skirt. Any length is fine. Trying the skirt on is the best way to decide how long it should be. I marked my skirt and folded the lower edge under and stitched it down. The fabric I am using is a knit so it won't fray. A woven fabric would need to be folded under twice to hide the fraying edge.

My skirt turned out great. It is as comfortable as sweatpants but so much cuter.

I feel like it really works with this "Pink Ladies" jacket I found at a swap. I think it's too much. Maybe for Halloween? We'll see. Thanks for reading along, now go make something fun for yourself.
*Year End Note From Chickie- This skirt was so simple and I really like it. I wear it with a brown sweater in cooler weather. I like the bit of pink with all the brown.


Wednesday, September 14, 2022

Shortening a Skirt & Saving the Hemline

 Hello Readers. I am in the mood to refashion a skirt. This purple silk skirt was fabulous but it wasn't fabulous on me. It was too long. I could simply hem it but look at the beaded tassels!!! I don't want to lose the beaded tassels. So, I need to shorten it from the top. Let me show you what I did. 

 
Before and after. 
 
 
Here is a better look at the skirt. It is really pretty silk fabric. And those beaded tassels are amazing. It is a little shapeless and long on me so it doesn't look as great as it deserves. (I don't know for sure if it is washable silk, but I did indeed wash it in my washing machine on the delicate cycle so... I am going to call it washable-ish.)

 
The skirt had a slit cut in the back so I needed to close that first. 
 
I ironed the skirt and then turned it inside out.

 
I put the right sides together and lined up the edges of that slit. I stitched the 2 pieces together with my sewing machine. It will look like a basic back seam when I am done.

 
I closed that opening in the back that I am pointing to in this picture but I was not done. 

Here is a look at the front. I cut the top off the skirt. I needed it to be shorter and I did not want to cut off the beaded hemline so the waist had to go. I knew how long I wanted it to be and cut it accordingly. 

Here is the secret to comfortable waistbands. And clothing in general. ELASTIC! I found matching purple elastic. 

Here is a description of how I made the elastic waistband. 

I pinned the elastic to the skirt and explain how I will stitch it together here. 

Actual video of the sewing machine in action. This zigzag stitch attaches the elastic to the skirt and it will keep the fabric from fraying inside the elastic as well.

The elastic is visible but I like how it defines the waist. If you match the elastic to the thread the stitches don't stand out very much at all.

I liked the skirt with this ribbon sweater I made this summer. One of the ribbon colors is purple so I think they play well together. Thanks for reading along, now go make something fun for yourself.
*Year End Note From Chickie- This skirt was so cute when it was shorter. I am glad I could save the beads. It's great for when I need to look a little dressier than jeans and a t-shirt.


Friday, September 9, 2022

Make a Skirt Bigger

 Hello Readers. I am always trying to save my small pieces of fabric for later in the hopes that eventually I will find a way to use them. I hate to waste fabric. Today's post is about using some of the pieces of clothes that I have cut up for refashions. Like what could I do with the legs of some old pants? Let's see...

 
Before and after.
 
 
This skirt was cute and I liked the shape but it was way too small. I saved it forever because I like corduroy. These white striped pants were a hand-me-down that I made into some nice summer shorts. I saved the pant legs because I liked the material. I thought they would be a good match because the striped pants had some tan color in them.
 
This skirt was too small so I knew I would need to add fabric to make it larger. I cut the side seams open on the skirt. It had a zipper in the center back to get the skirt on and off. I did not need to do anything to the zipper. These pant legs were going to fit in the sides and make this skirt a bit bigger for me. They will also add a little pop of color.

I had to cut off some of the pant leg to make them the same length as the skirt. I cut off the tops of the pant legs because I wanted to keep that hem at the bottom of the pant legs in place. That will save me time later.

I used my serger to finish the edges and then I used my sewing machine to stitch the edges under so my skirt would look nicely finished.

I used my dress form to make sure I was getting a good fit around the waist. neither of these fabrics had any stretch so I needed to get the waist correct. I also wanted to see how the fabrics looked together.

When all the pieces were ready I needed a lot of pins to hold all 4 pieces together for sewing. So. Many. Pins.

Finally, it was time to sew it all together. I used a straight stitch with matching tan thread to connect all the pieces.

I found this linen jacket/shirt/shacket at a clothes swap and I love the monochromatic look here. 

This outfit seemed perfect for this weird time of year when we think it should be fall but it is literally 92 degrees outside. Thanks for reading along, now go make something fun for yourself. 
*Year End Note From Chickie- I liked this skirt a lot. I am getting it out as soon as it warms up a little. It was a good combo of fabrics for me.


Wednesday, September 7, 2022

Making a Raglan Shirt-Chelsea Pattern

 Hello Readers. I used the Chelsea pattern from FabricStore.com recently to make a rash guard for swimming and avoiding the sun. It worked so well, I used it again for a fun Captain Marvel shirt. It is a great simple and FREE pattern. Let me show you what I made.

Before and after.

Someone nice passed this shirt down to me. It is a men's shirt and I loved the graphic. Captain Marvel as a Funko Pop bobble head! My youngest thought it looked like me so I went with it and made the shirt my own.
(And say hello to Gordon. He is a 3 year old Dachshund mix that my daughter got from a local rescue. He is very cute, has anxiety issues and loves snacks. He visits me when he needs dog sitting.)
 
I found the Chelsea pattern online. You can download it and print it for free from FabricStore.com. It is a simple raglan sleeve top. I found the sizing very accurate for me. 
 
I cut out the sleeves from the pattern as they directed. For the body of the shirt I did something else. I used the pattern to cut the front and back at the same time. I didn't want to cut 2 pieces and sew them together because they were already together at the shoulders I left the binding around the neck hole in place to make this project even easier.
 (Gordon wanted to nap on the shirt pieces and I said no. Sad doggie face.)
 
I got the blue sleeves from this knit sweat shirt dress. I cut the sleeves from the bottom of the dress so the hem of the dress would be the binding on the end of my sleeves. That saved a lot of time too. 
 
I connected the pieces using my serger. This shirt went together in no time. 
 
This is actually my second Captain Marvel shirt. I made one into a tank top a while back and now I have a second shirt for cooler weather. Thanks for reading along, now go make something fun for yourself. 
*Year End Note From Chickie- I wore this shirt a lot. It was great for me. It gets worn often.


Friday, September 2, 2022

Using Avocados For Dye

 Hello Readers. It is avocados all week. I have heard and read that you can use avocado skins and pits for cloth dye. I was very curious. It's an all natural way to dye cloth. How cool. How environmental. How cheap if you are eating avocados anyway. I thought if I tried it that I could tell you all about it. 

  Avocados anyone?

 I had this pale pink linen shirt that I loved. It got some spots on it from the laundry. I washed in hot water and they did not come out. Would avocados cover the spots?

I had been saving the skins and pits of avocados for a few months. I kept them in the freezer until I had enough to cook up a batch of dye. I threw them into the pot with enough water to cover the shirt and give it room to move around. Was I supposed to scrap the skins clean? Was I supposed to filter it somehow? Google did not mention any of that. Was the left over avocado going to cause problems? (Spoiler-Yes.And yes.)
 
This was a literal hot mess. I tried to keep going and just keep stirring. It just did not look good at this point.
 
Umm... that did nothing good!
 
I decided to turn to a trusted old friend. Rit dye in a dark color might be what I needed to cover the marks and save this shirt. I put the dye in my washer as directed and ran it through one wash cycle on hot. 

Look at this! I have a new purple shirt. The avocados did not work for me. I like avocados and all but I don't think I will try this again. Thanks for reading along, now go make something fun for yourself. 
*Year End Note From Chickie- The avocado dye was a disaster. Do not recommend my method, it was a mess.