Showing posts with label Elastic Waistband. Show all posts

Tuesday, January 9, 2024

Separates From a Dress Part 1

 Hello Readers. While I love dresses, I think separates are usually a lot more versatile. I decided to break this dress up into parts that I could wear in more ways and with many more clothes. 

Before and after.

I took the dress apart with a seam ripper. I wanted to separate the top from the skirt. Today we will focus on the skirt. 

This skirt was really full and long on me and I wanted something a bit simpler. 

I used a skirt I liked s a "pattern". I already had a finished hem so when I cut out my new skirt I only needed extra fabric for the side seams and the waistband. 

I used my serger to sew up the side seams. This was easy. 

I made an elastic waistband with this peach colored elastic. I used a zigzag stitch to connect the ends of the elastic to make a circle. I like elastic because I like to be comfortable and if I gain or lose weight the skirt is still going to fit.

I clipped the waistband in place so it was evenly set in the skirt. The blue line is the front center of the elastic so I knew it needed to be in the center front of the skirt. 

I used my serger to attach the elastic to the right side of the skirt. I made sure the elastic was evenly stretched/spaced along the waistband. 
 
When I flip the elastic up it is a visible elastic waistband. I could leave it like this. 
 
If I turn the elastic in one more time, the elastic is hidden inside the skirt. 
 
Then I used my sewing machine to stitch the elastic and fabric down from the outside of the skirt. I pulled the elastic so that the waistband would be smooth as I stitched. 
 
And that is it. My new skirt is finished. The fabric is so pretty, I am glad I hid the elastic so it didn't distract from the floral design. Thanks for reading along, now go make something fun for yourself. 
 
 ***Year End Update***- This impressionist painting outfit is a favorite but seems best in spring.


Wednesday, August 30, 2023

Bad Seersucker?

 Hello Readers. I love seersucker fabric. It's so cool in the summertime. Is it possible for seersucker fabric to be bad? I didn't think it was but I found it...this is it.

 
Before and after.
 
I was perplexed by these pants. I love seersucker but these were awful. The elastic was completely useless. It had to go. Then they would actually fit.
 
 I cut the entire elastic band off the pants. It was stitched in with 4 rows of stitching. I didn't want to sit and unpick all that. They were very high waisted so I could cut that off and still have enough fabric at the waist to make a new waistband. 

I used my serger on the cut edge and then stitched it down to make a casing for some new elastic. 

I cut the shirt to make a tank top. I folded the shirt in half. I made a cut that followed the V-neck. Then I made a second cut that removed the whole sleeve. It's too hot for sleeves.

I tied the straps in a knot on each shoulder. This is a fun refashion because it doesn't require sewing (T-shirts don't fray!) and it is adjustable. You can get the perfect fit by adjusting the knots.
 
 I liked how this all came together. Stay cool in this end of summer heat everyone. And thanks for reading along, now go make something fun for yourself.

***Year End Update- I feel like I improved the fit of these pieces but the color isn't as cheerful as I would like. I am not drawn to it and haven't worn it.


Friday, September 16, 2022

The Simplest Skirt You Can Make

 Hello Readers. Sewing is so much fun. I love to put pieces together and make something new and hopefully wearable. My daughter gave me a piece of amazing argyle fabric that she didn't want and it was perfect for making a very simple, very basic skirt. This is the kind of skirt I wish I learned to make in junior high sewing class when I was forced to make a tote bag. The bag wasn't fun or cute or colorful. It felt like a wasted opportunity. If the sewing isn't fun, why are we doing it? We can answer that later. For now let's make a skirt.

 
Before and after.
 
 
This is the fabric my daughter gave me. It is a soft knit and I love that. The argyle pattern was fun and nostalgic. It was also a perfect rectangle. Believe it or not, that is a great start to making a simple skirt. The wider the rectangle the fuller the skirt will be.Wrap it around yourself to see if it will fit well. If you want a very full twirly skirt, you need a wide rectangle. I only had the amount I was given so I will work with what I have.

The first step was to fold the right sides together and sew the ends together. This is going to make a tube shape and that is the beginning of the skirt. 

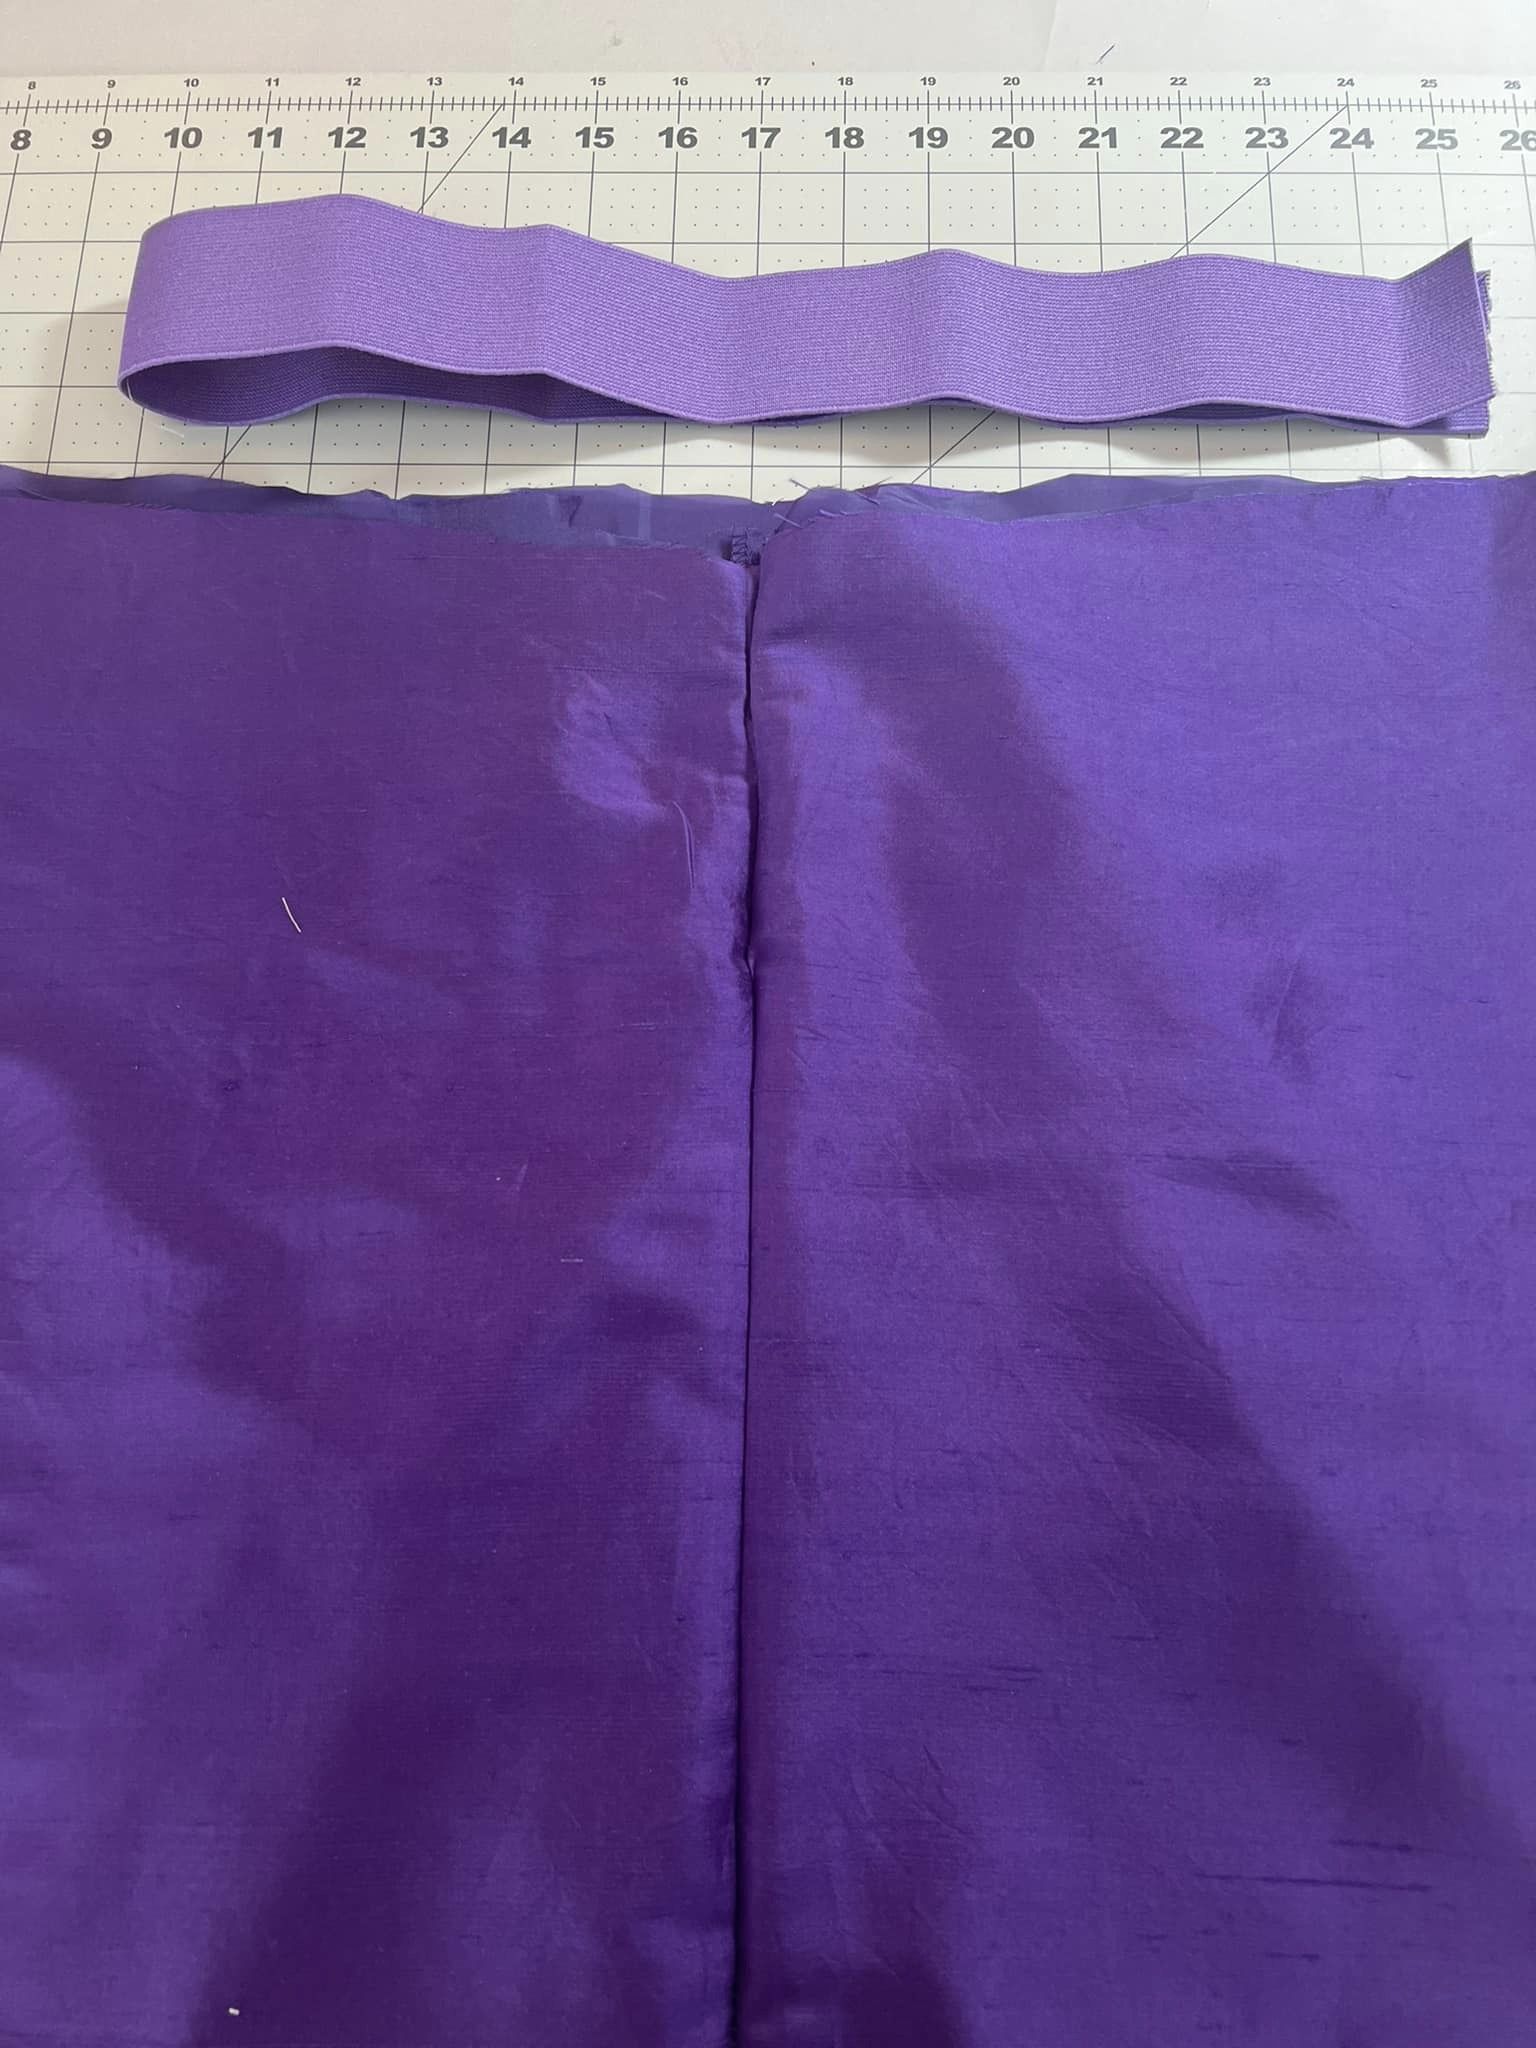
Now, we need a waist of some kind. There so many ways to make a waistband. I wanted this to be so simple that a very beginner could do this. I am going to attach wide elastic to the top edge of the skirt. That is going to be the waistband. Elastic is comfortable and it is easy to fit. It forgives when You had a big slice of cake and it is easy to put together. Choose a color that matches your fabric.

Measure your waist. This is so important. You want the elastic to fit around you comfortably. Even elastic can be tight if it is too small. Every body is different. Your waist isn't the same as mine. Cut your elastic the size you need. You want it tight enough ti hold up your skirt but not so tight it hurts your tummy. Connect the ends of the elastic with a zigzag stitch. I like to sew over mine back and forth a couple times to make sure it will never come apart. I overlapped the edges of my elastic and stitches over the edge to hide any fraying threads.

Use pins to attach the skirt to the waistband. You want the skirt fabric to be evenly spread around the elastic waistband.

Now, My skirt is all pinned and it's time to sew. I like to use pins or clips to arrange my fabric for sewing. It makes it easier to sew. I used a zigzag stitch because I want to be able to pull the skirt on over my hips and bum. It needs to stretch to do that. If I sew the elastic on with a straight stitch it won't be able to stretch as I want. 

Now I can check my sewing. Did I miss any spot of fabric? If I did (Or you did.) It's OK. No one is perfect. Just go back to that spot and go over it again. If your thread and elastic match well, it won't show at all. 

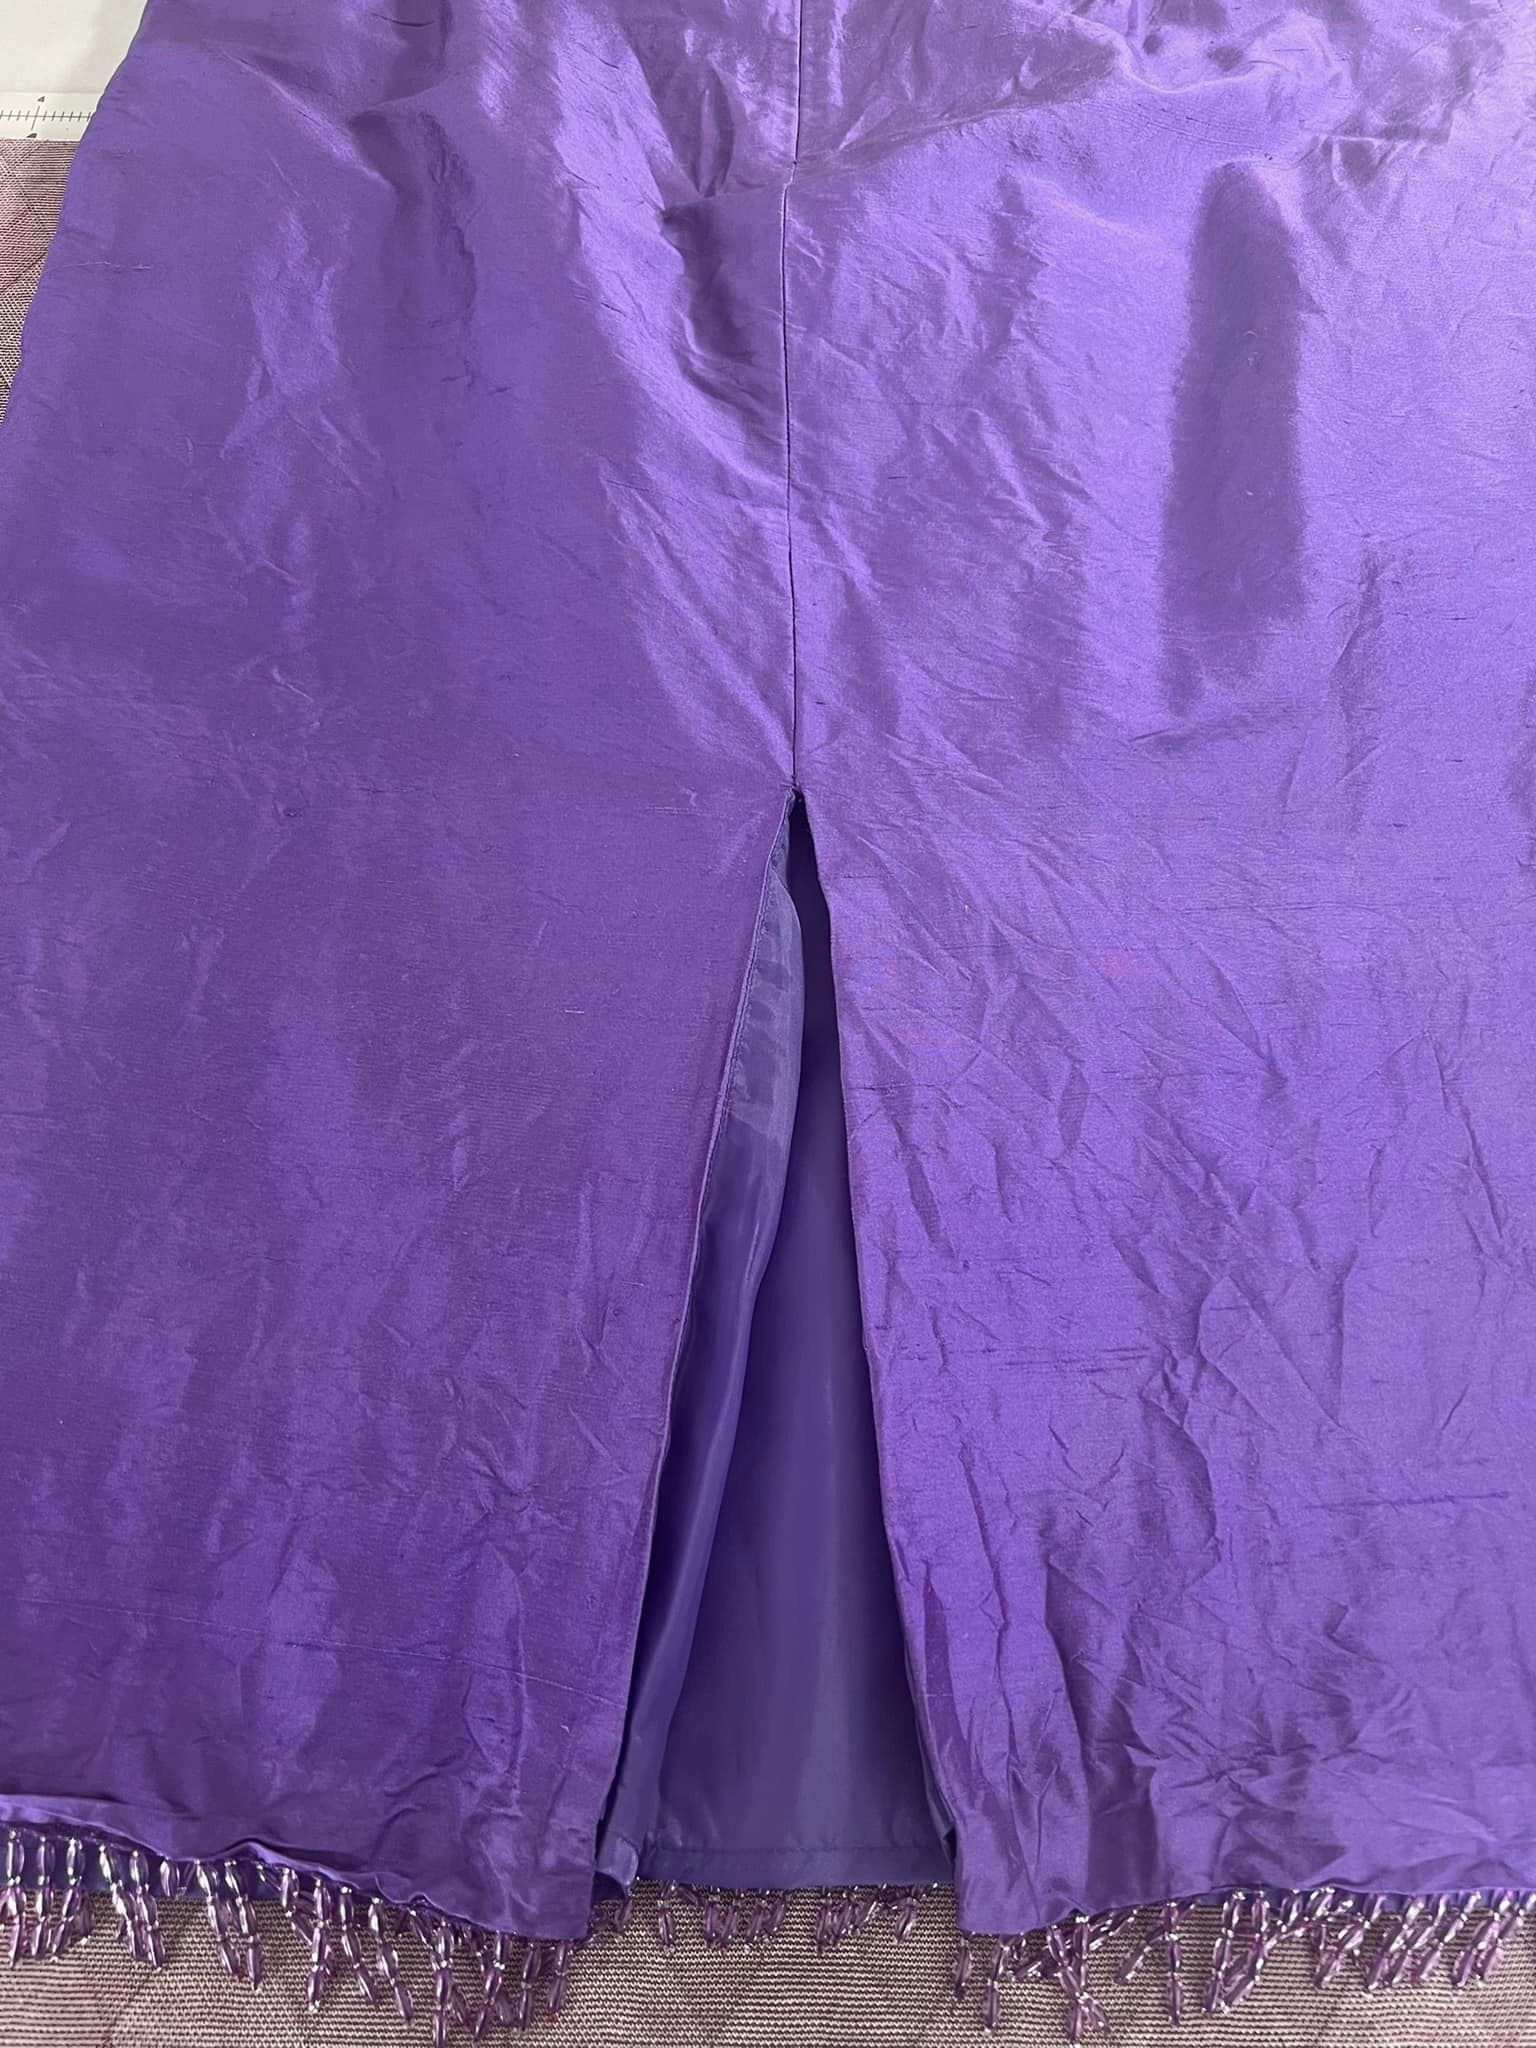
The last thing I need to do is hem the skirt. Any length is fine. Trying the skirt on is the best way to decide how long it should be. I marked my skirt and folded the lower edge under and stitched it down. The fabric I am using is a knit so it won't fray. A woven fabric would need to be folded under twice to hide the fraying edge.

My skirt turned out great. It is as comfortable as sweatpants but so much cuter.

I feel like it really works with this "Pink Ladies" jacket I found at a swap. I think it's too much. Maybe for Halloween? We'll see. Thanks for reading along, now go make something fun for yourself.
*Year End Note From Chickie- This skirt was so simple and I really like it. I wear it with a brown sweater in cooler weather. I like the bit of pink with all the brown.


Wednesday, September 14, 2022

Shortening a Skirt & Saving the Hemline

 Hello Readers. I am in the mood to refashion a skirt. This purple silk skirt was fabulous but it wasn't fabulous on me. It was too long. I could simply hem it but look at the beaded tassels!!! I don't want to lose the beaded tassels. So, I need to shorten it from the top. Let me show you what I did. 

 
Before and after. 
 
 
Here is a better look at the skirt. It is really pretty silk fabric. And those beaded tassels are amazing. It is a little shapeless and long on me so it doesn't look as great as it deserves. (I don't know for sure if it is washable silk, but I did indeed wash it in my washing machine on the delicate cycle so... I am going to call it washable-ish.)

 
The skirt had a slit cut in the back so I needed to close that first. 
 
I ironed the skirt and then turned it inside out.

 
I put the right sides together and lined up the edges of that slit. I stitched the 2 pieces together with my sewing machine. It will look like a basic back seam when I am done.

 
I closed that opening in the back that I am pointing to in this picture but I was not done. 

Here is a look at the front. I cut the top off the skirt. I needed it to be shorter and I did not want to cut off the beaded hemline so the waist had to go. I knew how long I wanted it to be and cut it accordingly. 

Here is the secret to comfortable waistbands. And clothing in general. ELASTIC! I found matching purple elastic. 

Here is a description of how I made the elastic waistband. 

I pinned the elastic to the skirt and explain how I will stitch it together here. 

Actual video of the sewing machine in action. This zigzag stitch attaches the elastic to the skirt and it will keep the fabric from fraying inside the elastic as well.

The elastic is visible but I like how it defines the waist. If you match the elastic to the thread the stitches don't stand out very much at all.

I liked the skirt with this ribbon sweater I made this summer. One of the ribbon colors is purple so I think they play well together. Thanks for reading along, now go make something fun for yourself.
*Year End Note From Chickie- This skirt was so cute when it was shorter. I am glad I could save the beads. It's great for when I need to look a little dressier than jeans and a t-shirt.


Friday, July 16, 2021

Replacing a Waistband

 Hello Readers. Summer means hot weather and shorts. I had an idea to fix the tight waistband of these shorts so I could wear them comfortably. 

These shorts were roomy enough in the hips and the rear but the waistband was really tight. Like painfully tight! I needed to do something because I don't wear clothes that hurt me. This t-shirt was cute but baggy. I could fix that too.

My first step was to find a new waistband. I decided to cut the waistband off these dark gray sweats that my mom gave me. (Thanks Mom!) I cut the elastic band off and made sure to leave about 1/2 an inch extra for the seam. I wanted to have enough extra fabric to attach it to the shorts.

Then I cut the waistband off the shorts. I just cut all the way around also removing the belt loops.  I won't need a belt with these shorts so I won't need belt loops either. *Notice the zipper is down. You can't cut through the zipper pull. Don't try it. You will ruin your scissors. This zipper is plastic so it was easy to cut through. If the zipper is metal, you need to cut between the zipper teeth.


 The next thing I did was attach the new waistband. It was easy to attach. I put the right sides together.  A zigzag stitch or a serger will keep the cut fabric of the shorts from fraying. I do not recommend trying to sew over the zipper. Skip that part and do it by hand so you do not break your sewing machine/serger needles. 

You can see here that the new waistband here. It is enough stretch to get the shorts on and off. And it does not dig in to my mom-belly. (I have 3 kids, and I like snacks, the tummy is what it is.)

I made new side seams on both sides of this shirt to make the body of it a little more fitted. Sometimes baggy t-shirts can look a little sloppy and bulky. I want to avoid that if I can. 

I also took in the side seams of these shorts. They were just a little too roomy in the legs. I only needed to remove about an inch from each side. You can see the original side seam I removed. It has a lot of strong stitching. When you make new side seams remember how strong they were originally. You need to try and match that strength. Sew over the new seam more than once if you need too. That will make clothes that can last a long time.

My "new clothes' fit so much better now. I found this shirt at a swap and I loved the graphic. Sewing always feels a little like magic to me.


Thanks for reading along, now go make something fun for yourself.

*If you are following along with my plan to refashion for free in 2021, I am on track. I made it to one out-door swap and I was given enough hand-me-downs to keep going. I am already planning fall and winter. It did occur to me that buying a serger might have been a cheat. I did spend money but not on the clothes. If it was cheating, I apologize. But I love the serger, and I am going to keep it. 

***Chickie's Year End Review-Neither of these pieces was going to win a design award but I still have them and wore them to play outside with my youngest.