Showing posts with label shorts. Show all posts

Saturday, May 24, 2025

Making Wrap Shorts

 Hello Readers. I have been wanting to make some wrap shorts for a little while now. I finally got it done. This fun summer fabric from San Diego Sewn was the perfect choice for this make. *Not a paid ad, I just thought they had cute fabric.

Before and after.

Look at this cute fabric! Look at these lovely women. They are glowing, thriving, relaxing, undisturbed, just living the dream. I bought 2 yards of this because that was all there was available at the time. I have seen online that it was restocked.
 
My first step was to wash this fabric in my washing machine before I did any sewing. I dried and ironed it and got to work.
 
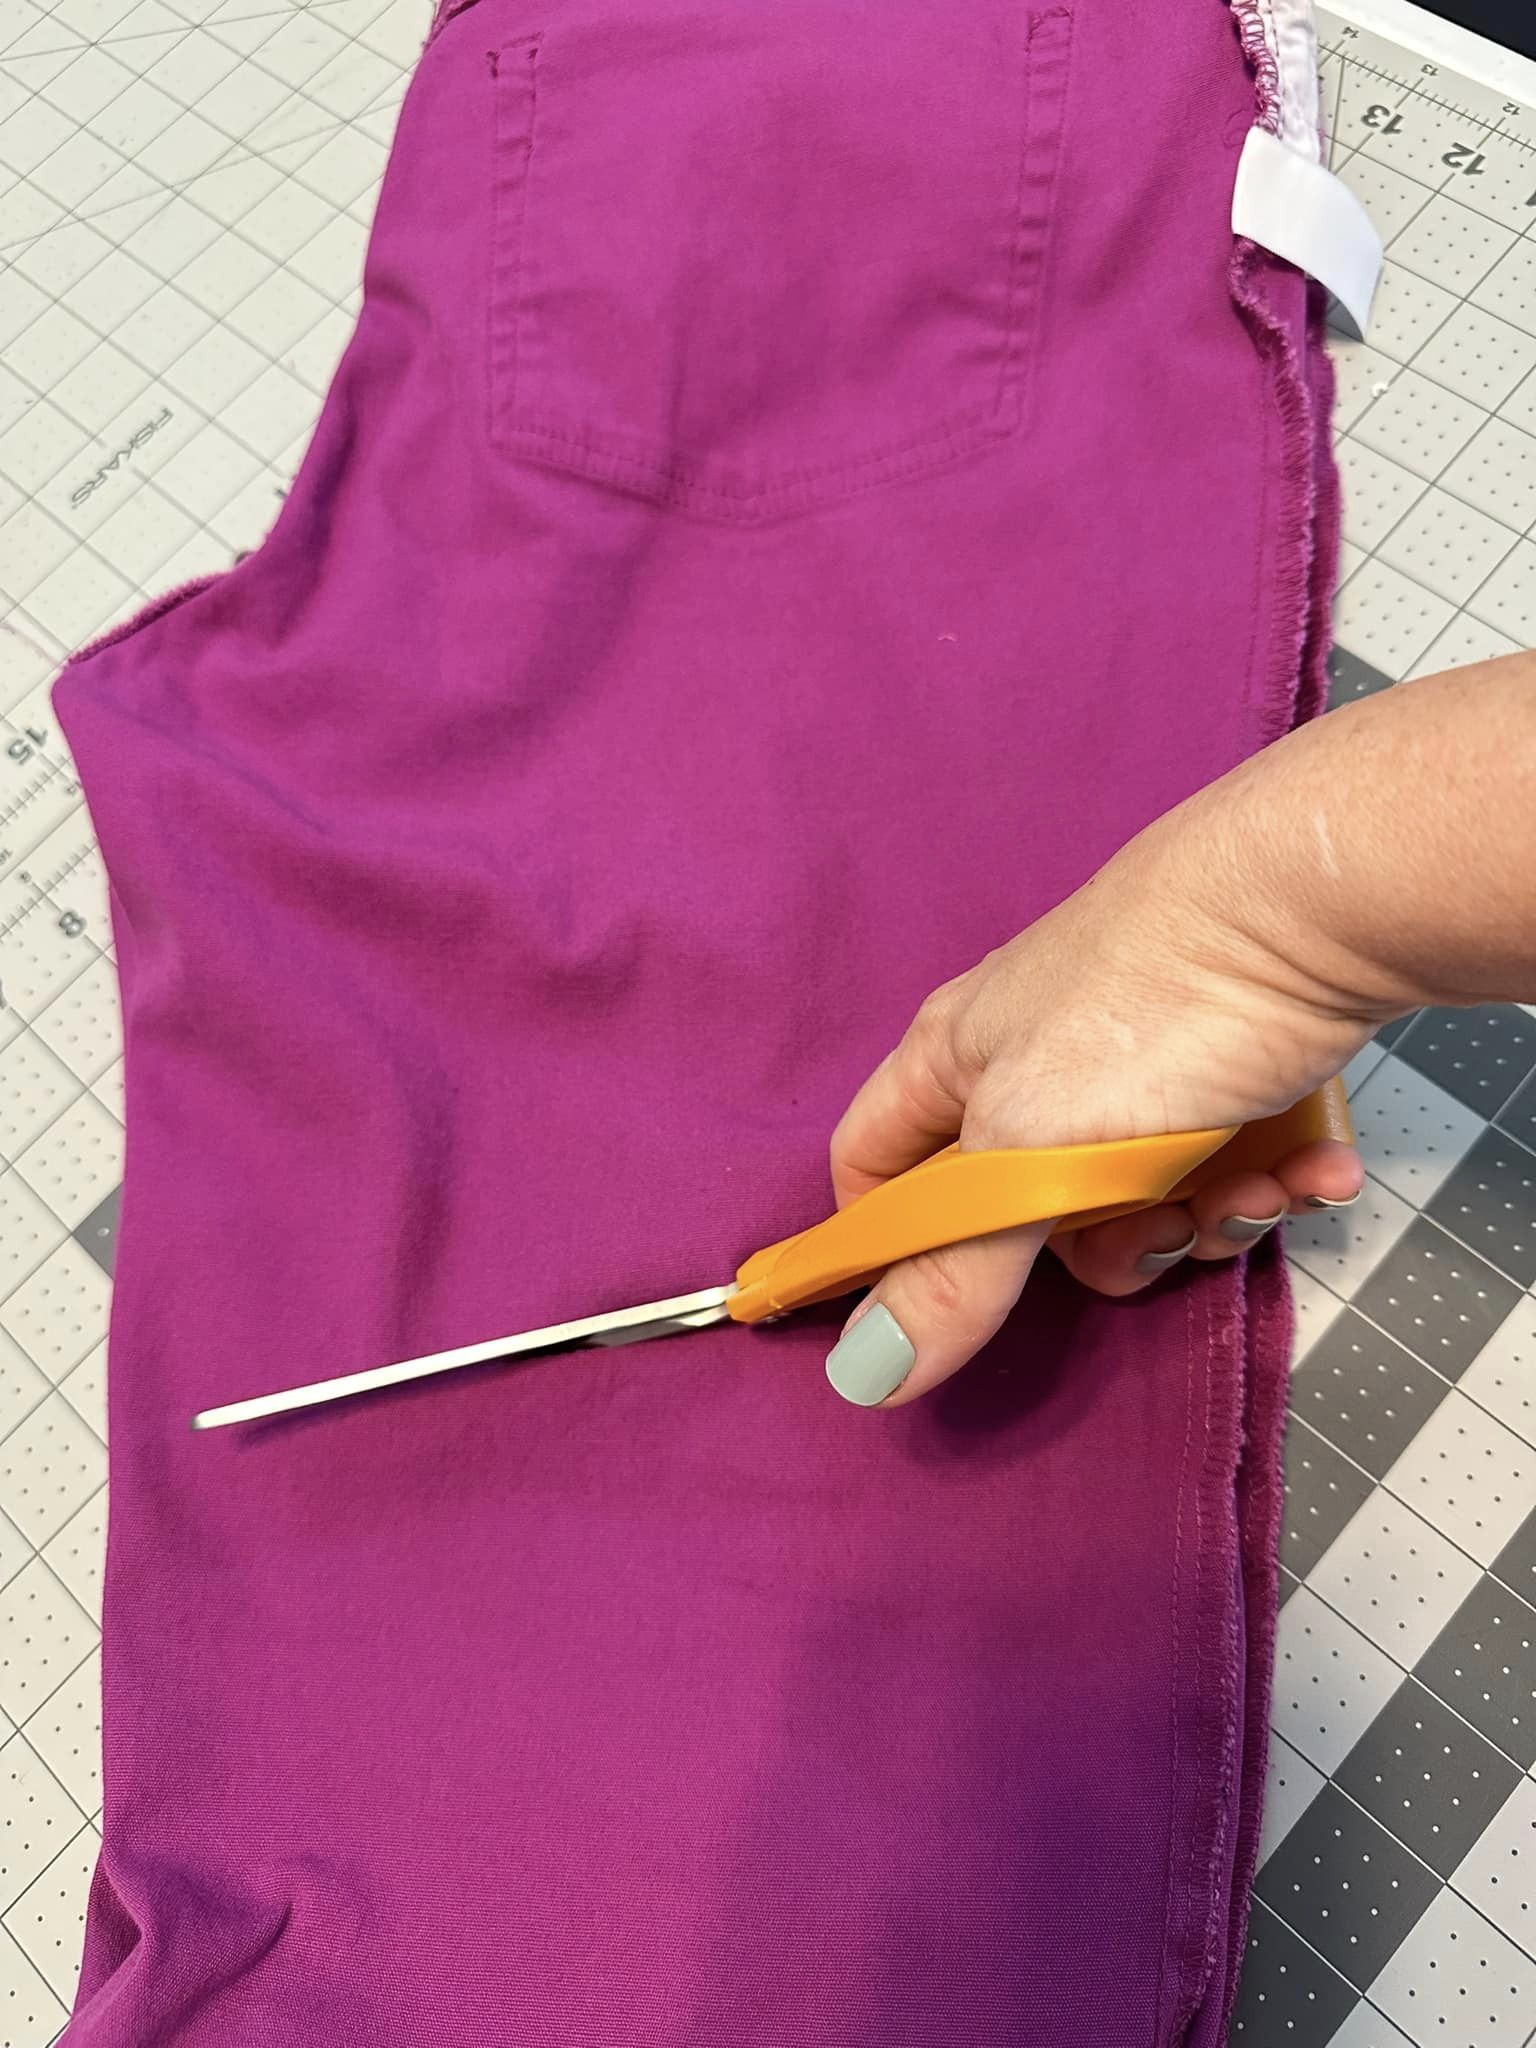
I used this pattern piece from a previous shorts making project where I made my own pattern. I made this pattern based on my measurements. I used it because I just needed a guide to cut out my pieces for these new shorts.

 
I cut all my pieces and extended the sides so they would be wide enough to wrap around my hips.
 
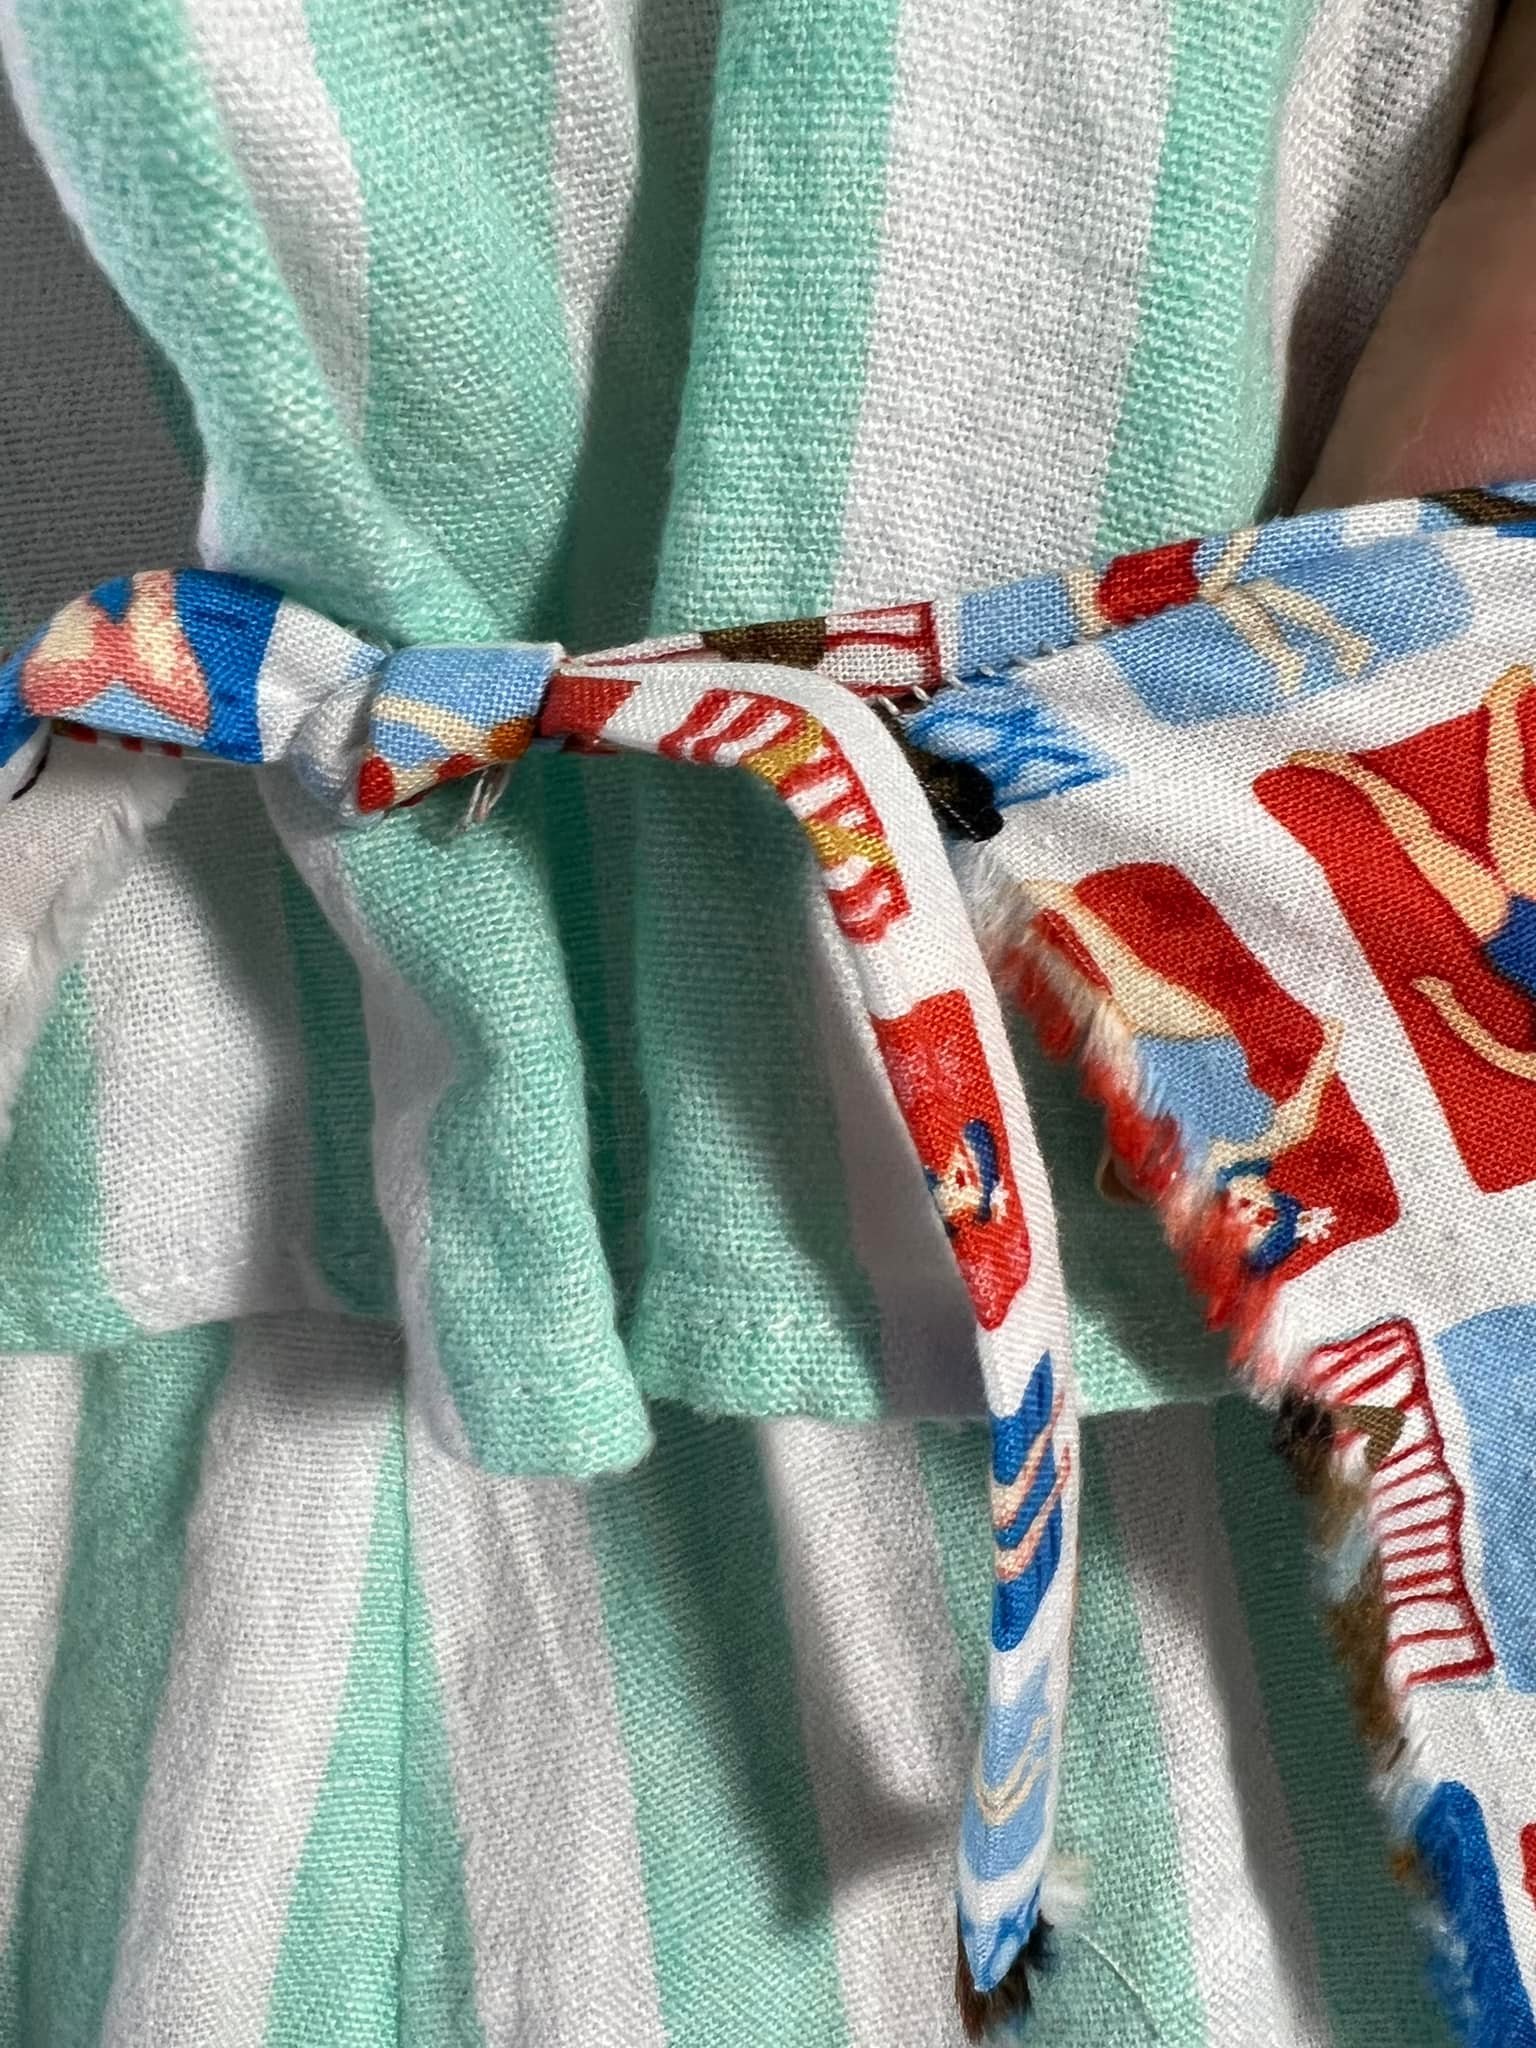
I connected the 4 pieces to make the shorts. This was a fast project and I was able to get this done quick and easy. Now I had to make the waistband ties.  
 
The waistband ties are what keeps the shorts up and holds them together. 
 
Here is a look at the tie in the back. This is the narrow strip of fabric I made for this waist tie. It is the waistband of the front part of the shorts. The front of the shorts wrap around the body to tie in the back. It is not going to be visible when the shorts are worn. The back of the shorts will wrap around and tie in the front.
 
Here is a look at the front of the shorts. The front is tied in back and I am holding the back piece open so you can see how the front wraps around and then is covered by the back piece.
 
When The back of the shorts are tied in the front the sides overlap by about 6-8 inches and cover everything they should.
 
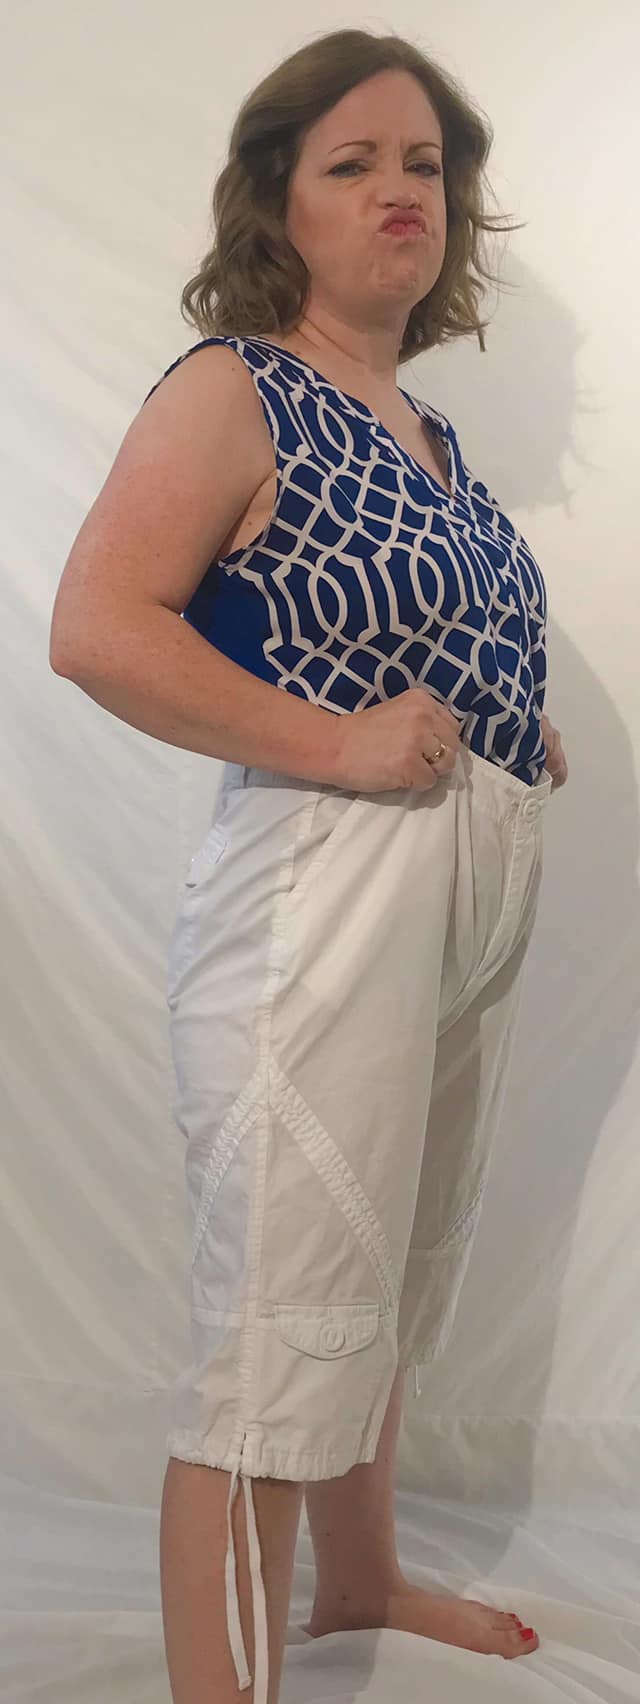
Here is a quick and clumsy demonstration of me tying on the shorts. 
 
These shorts were so fun. I love how they turned out. Thanks for reading along, now go make something fun for yourself.
*Year End Note From Chickie- I loved these shorts. I want to make pants in the same style! They always fit and the fabric was so fun too.
 
*2025- This shorts are still fabulous.


Tuesday, August 20, 2024

Making Shoulder Straps

 Hello Readers. The bright colors of this plaid top were so cheerful, they really caught my eye. I found them at a church sale and couldn't try them on. I thought I could figure out the fit later. I was there on the last day so everything was about 10 cents per piece. I couldn't pass up that kind of sale.

Before and after.

I loved these colors but when I wore all 3 pieces together, I felt like a magenta crayon. I decided to break up the outfit. This post will be about the plaid top and pants. I will be back tomorrow with the jacket. 

The top had very narrow spaghetti straps. They were too narrow for a regular everyday bra. That wasn't ideal for me. I thought I could make straps from the big ruffle that was around the top. I cut the ruffle about 2 inches shorter. I wanted to leave a very small ruffle on the shirt. 
 
I could use the extra fabric to make shoulder straps. 
 
The smaller ruffle looked good but I needed to finish the edge. It needed to be turned under and sewed down. 
 
Here is a look at the shirt inside out. I pinned the fabric I had from the ruffle to the shoulder straps to see how it would look. I sewed the pieces of ruffle to the shoulder straps.
 
I cut the pants into shorts. I thought the color was great for summer and I could use some easy denim shorts. I gave them a new hem and I was done.
 
It stays hot where I live until the end of September at least so this outfit is perfect for this time of year. Thanks for reading along, now go make something fun for yourself. 
***Year End Update***- I love colorful cheerful clothes. This outfit was exactly what I wanted.


Wednesday, July 10, 2024

Shorts

 Hello Readers. It is summer and hotter than the devils backside. Let's make some shorts. Let's make some fun shorts from these wild colorful pants.

Before and after.

I used chalk and marked where I wanted the hem of the shorts to be. 

I cut the shorts about an inch under the mark I made. I need the extra fabric to fold under and sew. 

I used my sewing machine to make the new hem. I turned the cut edge under twice and stitched it down.
 
My shorts ready to wear. I liked this wild fabric but I like it more when there is less of it. 
 
I also made these brown shorts and used all the same steps. Thanks for reading along, now go make something fun for yourself.
 ***Year End Update***- It gets super hot and humid where I live and shorts are required. I love both of these.


Tuesday, July 9, 2024

Lengthen Your Shorts

 Hello Readers. It's is summertime and that means shorts. At least for me. It is really hot and humid where I live and I need to try and stay cool. What can you do if your favorite shorts are a bit short? Maybe they would be better if they were just a bit longer. We can fix that.

Let's lengthen these shorts!

These shorts are fine but they feel like they might have gotten shorter when I ashed them. They are a little short for me. I wanted to make them a bit longer. 

I unpicked the stitches at the hemline of the shorts. This was where I am going to find some extra length. The hem was folded under twice so, I didn't know exactly how much fabric was inside this folded up hem but I knew there was some fabric in the hem that I could use. 
 
I let all the fabric out and ironed it to make it straight and flat. This will help me really see how much fabric I have to work with. 

The edge was fraying so I needed to address that. I used my serger along the edge to control that fraying. Sewing with a zigzag stitch along the edge would also control this fraying. Once the fraying was under control, I could make a new neat hem. 

I turned the new hem under once and sewed the new hem in place. The edge is visible on the inside but it won't fray because I surged the edge. 

Here is the new longer shorts. The shorts are a little longer now. This will give me a little more leg coverage. 

Here is a close up of the new hemline. You can see the old hem marks above it. The old hem marks will get less noticeable over time and in the wash.

This was a quick sewing project and did not change the original look of the shorts, I just changed the length. Thanks for reading along, now go make something fun for yourself. 

***Year End Update***- The extra length added just enough coverage. And I love the jacket with this outfit too.


Tuesday, August 15, 2023

Summer Shorts

 Hello Readers. It is August and I really want to get all my summer refashion projects done. I have a few summer items that need to get finished before fall sewing starts. (Fall sewing?? I can't believe fall is coming that soon!) Let's focus on hot weather and summer clothes while we can.

Summer shorts!

These shorts were great. They just needed a little adjustment. Because they were a little big I could make them fit the way I wanted.
 
I tried the shorts on inside out and then...
 
I marked where I wanted the new side seams to be. I stitched my new side seam with a straight stitch and cut off the excess fabric from the side. 

Actual cutting! 

I used a zigzag stitch to close the cut edges and keep my shorts neat inside. This cotton fabric will fray over time. I don't want that.

I had this vintage scarf that seemed to coordinate well. I decided to use it as a belt.

I threaded the scarf through the belt loops like a belt.

Then I tied the scarf in a knot in the front where I would buckle a belt. 

The shorts fit better, they are perfect for the heat of August and I really liked the scarf with the shorts. Thanks for reading along, now go make something fun for yourself.

***Year End Update- I wore these shorts in warm weather and I love the scarf with them.


Wednesday, September 1, 2021

Easy Fixes

Hello Readers. It is so hot and humid outside. I hate the heat and humidity. Is it because I lived in Florida when I was young? And always got sunburned? Maybe. The point is, it is still summer so I am going to make and wear shorts because it is still summer where I am.. 

I have to make shorts because these Capri pants are killing me! It is just the worst look I could wear. They were hand-me-downs, which I love, (Thanks Sue C.!) but this length just cuts my legs off visually. This is not a good style for me.

  I cut the Capri pants into shorts. I tried them on and marked the length I wanted, but I made a mistake. OOPS! I didn't leave any excess to turn the edges under and stitch them down. Oh, no!! If I made a traditional hem these shorts would be really short. What could I do?

It's OK. I had an idea to fix my mistake. I used bias tape from my drawer of sewing "stuff"
to cover the edges. It would look nicely finished but it would not make the shorts any shorter. 

 The bias tape makes the hem of the shorts look sporty and fun. It was also an easy fix.

I took the waist in a bit and my shorts were done. I finished the inside seams with my serger but a zigzag stitch would work too.


 The white pockets were making the shorts seem a little see through. Beige underwear did not fix this problem because the pockets were so white. (Please note-This is NOT my bum!)

I have found white boy shorts style underwear fix this problem for white shorts or pants. 

I liked this loose sleeveless top my daughter gave me but it was a little too low in the arm holes and in the V-neck. I knew I could fix this with a simple adjustment at the shoulders.

 I used the existing shoulder seams as a guide and made new seams to make the shirt shorter. I just sewed about an inch away from the seam. That made the arm holes and the V-neck higher and less revealing. 

My new outfit was all set and it was perfect for the hot weather in my part of the world. I live out in the rural suburbs. The shirt was great for the hot day and because I fixed the shoulders, the armholes do not reveal half my bra. And the V-neck is not revealing all the bits and pieces I want to cover.

Thanks for reading along, now go make something fun for yourself. 

***Chickie's Year End Review-I liked these a lot and will be getting them out in summer.