Tuesday, February 20, 2024

Working With Faux Suede

 Hello Readers. Have you ever sewn with faux suede? I wasn't sure if it was thick or difficult to sew. I found this skirt and thought it was a great opportunity to find out if I could work with it easily or if it would jam up my sewing machine and break needles. 

Before and after. 

When I saw the skirt I thought it was a great match for these boots that I already had. But the skirt is a size or 2 too big. It didn't have belt loops or anything so it had to be altered. That was a a great chance to see if faux suede was tough to sew through. 

I tried the skirt on inside out. I could see how much I needed to change the waistband this way. I marked it with chalk. 

The material was a little thick and it was a little stiff. I couldn't hold it flat and get it through the sewing machine with only 2 hands. I used clips to make the side seams lay flat. 

The clips held on well and were not in my way. I used a straight stitch to make the new side seam. It wasn't difficult to sew through the skirt but the waistband was thicker and I was careful to go slow and take my time. 

When I was done sewing, I cut the excess fabric off the skirt. 

The new fit is so much better. And it wasn't too difficult to work with this material. I was expecting more difficulty and some broken needles. Thanks for reading along, now go make something fun for yourself. 

***Year End Update***- I thought this skirt was fabulous but I outgrew it. It got too tight and I gave it away.


Thursday, February 15, 2024

Plaid on Plaid

 Hello Readers. I really love pattern mixing and here is a post about more of it. I wanted to put some plaid with plaid. When I found this plaid fabric for just a few bucks at a thrift store. I decided to make a skirt that I could match with a plaid shirt.

Plaid on plaid?

Fabric can be expensive. When I find cute fabric at the thrift store, I always try to buy it because it is usually much cheaper. I always put it in the washer immediately. I wash and dry it well and then store it for later use.
 
I decided to use the wrap skirt pattern from this book. It is a favorite pattern because it is easy and I know it fits. I also like wrap skirts because they always fit. If I eat a lot of cookies today, I know this skirt will still fit tomorrow. 

This skirt has a lot of tucks to make the fit at the waist work out. 
 
I ironed all the tucks. I used some steam and some spray starch to make the skirt smooth and crisp.
 
 Then I added the waistband with ties to close the skirt.
 
I made the skirt at a below the knee length and it didn't feel right. 
 
I wasn't liking this length on me, but I included it to show different options.
 
I liked the shorter length better on me. I also really like the 2 patterns together. Plaid on plaid? Yes, I think it's a fun look. Thanks for reading along, now go make something fun for yourself.

***Year End Update***- I liked this plaid on plaid combo a lot! Where did I put the skirt? I don't know... Maybe I need to clean my closet.


Wednesday, February 14, 2024

The Conversation Heart Blouse

 Hello Readers. And Happy Valentine's Day! I wanted to make something for the holiday but I wanted to try something subtle, that wasn't over the top. (Some people think less is more and this project is for them.) I had this very simple red button-up shirt and red seemed like a great choice for the holiday. How could I decorate it for Valentine's Day? I decided to change out the buttons for a simple but fun way to brighten up the shirt and celebrate the day.

Change out the buttons for a fun look. 
 
This shirt was a little plain and a little boring. OK, it was very boring. Red is a fun color but this isn't fun ...yet.
 
The plain red shirt had plain red buttons but look at the little heart buttons. They were cute and colorful. 

I thought the buttons looked a lot like these conversation heart candies. I love how these candies look. (They are nothing compared to my true love, chocolate. I just love the nostalgia.)

I cut the stitches and removed the old buttons. 

I replaced the red buttons with the different colored hearts. I matched the thread color with the color of the heart button. 

I replaced all the buttons, even the cuffs. 

Thanks for reading along, now go make something fun for yourself. And I hope you get all the chocolate you want today.


Tuesday, February 13, 2024

Replacing a Purse Handle

 Hello Readers. Sometimes the items we purchase don't last as long as we would like. These purse handles were literally falling apart. It wasn't hard to replace them with something better. Let me show you how easy it was. 

Before and after.

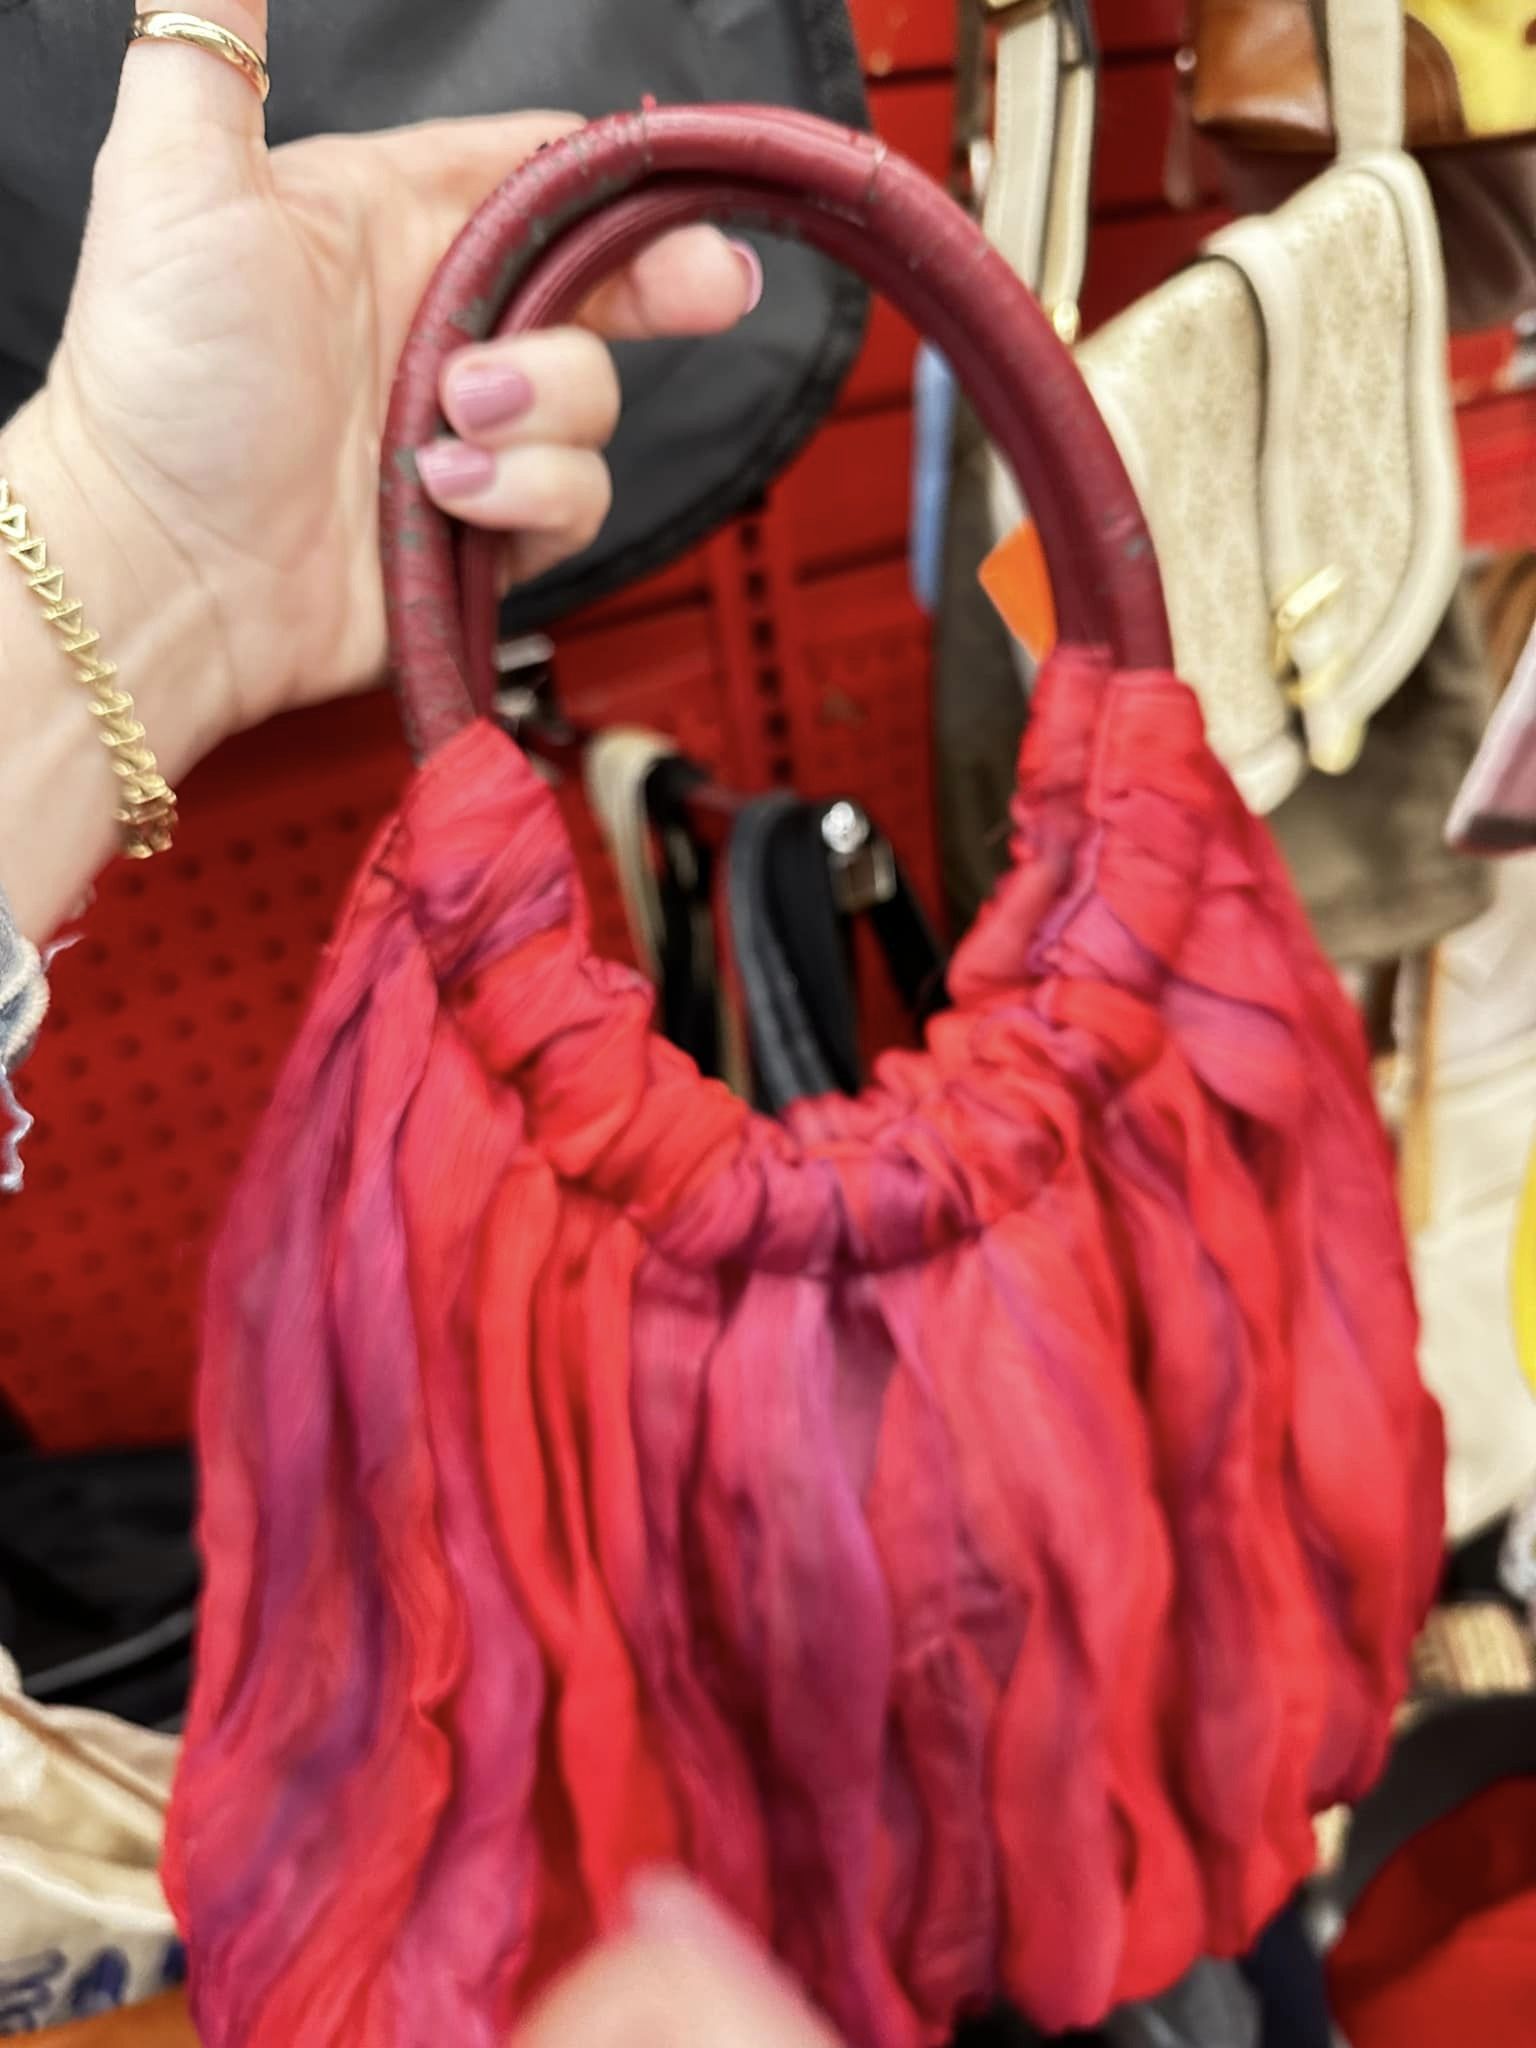
I found this bag at a thrift store and I loved the red and purple fabric. But the handles of this bag were a terrible mess. The vinyl was peeling off and looked awful. The circular handles slid around in the casing they were in so I knew I could replace the handles. 

You can see how bad the handles were here. I grabbed my craft scissors. I cut the handles. They were not difficult to cut through. 

I was able to slide the cut handle out of the bag easily.

I had these kind of circular bamboo handles in my sewing stash. My mother-in-law gave them to me but you can find them at the fabric store and on Amazon.
 
I see these kind of handles at the thrift store sometimes too. You can buy the purse and use the handles with a different bag. It would be cheaper to buy this thrift bag and cut away the bag so you can use these handles instead of buying the handles new at a fabric store.
 
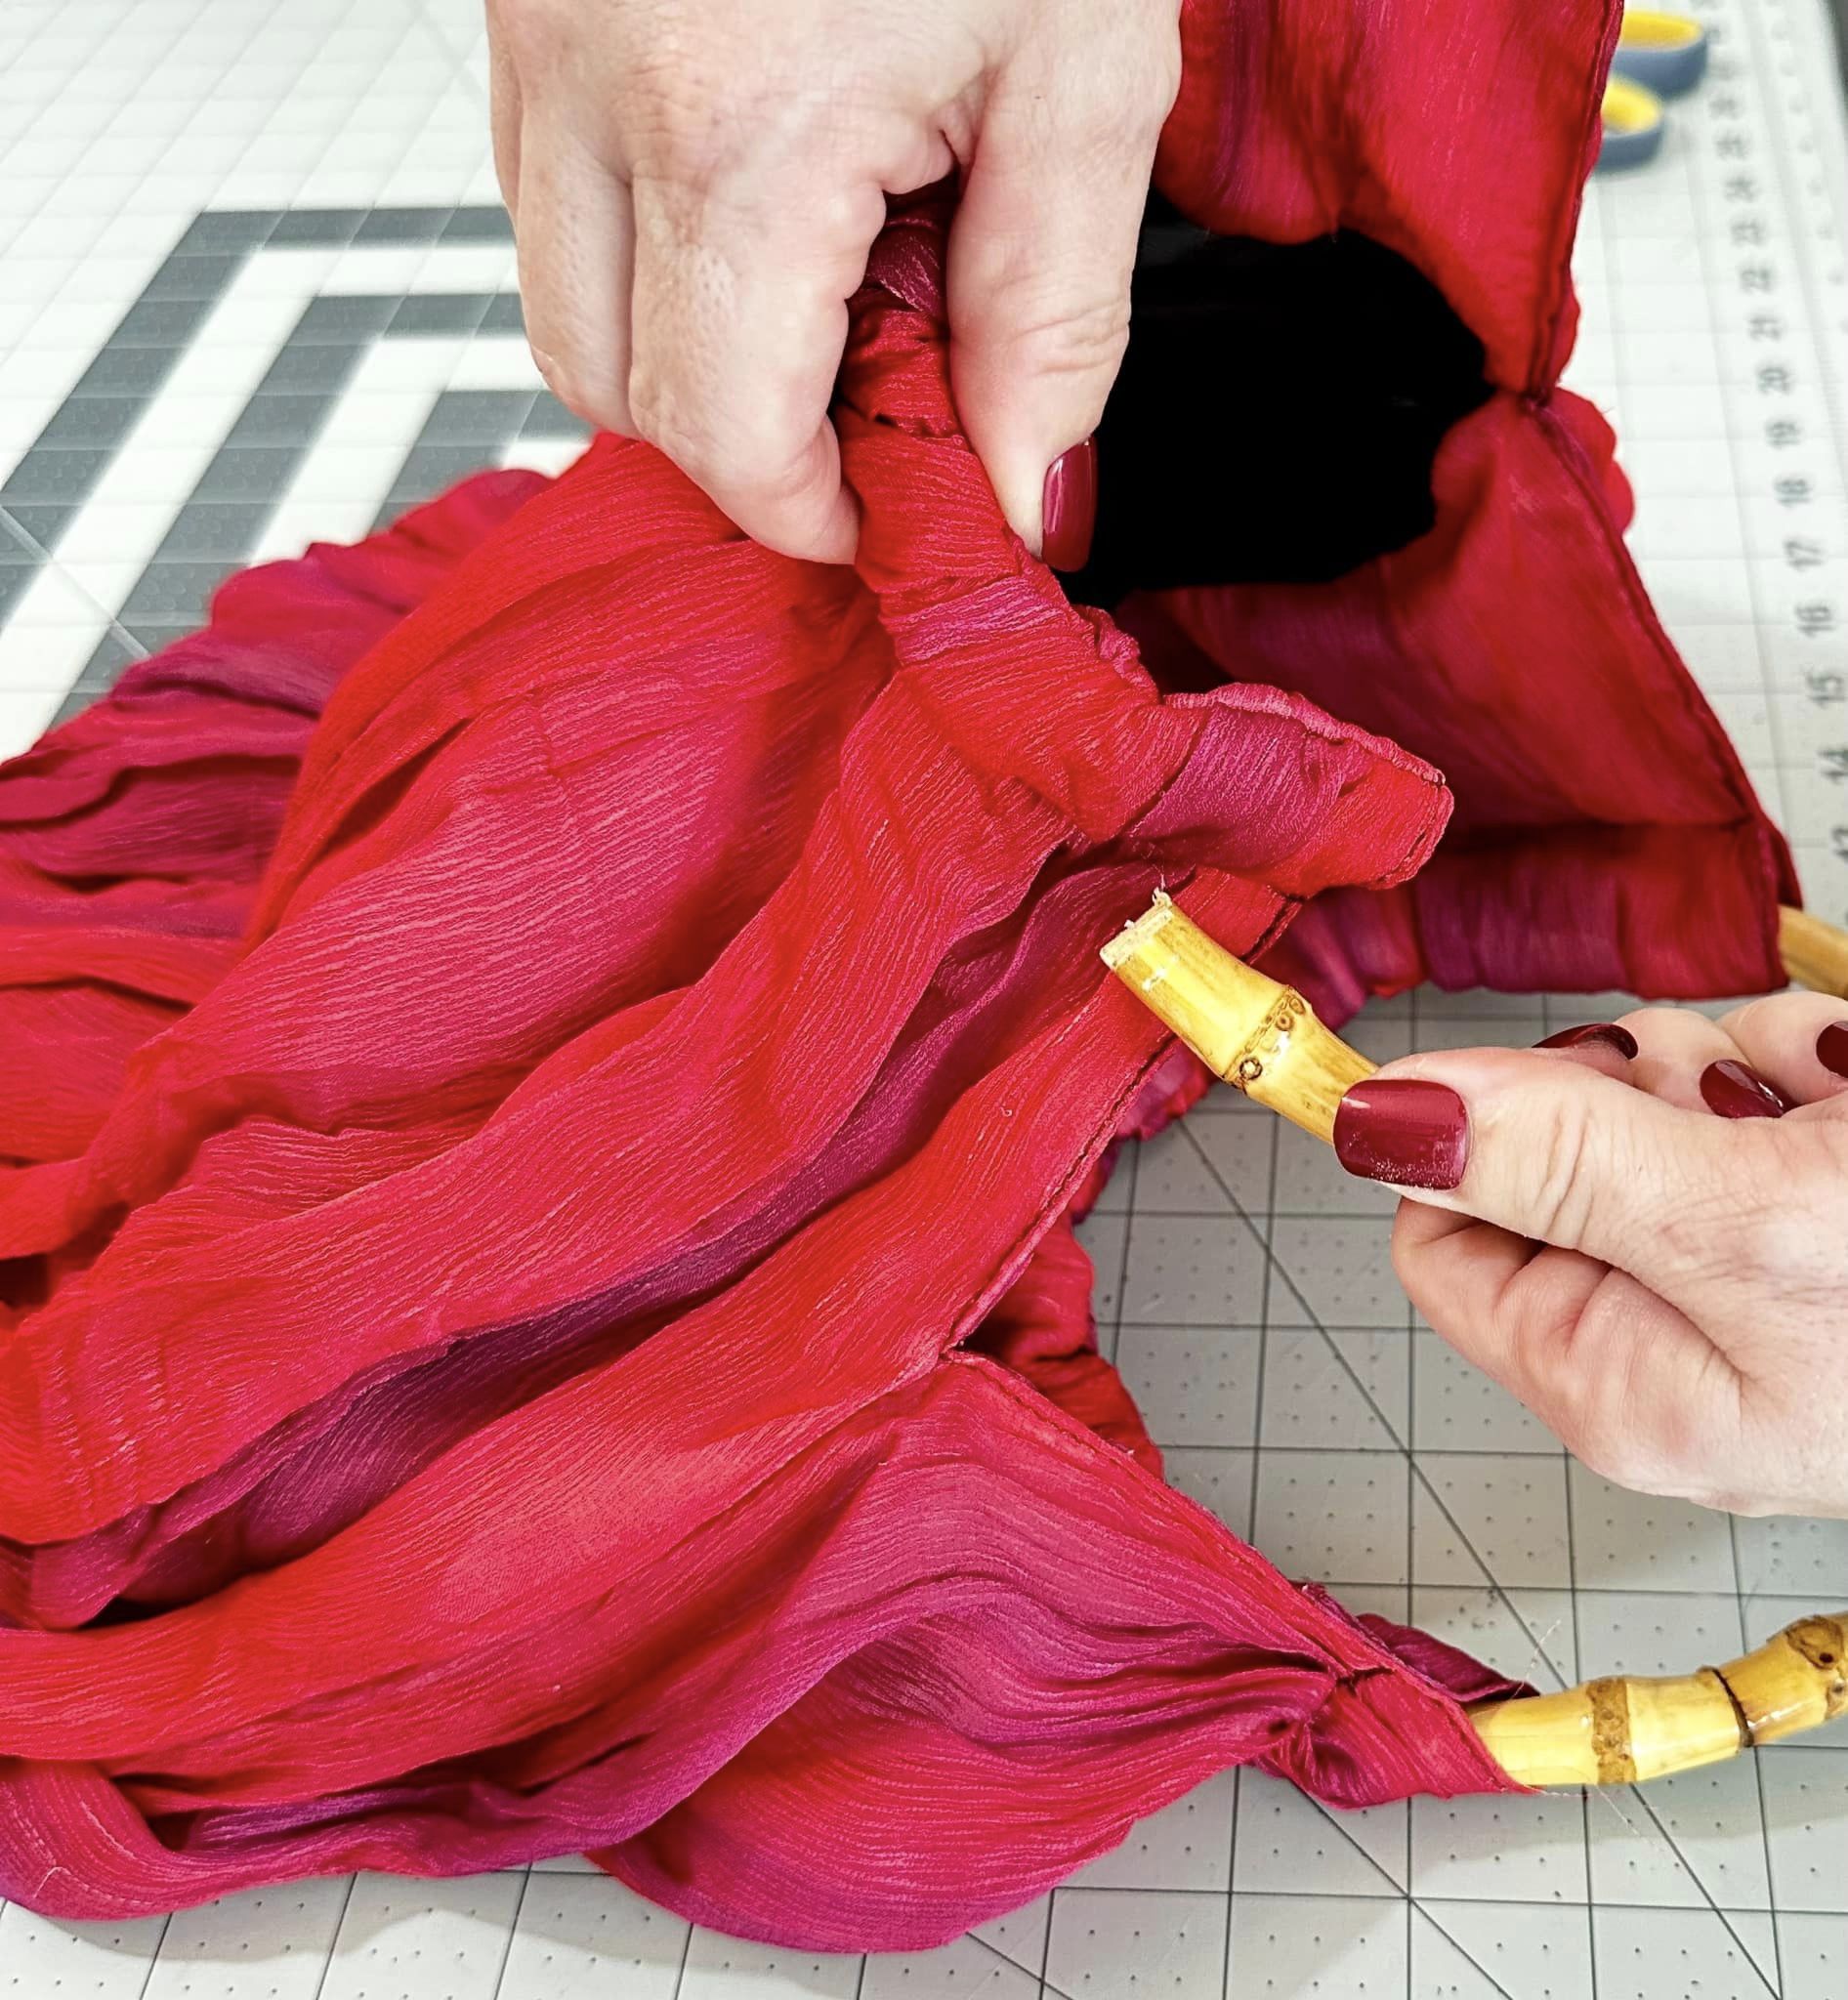
I know you are thinking about how I got the closed circular handles into the casing of the bag. It wasn't a magic trick, I cut them. I used a small saw to cut an opening in the handles. The bamboo is light and porous, it's very easy to saw through. 

When I cut the bamboo handles they opened up like this. That was just what I needed to slip them into the casing of the bag. 

I took one of the cut ends, it doesn't matter which one. 

I slid the cut end into the casing. It slid right in. 

I kept sliding the bamboo handle into the casing and ...

The cut end came out of the other side of the casing. 

I kept the cut ends of the handles inside the casing so they did not show. 

The new handles looked great. 

I decided to glue the cut ends of the bamboo handles back together to reinforce the spot where I cut them. The cut ends don't show but I wanted the handles to be as strong as possible. 

I CAREFULLY added a small blob of hot glue to the handle. I put the HOT glue right in the opening. 

I CAREFULLY pushed the cut ends together and held them together while they cooled and dried. This took a few minutes. (Glue guns can burn you. Use caution.)

When my glue was cooled down and set in place, I slid the handle into the casing again to hide that glued spot. Hot glue isn't cute so lets hide it. 

The bag looks great with new handles.
 
  No one but you and I will ever know how bad it looked before. Thanks for reading along, now go make something fun for yourself.

***Year End Update***- I love red and this purse was so easy to fix.


Thursday, February 8, 2024

Valentine's Day Nightshirt

 Hello Readers. Valentine's Day is next week. I found this Valentine's Day theme fabric a month or 2 ago. It has super cute vintage looking Valentines all over it. It was a thin light weight fleece and I thought fleece would make a great night shirt. 

Before and after.

I like to hunt for fabric at Goodwill and that was where I found this fabric. It was pinned to some black fleece. I think someone was going to make a blanket. 

As with anything I buy, I washed it right away. 
 
 I got my pattern. I used Very Easy Very Vogue 8062. This shirt was very oversized and I thought it would make a great night shirt if I added to the length.

I played with the pattern pieces a little to see if I could fit my night shirt and a small pair of pajama pants. I thought I could. 

I cut out the pieces. 

I cut out the neck facing pieces. 
 
I started sewing, and it was a very simple project.
 
I put the right sides together and sewed the side seams and shoulders.
 
I added some decorative stitches at the neckline.
 
It looked kind of like this. 
 
It going to look like this when I am sleeping.
 
And the little pajama pants turned out great too. (This child model was paid with candy and extra TV time.) Thanks for reading along, now go make something fun for yourselves. 
 
***Year End Update***- This light weight fleece was a great choice for winter. It's soft and warm. The kiddo pajama pants are still getting worn a lot too.