Friday, March 22, 2019

The Black and Blue Dress

Hello Readers. I like to put different clothing items together and make something new. That is what I did recently with these 2 shirts to make a new dress.

 
I had a big men's t-shirt in black and a ladies striped shirt in black and blue stripes.


The ladies shirt fit pretty well but it was so low cut it needed a shirt under it. That can be annoying when you have 5 minutes to get dressed. I have to find another thing? In the morning??  I tried to pull it closed and stitch it in place but it was still a little too low for me.


I cut a little piece of the neckline from the black shirt to fill in the deep V of the striped shirt.


I stitched it in place and it was perfect to fill in the low-neckline of the striped shirt.


I also cut the body of the black shirt off and attached it to the bottom off the striped shirt. This was a basic t-shirt but it was much thicker than women's t-shirts. It made a great new lower half of a dress.

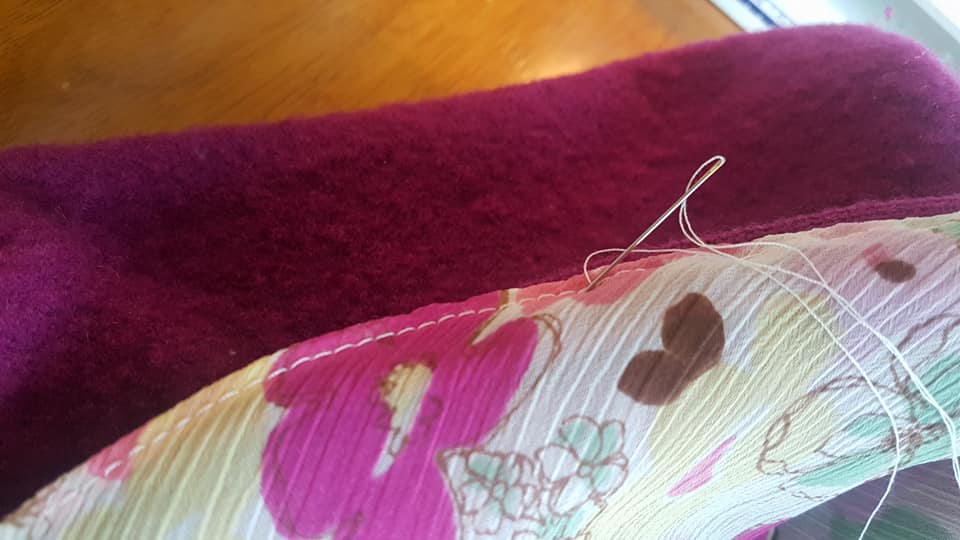
Once I had the two shirts sewn together, I added elastic at the waistline. I did some top stitching around the waist to make it lay flat.


It really went together easily. I like knits, they are so easy to work with. And they don't need to be ironed!


I really liked this dress. It was comfortable and black is so easy to throw on when you are in a rush. And aren't we always in a rush? Maybe it's just me.


Thanks for reading along, now go make something fun for yourself.
 *Year end update-I am still wearing this dress. It is still comfy and easy to wear.

Wednesday, March 20, 2019

The 80's Blazer

Hello Readers. Do you remember the 80's? Depending how old you are this fabulous blazer might remind you of the past. The oversized fit and the wild geometric patterns remind me of junior high and high school fashion choices I made way back when.


This blazer was crushed velvet. The material was a little heavy and stiff. It also has a cool gold button in the front that you can't really see in the busy fabric. I decided to make a wrap skirt. The stiff fabric would be great as a skirt.


I cut the body of the blazer off. It was almost a skirt already.


I put the fabric on my dress form and started pinning. I made two darts in the back to bring the waist in a little. I also pulled the front closed and over on itself more so it had enough overlap to keep me covered when I wore it as a skirt.


I used some simple bias tape to finish the waist and use as a tie to close the skirt.


I moved the button so it still worked with the button hole. I thought it would be a way to keep the skirt even more closed. I don't want the skirt to blow open in the wind. That button is just a little added security.


The best part of wearing a wrap skirt is it is adjustable. If I make cookies for my kids and eat 3 giant handfuls of cookie dough (True story.) I can still be comfortable.


Thanks for reading along, now go make something fun for yourself. 
And have some cookies too.
 *Year end update-I love this skirt. It's a wild one of a kind skirt.

Wednesday, March 13, 2019

Maxi Skirt to the Max

Hello Readers. A maxi skirt is something I have never been able to wear off the rack. I think the maxi skirt is designed for people with more height. Every maxi skirt I have ever come across is usually almost as tall as I am. #shortgirlproblems

The perfect T for coffee at a diner with friends.
I liked the light and dark gray color blocking of this skirt but the length was too much. On the bright side, I had a lot of fabric to work with.


 This is a picture of the skirt upside down. It got much wider at the bottom, that was going to be helpful. I decided to make a shirt. I cut the bottom half of the skirt off. I used chalk to mark straight sides and cut the extra fabric off. The extra fabric was going to make 2 nice sleeves.


 I used my machine to connect the sleeves onto the shirt. The hem of the skirt made a straight boat neck. It was easy to make a finished looking neckline and sleeves with the hem of the skirt.


 I cut the waistband off the skirt and attached it to the bottom of this new shirt. It made the shirt look neatly finished at the waist too.


I just had the hip portion of the skirt left over and it looked like the makings of an infinity scarf to me.


I cut some fringe in each of the dark gray ends. It was a fun way to finish the scarf instead of hemming the cut edges. It was already a circle so it was ready to wear.


 It matches the shirt perfectly.


Thanks for reading along, now go make something fun for yourself.
  *Year end update-I love this shirt. And I love this scarf. Love!!

Friday, March 8, 2019

The Sort of Psychedelic Dress

 Hello Readers. I found this great dress at a clothes swap and thought is was super-cool. I don't think it is really vintage but the skirt looks a little 60's psychedelic to me.
 

It was a soft warm knit material and had such a wild looking skirt. If you stare at it long enough it looks like it is moving. I loved the visible gold zipper in the back too. It almost fit me, but didn't look flattering. It was a little dowdy in shape. It really needed it to be shorter in length and the waist would look better if it was a little higher on me.


I thought the easiest way to fix this dress was to fold it in half and make a new seam around the dress at the fold. 


I removed about 4 inches right from the middle. It raised the waist up to be level with the ends of the sleeves. I thought that would look good.


The top half of the dress was now shorter. The skirt was a little shorter too. That was a better fit for me. I made the skirt more narrow because it felt overwhelmingly full and puffy now that I raised the skirt.


Here is a close up of the new waist seam.


I really liked the dress when it was finished. I didn't change the cool zipper and the wild skirt is still just as wild.


Thanks for reading along, now go make something fun for yourself.
  *Year end update-This is still a great dress for winter. It is soft, thick, and warm.

Wednesday, March 6, 2019

Too Small, Too low, Too Big

Hello Readers. Today's post is about a shirt that was too small, a shirt that was too low-cut, and jeans that were too big. It is easy to make big clothes smaller, but you can also do the opposite. You can make small clothes bigger easily too.


I liked the stripes of this navy shirt, but it was too tight and it had no stretch. I wasn't getting into it. (Not without some axle grease and a shoe horn.)
 The red sleeveless shirt fit but it was SO LOW CUT! It had a piece of lace that looked like it was for modesty but it was 4 inches below what I would have thought was modest. It did fit though. Maybe these 2 shirts could help each other?

These jeans are too baggy and long, they need help as well.

I started by putting the navy shirt on my dress form. I put the red shirt on top and cut that lace off the red shirt. The navy shirt is going to fill in that low-cut neckline. 


I pinned the navy shirt to the red shirt and used my sewing machine to stitch them together. I cut the excess navy shirt away.


I cut the sleeves off the navy shirt and then attached them to the armholes of the red shirt. I also added the waistband for a little added touch of navy blue.


I thought about adding the front pocket but it seemed like too much. What do you think? I still have it, should I add it on?


Here is a look at the inside. You can see the red shirt fills inn the body of the navy blue shirt. The fit of the red shirt makes it comfortable to wear and the navy shirt covers my neckline and arms.


The jeans were too baggy and too long but I really like the look of faded Levis. I wanted to make them fit me well. I took them in on the sides and hemmed the legs shorter. I went over the side seam a couple times with my machine so the seams would be very strong. Easy-peasy.

I wore this now well fitting shirt and Levi's to the happiest place on earth for suburban moms. I went without my 3 year old and it was glorious to walk around and look at things without chasing him! (He is cute but he is not a good shopper.)


Thanks for reading along, now go make something fun for yourself.
  *Year end update-This shirt is still a great casual day shirt. It is easy to put on and go.

Friday, March 1, 2019

Wool Shrinks in the Washer?

Hello Readers. I am not the only one that gets careless with the laundry right? Somebody out there has accidentally shrunk a sweater. What can you do with it? Well, here is an idea.


This wool sweater was tragically put in the washer and dryer. Wool usually doesn't like that. This wool is now about half it's original size. I found it at a clothes swap and I could see why they gave it away. When wool shrinks it gets thicker and you can cut it with no fraying. It is very easy to work with. Sometimes people shrink sweaters on purpose to make different projects.


This little tank top was also from a clothes swap. I liked the floral pattern, but that's it. It is way to skimpy and sheer to actually wear. It wouldn't really cover the things I like to cover. ( I have 3 kids. I breastfed all of them. I'm 46. Y'know what I'm sayin'?)
 I have been saving it for the right project. And here we are!


I wanted to make a travel cosmetic bag. I cut the sweater up. It was like a science class dissection. (I remember dissecting big worms in school.) I wanted the chest of the sweater with the zipper attached and the little front pockets for this project.


 I folded the chest piece of the sweater in half, with the zipper along the top. I pinned the little pockets on the front. I used my sewing machine to attach the pockets to the piece of sweater. You can see how the wool material doesn't fray at all.


My next step was to sew my little bag shut. I made little seams at the corners to make the bag more box shaped.  I didn't want it to be flat like a clutch bag.
 I also used it as a size guide to cut lining from that floral tank top.


Here is a look at my lining. I am using the hem of the shirt at the top of the lining.


Here you an see I was sewing the lining into the bag by hand. The lining will cover the interior seams and look nice when I open the bag. It was easy to attach the lining to the opening of the bag by hand.


 I put a bunch of stuff in the bag so you could see how it looked. This was totally staged, I am not planning to travel anytime soon. But if I win a trip around the world, I am ready!


 I had some sweater pieces left and I thought the sleeves would make a good eyeglass case. The material is thick and squishy. The cuffs of the sleeves had a nice finished edge that would look good on the case.


There were 2 sleeves so I made 2 cases. I adjusted the size based on the size of the glasses.


Thanks for reading along, now go make something fun for yourself.
 *Year end update-I just used this bag on a trip. It is still a winner.