Tuesday, July 2, 2024

Transform a Chandelier

 Hello Readers. My neighborhood has a habit of leaving items at the end of their driveways for neighbors to take if they want. I love it. I found a ceiling medallion on one of my daily walks and brought it home. I thought I could use it to transform my plain kitchen light into a fun focal point. 

Before and after.
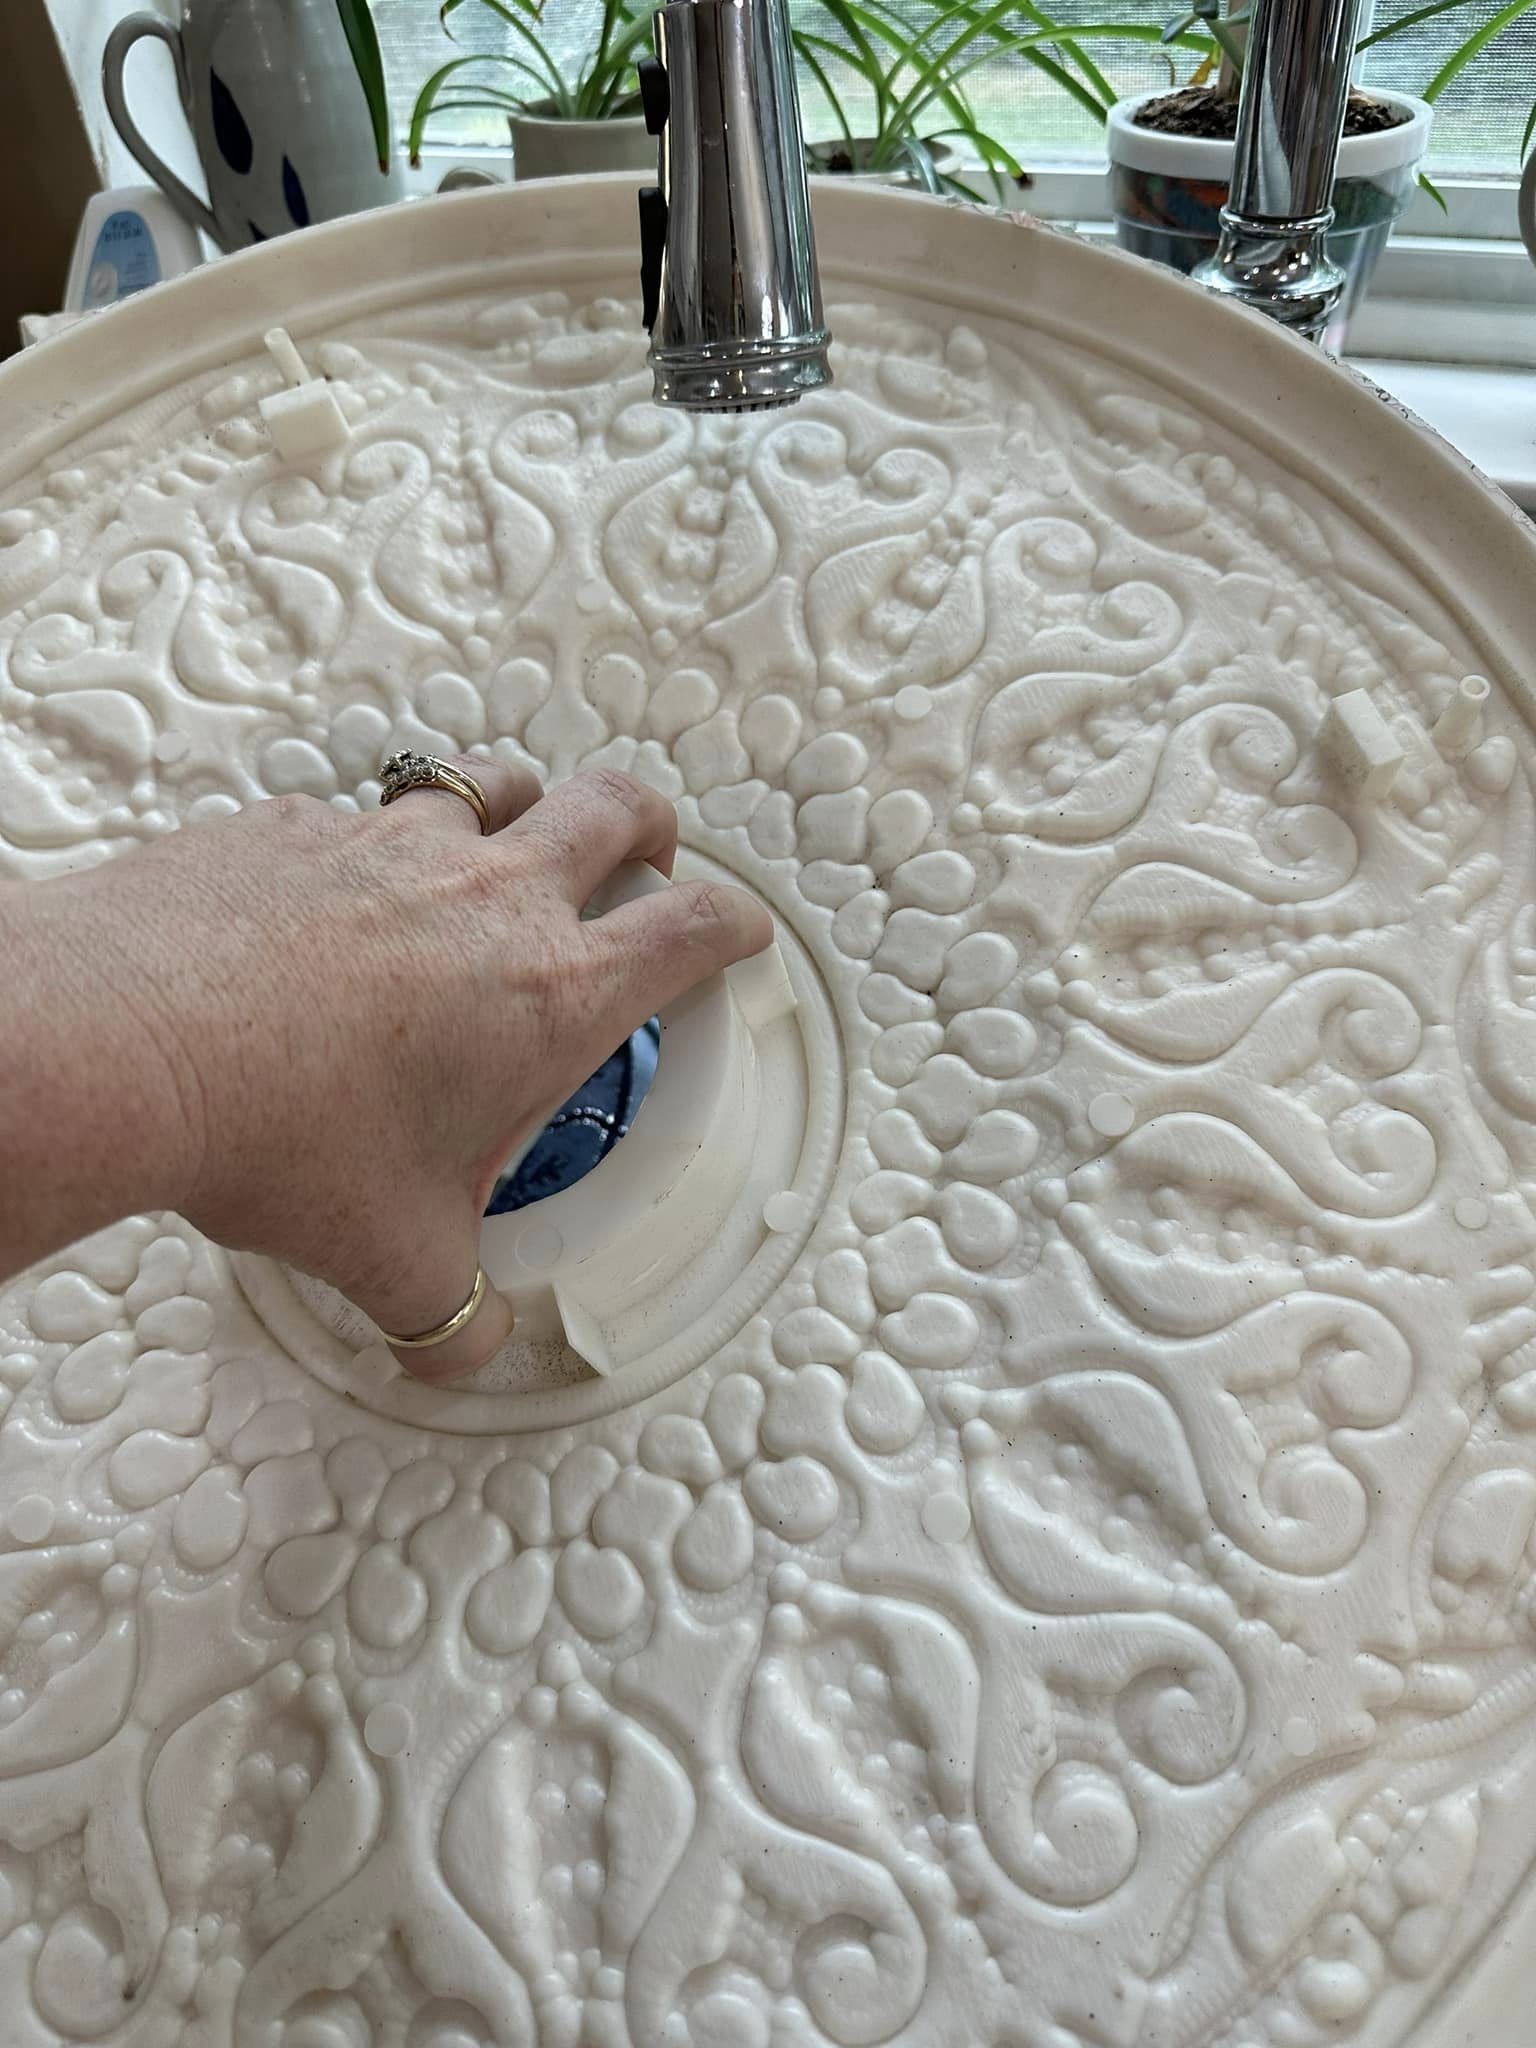
I thought it would be a fun idea to add a ceiling medallion to my chandelier. It would look fabulous. I cleaned my medallion well with detergent to remove any dirt or grime. I made sure it was thoroughly dry. I knew I wanted to paint it and this cleaning would help the paint adhere to the medallion.

As I said I got my medallion from a neighbor. It was aged and yellowed. It needed some TLC.  It was plastic so I used some acrylic paint to make it white again. My chandelier was white so I thought my medallion should be white as well. You can buy these medallions new from hardware/lighting stores and also from Amazon.

I painted the front of the medallion all over and wiggled the paint brush to get the bristles into the little crevices. I really wanted to cover all the yellow. This took a while but it was not difficult. I let it dry over night.

I shut off the electricity and had a handy men take the chandelier down. The chandelier had to come down from the ceiling to put the medallion up. Once I had it all in front of me like this I had a thought... Why was I sticking with white? I could do any color I wanted.

I decided to start over and go for something dramatic. I bought some glossy "Real Blue" acrylic paint.

Because the chandelier was disconnected from the electricity, I start by cleaning the chandelier. It was dirty and dusty. Paint would never stick to it like this. I cleaned it up and let it dry over night. Paint wouldn't stick well to if it was wet. 

I took the light bulbs out and wrapped plastic wrap around the "candles" of the chandelier. I didn't want to paint them blue. The plastic wrap stayed on pretty well and it would keep the candle parts white.

I started painting again. I painted the medallion again and made sure to wiggle the paint brush so the bristles would get into all the small spaces. I let the paint dry over night again.

The white was a little difficult to hide with the blue paint. It just didn't want to disappear. It took 3 full coats of paint to paint the medallion blue. I made sure to let it dry in between coats of paint.

I started painting the chandelier with the same glossy blue paint that I had used on the medallion. I set the chandelier upside down on newspapers and just started painting. I worked my way around the different sections and let it dry over night. It took 3 coats of paint to cover the white paint on the chandelier as well. 

I had to go back and touch up some spots that I missed. 

I made sure the electricity was shut off and I had a handy man hang everything up for me. The medallion went up first. It was very light weight plastic. The wiring came out through the center of the medallion to connect to the chandelier. 
 
I noticed some places that needed to be touched up during the hanging process. 

I kept the electricity off and I was able to touch up those spots after it was hung back up. I let it dry as it was hanging there. No one touched it so it was fine.

It turned out really well. I liked the pop of the bold blue color in my kitchen dining area. It was a fun addition to the room. There was already a lot of blue, which is why I chose that color. Adding the medallion along with the bold paint color gives it more visual impact.
 
I really like blue but you can choose any color you like. Thanks for reading along, now go make something fun for yourself. 
***Year End Update***- I love this light fixture! It turned out great.


Thursday, June 27, 2024

Overall Oops

 Hello Readers. I thought I had a great idea. I thought I could turn this dress into loose over-sized overalls. Mistakes were made. And my plan fell apart. Life is like that sometimes.

Oops!

I really thought this was going to be an easy refashion project. I was really wrong. 
 
I folded the dress in half and cut out the middle to make the legs of my new overalls.
 
I cut the dress so that there were 2 legs. This was going to be very big and so baggy that I couldn't possibly mess this up. But everyone makes mistakes and I was about to be humbled.
 
But I cut the body much too short. Even with the adjustable straps, I couldn't get my upper body into this. It was a disaster.
 
Could I cut the top off and make lounge pants?
 
No. No, I could not. This was not a good sewing day for me. Let's just quit now. Thanks for reading along, now go make something fun for yourself. 
***Year End Update***- This was such a disaster. I was never able to fix these.


Wednesday, June 26, 2024

Pants to Jacket

 Hello Readers. I thought these light weight pants would be great for the pool or beach this summer. But then I looked inside. I saw something I hate. A nylon lining. What good are lightweight cotton pants if they have a hot nylon lining? I thought about it and decided that the pants would became a lightweight jacket.

Before and after.

You can see the lining hanging out of the pant leg on the left. Nylon is the worst. I had to get rid of it.You can also see the pretty lace trim at the hemline. That was what made me want to do something to salvage these pants.

I cut the waistband off the pants. I wouldn't need that. Removing the waistband made it easy to get the lining out. 

Goodbye nylon lining!

I cut the pant legs apart and removed the center section. What I wanted was straight panels of fabric. That would be the front and back of each pant leg. 

I wanted one full pant leg to be the back of my jacket. I also wanted one pant leg split apart for the 2 front pieces of my jacket. This looks kind of shapeless and boxy but the drape of the fabric will give it some shape. 

I used my serger to put the shoulder seams together and the side seams together. I left openings in the sides for armholes. I used the serger around the armholes to keep the fabric from fraying. 

To finish the edges I turned them under and sewed them down with my sewing machine. 

I did not need to hem the bottom because the hem was already done. I liked the lace along the hemline. Thanks for reading along, now go make something for yourself. 
***Year End Update***- This light weight jacket went with so many things. I am so glad I made it.


Tuesday, June 25, 2024

Box to Bathroom Shelf

 Hello Readers. I repainted/redecorated a bathroom at home and I wanted a shelf. This bathroom had absolutely no storage. A shelf would give us more space. I looked a shelves online and realized I could make a fun shelf from a wooden box I already had. 


You would not believe how long it took to repaint this bathroom. All in all, about 3 years. I am serious, we started repainting and redecorating this small bathroom about 3 years ago. Life got in the way and we just recently, finally got it done. 

This is what we had in our bathroom. We were tired of the 2 paint colors and the wallpaper border. It seemed like an easy redecorating job. It was a small room. We could do this in a weekend right? We started patching dings and nail holes in the walls. And then it was Covid times and it sat like that for another 2 1/2 years. 
 
My husband started painting it for me this past Mother's Day. (Thanks Honey!) I thought he was priming the wall here. There was some miscommunication. 
 
He thought I wanted it white. Like a stark glaring bright white. I did not actually want this color. We have kids and a dog, white would be hard to maintain. I actually wanted the tan paint we had on hand. 
 
A couple weeks later he painted it tan. (Thanks Honey!) This is a great color when you have kids and dogs and real messy life going on in your house. It is Brown Teepee by Behr. You can get it at Home Depot. It is the color of a brown paper bag. I love it. 

OK! We were finished painting and was ready to hang a shelf. 

Here is the wooden box I used. I have had this for ages and it has never matched any bathroom in my house. I liked the cream color but not the writing on the front. I decided to paint over it because the box will be hung on the wall and the writing will look odd at that angle. 

I used some acrylic craft paint in the shade "Antique White". It matched the color of the box and would cover the writing. 

This is what it looked like after 1 coat of paint. I let it dry over night and painted a second coat the next day. When second coat of paint was dry it was ready to hang on the wall.

I wanted the box hung in the center of the wall like this. We used the level to get the box balanced and drew a line on the wall along the top of the box. That line would be our guide for the next steps.

We measured to find the center of the wall. The box should be right in the middle. 

We put 2 holes in the wall. These holes are slightly closer together than the corners of the box. 
 
Here is a look at the anchors and screws we used to hang the box. The screws are about 1 1/2 inch long. The anchors help the screws stay in the drywall.
 
We put a plastic anchor in each hole. 
 
We put screws into the anchors but did not screw them in all way. The screws stick out about 1/4 inch out. The box will rest on the screw heads. You can see the line we drew, it helped us know where to put the screws and make sure we kept the new shelf level. 

We used a Dremel to make a couple grooves in the back of the box. The grooves would keep the box from sliding off the screws. 
 
 We made the 2 grooves on the back of the box. The grooves are in the frame of the box along the top edge. 
 
Here is a look a the back of the box with the 2 grooves.
 
The box is hanging or resting on the screws and the screws fit in the grooves. That will keep the box from shifting around. 

The handle of the box naturally hangs below the box and it is perfect for holding a towel. 

The shelf is high enough that little kids can't reach the items easily but adults can. 

This is the end of our bathroom saga, thanks for reading along. I hope if you repaint your bathroom it doesn't take you as long as it took us. 
***Year End Update***- This shelf is still on the wall and it still looks great.