Showing posts with label Paint. Show all posts

Tuesday, July 2, 2024

Transform a Chandelier

 Hello Readers. My neighborhood has a habit of leaving items at the end of their driveways for neighbors to take if they want. I love it. I found a ceiling medallion on one of my daily walks and brought it home. I thought I could use it to transform my plain kitchen light into a fun focal point. 

Before and after.
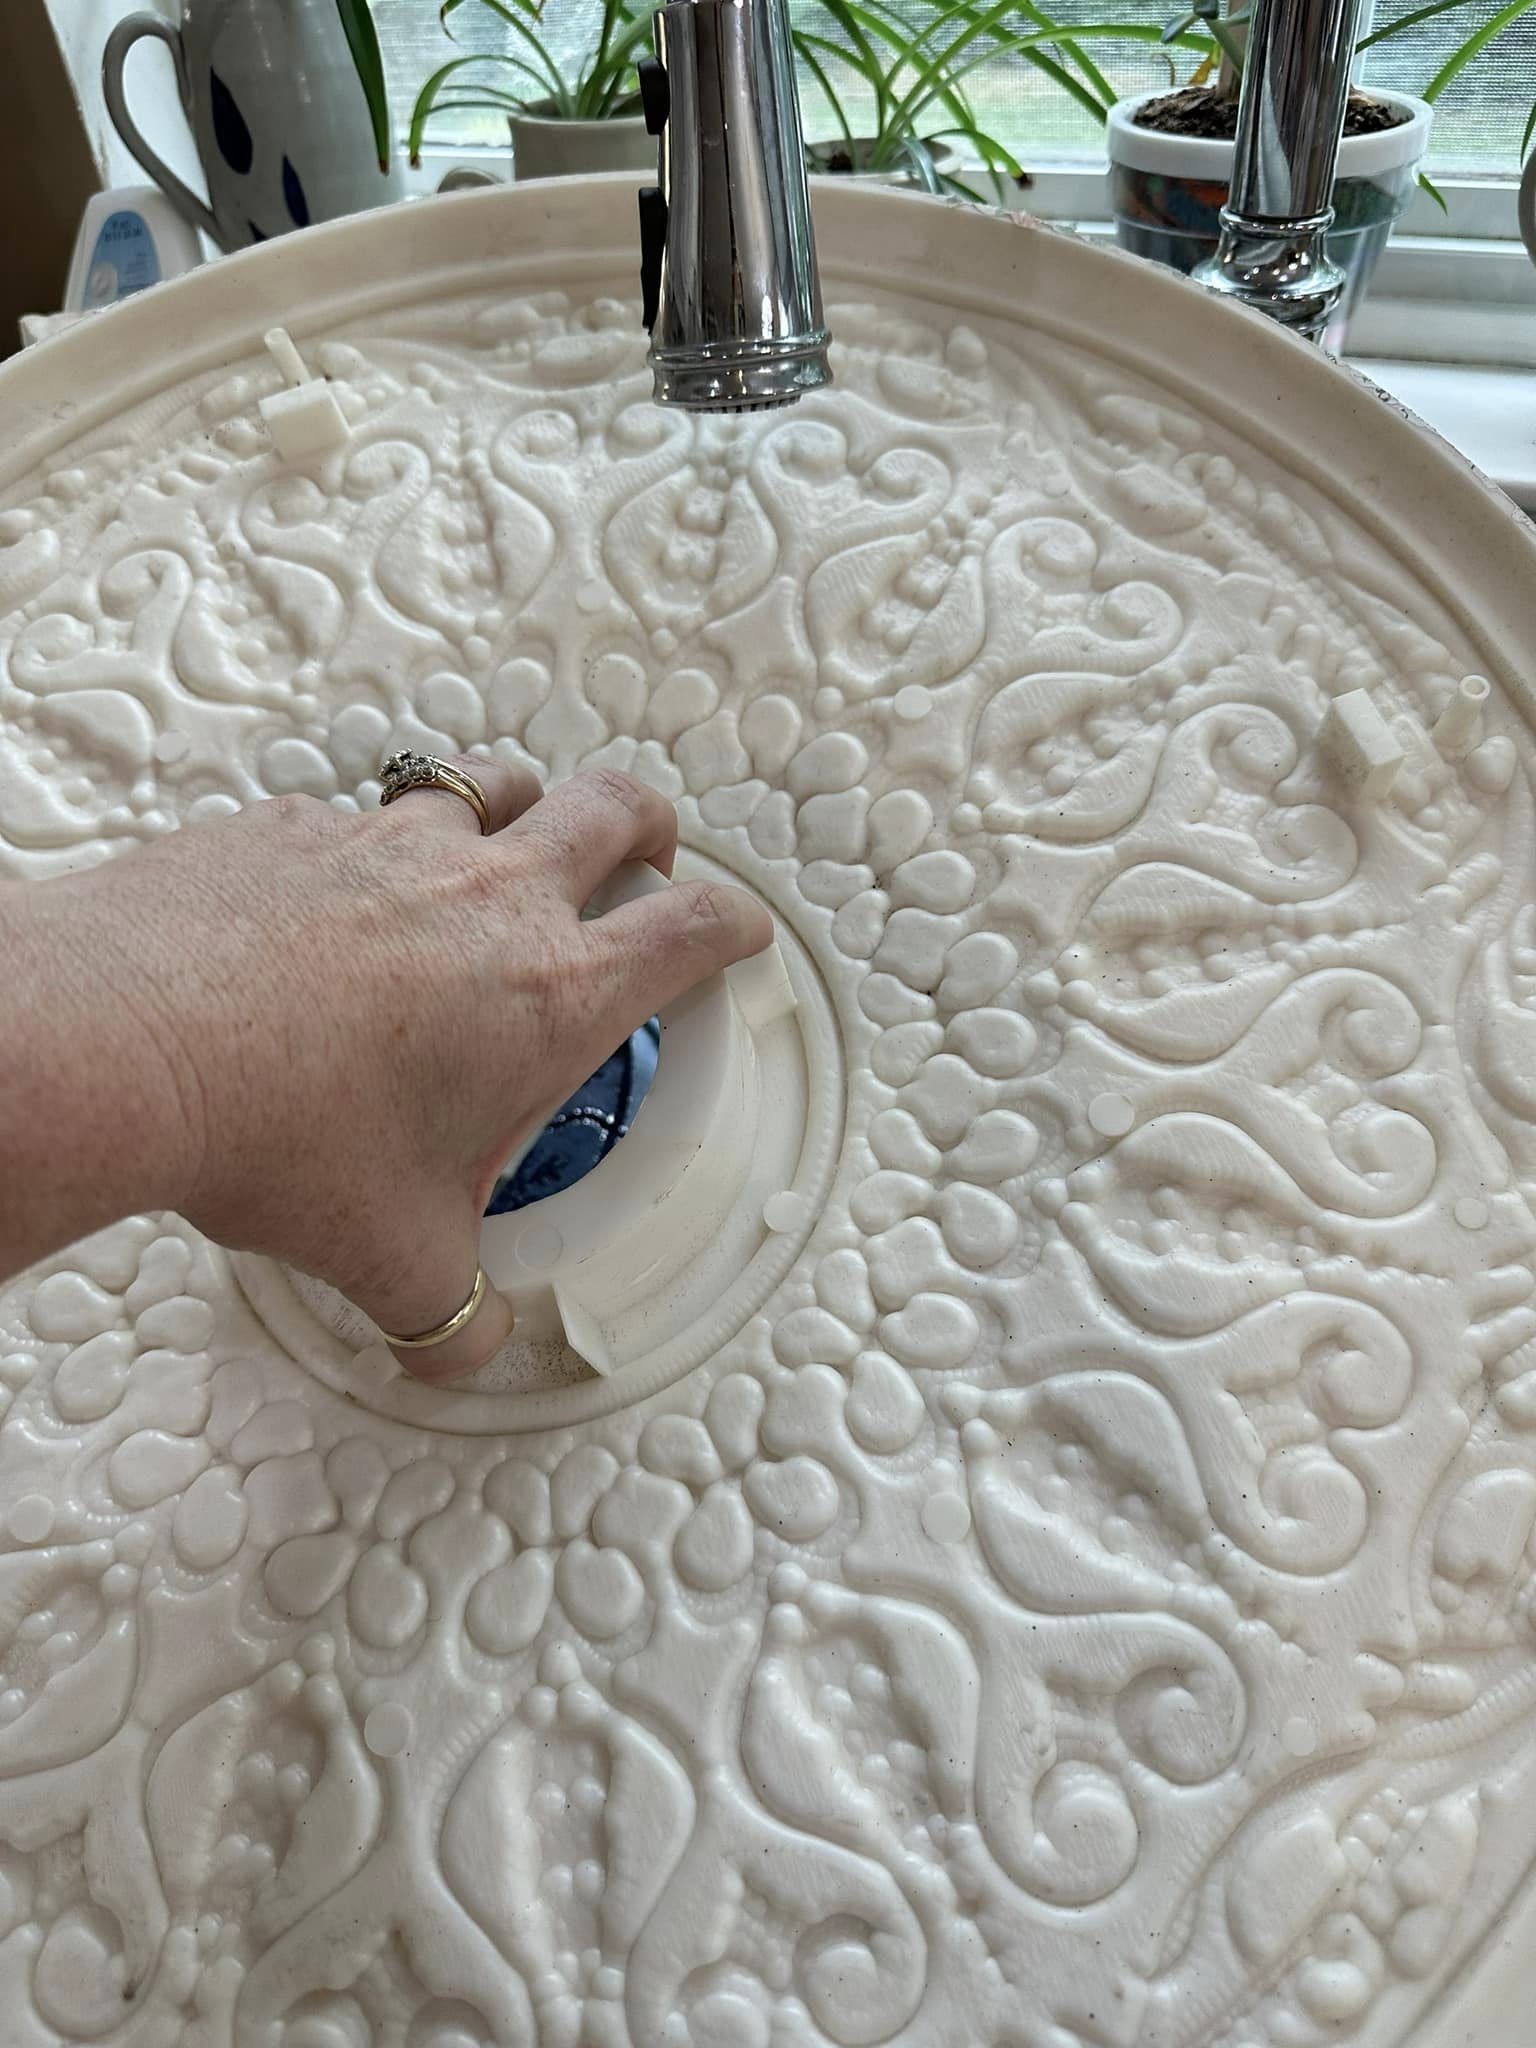
I thought it would be a fun idea to add a ceiling medallion to my chandelier. It would look fabulous. I cleaned my medallion well with detergent to remove any dirt or grime. I made sure it was thoroughly dry. I knew I wanted to paint it and this cleaning would help the paint adhere to the medallion.

As I said I got my medallion from a neighbor. It was aged and yellowed. It needed some TLC.  It was plastic so I used some acrylic paint to make it white again. My chandelier was white so I thought my medallion should be white as well. You can buy these medallions new from hardware/lighting stores and also from Amazon.

I painted the front of the medallion all over and wiggled the paint brush to get the bristles into the little crevices. I really wanted to cover all the yellow. This took a while but it was not difficult. I let it dry over night.

I shut off the electricity and had a handy men take the chandelier down. The chandelier had to come down from the ceiling to put the medallion up. Once I had it all in front of me like this I had a thought... Why was I sticking with white? I could do any color I wanted.

I decided to start over and go for something dramatic. I bought some glossy "Real Blue" acrylic paint.

Because the chandelier was disconnected from the electricity, I start by cleaning the chandelier. It was dirty and dusty. Paint would never stick to it like this. I cleaned it up and let it dry over night. Paint wouldn't stick well to if it was wet. 

I took the light bulbs out and wrapped plastic wrap around the "candles" of the chandelier. I didn't want to paint them blue. The plastic wrap stayed on pretty well and it would keep the candle parts white.

I started painting again. I painted the medallion again and made sure to wiggle the paint brush so the bristles would get into all the small spaces. I let the paint dry over night again.

The white was a little difficult to hide with the blue paint. It just didn't want to disappear. It took 3 full coats of paint to paint the medallion blue. I made sure to let it dry in between coats of paint.

I started painting the chandelier with the same glossy blue paint that I had used on the medallion. I set the chandelier upside down on newspapers and just started painting. I worked my way around the different sections and let it dry over night. It took 3 coats of paint to cover the white paint on the chandelier as well. 

I had to go back and touch up some spots that I missed. 

I made sure the electricity was shut off and I had a handy man hang everything up for me. The medallion went up first. It was very light weight plastic. The wiring came out through the center of the medallion to connect to the chandelier. 
 
I noticed some places that needed to be touched up during the hanging process. 

I kept the electricity off and I was able to touch up those spots after it was hung back up. I let it dry as it was hanging there. No one touched it so it was fine.

It turned out really well. I liked the pop of the bold blue color in my kitchen dining area. It was a fun addition to the room. There was already a lot of blue, which is why I chose that color. Adding the medallion along with the bold paint color gives it more visual impact.
 
I really like blue but you can choose any color you like. Thanks for reading along, now go make something fun for yourself. 
***Year End Update***- I love this light fixture! It turned out great.


Tuesday, May 28, 2024

Kids Chalkboard Top Table

 Hello Readers. I like to make things fun for my kids when I can. Even school and study things. When I came across this decorator table, I thought it could be a fun kids table. Let me show you. 

Fun kids table!

A neighbor of mine was moving out and she left some items for us to to have if we wanted. I saw this decorator table. I know they usually have a long table cloth over them. You usually never see the actual table. But what if I did some decorating and I actually did show the table?

I got out the acrylic paint (Similar here.) I had on hand and started mixing to make enough of a fun shade to paint the table. I wanted a color my youngest child would like. This table is going in the study/school room. Let's make it fun. 

I wanted a slate blue color. This was as close as I could get with the acrylic paint I had on hand. I wanted to paint the lower part of the table with this. I put out some newspapers and got to work.

I had a little helper that helped me paint all these shelves and the outside of the table too. 
 
 I was on hand to supervise and go over all of the paint and make sure it was all evenly covered and smooth. 
 
 I even painted the underside of the table with this slate blue paint. I wanted to cover all the plywood. The plywood wasn't cute or fun. I pained everything and let this paint dry over night. 
 
I wanted to make the top of the table a little different. I used this chalkboard paint (Similar here.) for the top of the table. It was gray but the color wasn't the important part. Any color chalkboard paint would be fine. I wanted my son to be able to write and draw with chalk on top of the table. 
 
My young helper painted the table top with the chalkboard paint. I went over this paint to make sure it covered the table evenly and let it dry overnight again.
 
 The next day the paint was dry and we could draw or...

Write on the top of the table. Summer is here and school is out for a few months but this table is perfect!

This table is great for our study. It is holding our globe next to the little desk. Thanks for reading along, now go make something fun for yourself. 

***Year End Update***-This is a fun kid table. 5 stars. Would recommend.


Wednesday, April 10, 2024

Making Picture Frames Match

 Hello Readers. I had a hodge-podge of picture frames that I wanted to use on one wall. I wanted them to coordinate and look intentionally put together. But they were all very different and did not match each other at all. I was not going to go out and buy all new frames, I knew I could make this work. 

I made this look like a planned collection of pictures in frames. Let me show you what I did. 

Here are the picture frames. There were brown wood frames, a gold frame, a silver frame and one picture with no frame at all. I picked one color to tie them together. Gold was the color that I focused on. I also did a few more things to connect all the frames.
This picture also shows the first way I tried to make a unified look. All these pictures are old looking. They all have a black and white or sepia color scheme. This helps make this whole group look more put together. 

This is the wall I want to hang these pictures on. There are 2 control panels on this wall. One we use a lot. One we only need to use if the alarm goes off. I thought the whole wall would look better if I could cover it up. I had an idea for that.
One of the pictures was almost like a box. I thought I could remove the back and the picture could hang over and cover the control panel. 

I used a thin knife to pry the back loose from the picture and remove it. 

That made the folds of the sides of this picture start to unfold. That was a problem. But it was OK, I had a plan.

I used some gold Duck Tape. Gold was going to be my unifying color. 

I wrapped the gold tape around all 4 sides of this picture. I wanted the color of the tape but I also wanted the tape to hold the sides in place. This worked well. 

The tape was wider that the sides of the picture so I folded the tape towards the back and pressed it down so it would hold secure. 

I simply hung this picture on the control panel. It was very light weight so it will not cause damage. I can lift it off in a second if I need to get to that control panel. 

That control panel is totally hidden. But still accessible. 

I want to highlight the color gold so I used some gold paint. This "Rub'n Buff" is like a thick paint. It can be applied on and it never drips. 

I used a sponge applicator so I could rub the paint on the frames. I wanted a thin coat that would tone down the original colors of the frames. I didn't mind if the original color showed through a little. The sponge let me apply a very thin coat. 

I painted this wooden frame with the gold paint. The roughness of the wood still shows through but the gold is dominant and will tie this frame in with the others. I let this dry over night. 

I used the gold paint on this silver frame too. I applied the gold to the sides to hide the silver a little. I let this dry over night too.
 
I started to hang the frames. I did not use a level or a stud finder. These pictures are not heavy enough to need to be hung in a stud or need a special anchor. I just eyed the pictures and marked the top center of the frame. 

Then I put in a nail where I thought the frame needed to be hung. I wasn't trying to make a precise alignment of pictures. This arrangement was not symmetrical and that helped because it did not have to be exactly even anywhere.

My new picture wall is fun and looks good all put together. Thanks for reading along, now go make something fun for yourself.
***Year End Update***- My wall still looks like this. I love it. Fun family pictures are the best.


Friday, August 20, 2021

Kids Club House

 Hello Readers. I found a playhouse a few years ago. It was on the side of the street in my neighborhood. It didn't seem broken, just really faded. I knew I could fix faded. So, it came home in my car. (It was sticking out the doors of my Honda Civic but I got it home.)

 
I washed it off and put it together. It was solid but the door was broken. The roof was very faded. And so were the red shutters. The gray and tan walls looked fine so I wasn't worried about them. 

 
I gathered all the acrylic paint I could find and started painting. I used a light blue on the roof because I had enough of it to cover the whole roof with at least 2 coats of paint. 
 
 
The acrylic paint adhered very well to the plastic. I let it dry between coats. 
 
 
I painted those faded red shutters and then it got more fun. The little house had a whole designed interior. It was embossed in the plastic but there was no color to it. I decided to follow the images they put in the plastic and make them stand out more with some paint. You can see there is a little kitchen area and a floor lamp. 
 

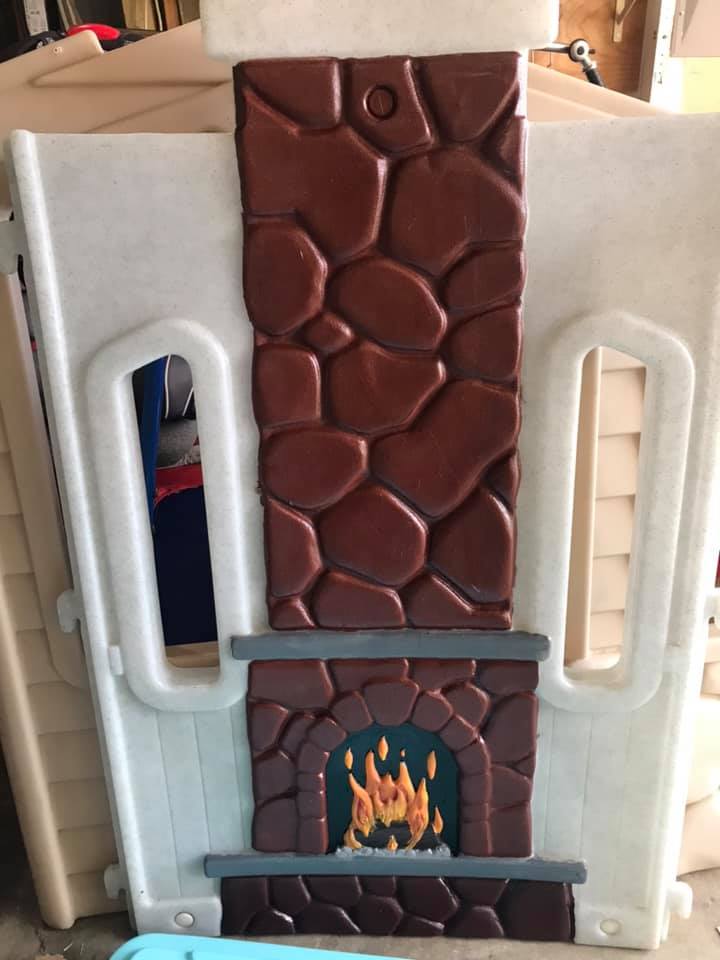
On the other wall there was a fire place. I painted the fire and the fireplace to make them more colorful. 

 
There were a couple potted plants that needed some color too. Again, I did not create these, they were already there. I just painted them. 
 

There were even pretend outlets!

 
Since the door was broken I just hung a piece of fabric as a door. 
 

Thanks for reading along. I wanted to extend the life of this little club house because this plastic will sit in the landfill for ages. It was old but it did not need to be trashed, it just needed a little make-up. (I can relate to that on so many levels. Old but not trash. Just add a bit of make-up!) Thanks for reading along, now go make something fun for yourself. Or your kids. 

***Chickie's Year End Review-This was so fun. It is still in my backyard.