Wednesday, April 10, 2024

Making Picture Frames Match

 Hello Readers. I had a hodge-podge of picture frames that I wanted to use on one wall. I wanted them to coordinate and look intentionally put together. But they were all very different and did not match each other at all. I was not going to go out and buy all new frames, I knew I could make this work. 

I made this look like a planned collection of pictures in frames. Let me show you what I did. 

Here are the picture frames. There were brown wood frames, a gold frame, a silver frame and one picture with no frame at all. I picked one color to tie them together. Gold was the color that I focused on. I also did a few more things to connect all the frames.
This picture also shows the first way I tried to make a unified look. All these pictures are old looking. They all have a black and white or sepia color scheme. This helps make this whole group look more put together. 

This is the wall I want to hang these pictures on. There are 2 control panels on this wall. One we use a lot. One we only need to use if the alarm goes off. I thought the whole wall would look better if I could cover it up. I had an idea for that.

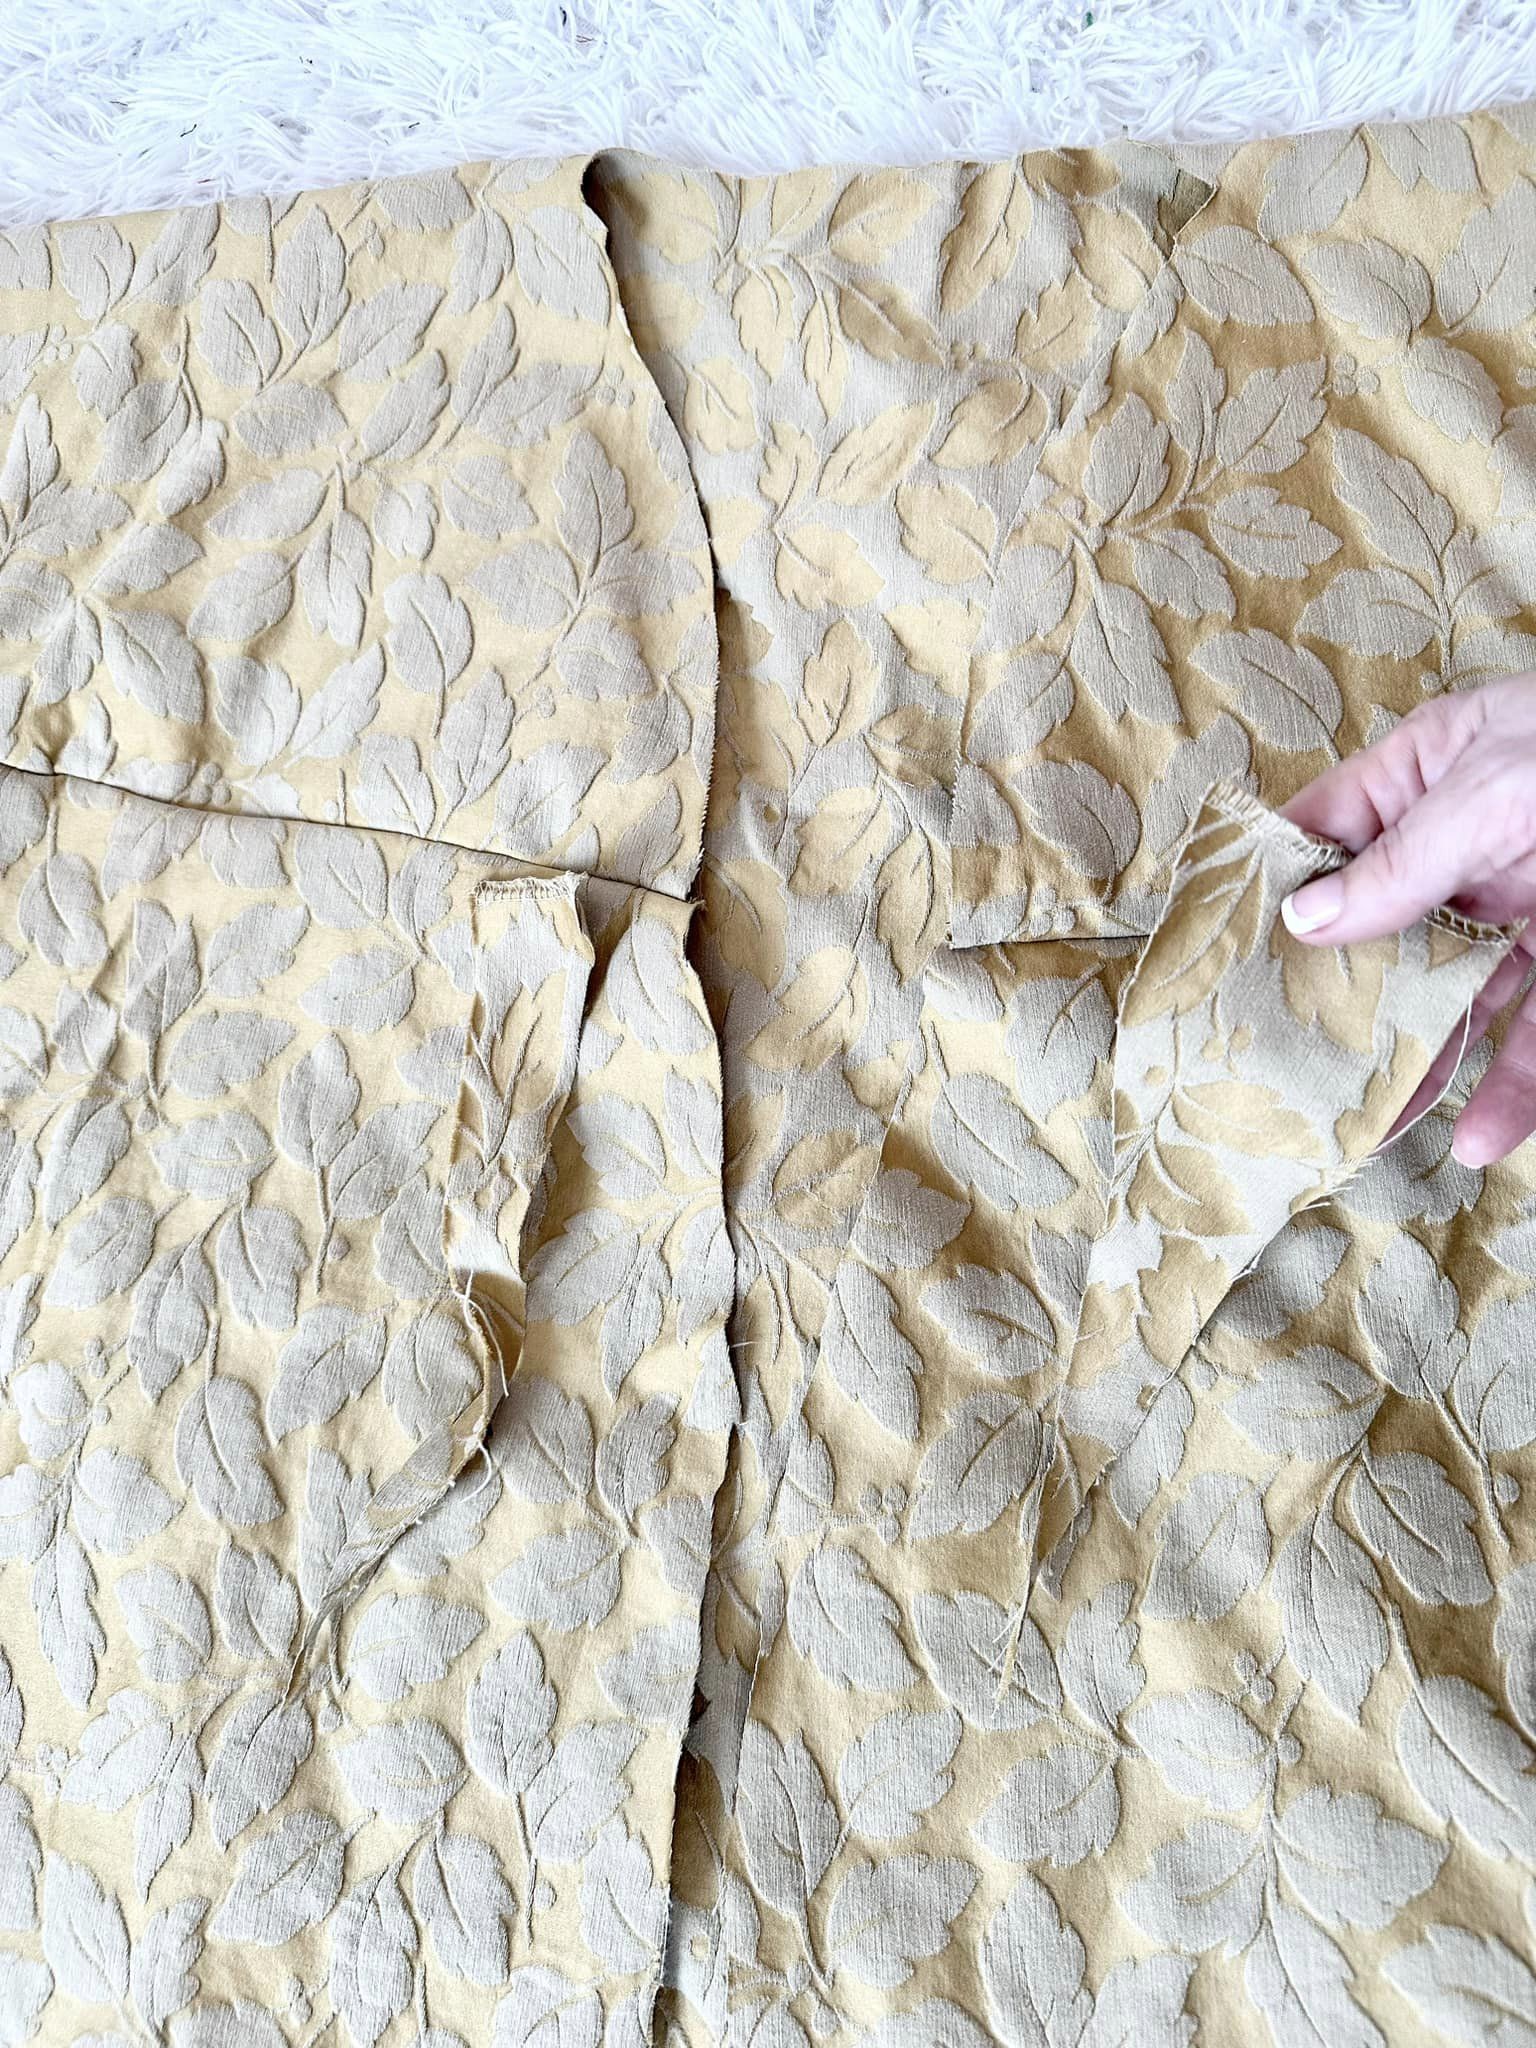
One of the pictures was almost like a box. I thought I could remove the back and the picture could hang over and cover the control panel. 

I used a thin knife to pry the back loose from the picture and remove it. 

That made the folds of the sides of this picture start to unfold. That was a problem. But it was OK, I had a plan.

I used some gold Duck Tape. Gold was going to be my unifying color. 

I wrapped the gold tape around all 4 sides of this picture. I wanted the color of the tape but I also wanted the tape to hold the sides in place. This worked well. 

The tape was wider that the sides of the picture so I folded the tape towards the back and pressed it down so it would hold secure. 

I simply hung this picture on the control panel. It was very light weight so it will not cause damage. I can lift it off in a second if I need to get to that control panel. 

That control panel is totally hidden. But still accessible. 

I want to highlight the color gold so I used some gold paint. This "Rub'n Buff" is like a thick paint. It can be applied on and it never drips. 

I used a sponge applicator so I could rub the paint on the frames. I wanted a thin coat that would tone down the original colors of the frames. I didn't mind if the original color showed through a little. The sponge let me apply a very thin coat. 

I painted this wooden frame with the gold paint. The roughness of the wood still shows through but the gold is dominant and will tie this frame in with the others. I let this dry over night. 

I used the gold paint on this silver frame too. I applied the gold to the sides to hide the silver a little. I let this dry over night too.
 
I started to hang the frames. I did not use a level or a stud finder. These pictures are not heavy enough to need to be hung in a stud or need a special anchor. I just eyed the pictures and marked the top center of the frame. 

Then I put in a nail where I thought the frame needed to be hung. I wasn't trying to make a precise alignment of pictures. This arrangement was not symmetrical and that helped because it did not have to be exactly even anywhere.

My new picture wall is fun and looks good all put together. Thanks for reading along, now go make something fun for yourself.
***Year End Update***- My wall still looks like this. I love it. Fun family pictures are the best.


Saturday, April 6, 2024

A New Robe

 Hello Readers. Spring is here and I don't need to bundle up to survive the winter cold anymore. It is time to lighten up. I wanted a new robe that was lighter weight. I used the "Bog" coat pattern by TheSewSew. (Etsy Link here.) and modified it to make a robe for myself. 

 
Lighter weight robe for spring.
 
I decided to use this fabric with a leaf design. I had this in my fabric stash and I like to use what I have.  I have used it before and it washes so well. I know it will be a good choice. And leaves for spring seems like a good idea. 

I spread the fabric out to make sure it was large enough for my robe. I folded the top of the fabric down, that is how you make the sleeves for the Bog pattern. I love how this pattern uses as much of the fabric as possible. It is very minimal waste.

After I cut the sleeves, I folded the body in. It is starting to look a little like a robe already.

I cut out the neckline. I didn't follow the pattern for this. I started using my imagination for this part. I wanted a V-neck shape. 
 
I sewed the sleeves together.
 
I stopped for a cup of tea.
 
I made my front pieces a little wider than the pattern called for. I wanted the front to overlap so I made sure there was some extra fabric. 

I cut the top corners of the front panels at an angle so they would blend into the neckline.
 
I had a small amount of this "bee" fabric and that seemed great for spring too. Bees in spring? That sound perfect. It has a pretty sheen that will make pretty trim.
 
I cut and sewed this fabric into thin strips that I could use as trim on the front of the robe and the belt. 
 
I wanted the trim on the front and around neckline. 
 
This was a lumpy mess. I liked the trim color a lot so I headed to the ironing board. 

It looked so much better when it was ironed. I made the sleeves 3/4 length. I liked the end result. 
 
I added pockets from the scraps I had left. I didn't have a lot of choice about what they looked like. I was just using the fabric I had. 
 
 Was this robe soft and cozy but not too warm? Yes. It was perfect. Thanks for reading along, now go make something fun for yourself.  

***Year End Update***- This robe gets worn so much, it's almost daily.


Thursday, April 4, 2024

Linen Scrap Skirt

 Hello Readers. I don't like to waste fabric or fabric scraps. I try find a way to use them. I made shorts from a pair of wide leg pants and thought the legs looked wide enough to use for a skirt. Let me show you.

Before and after.

I used the top of these linen pants to make a nice pair of shorts for summer. But the legs were long enough and wide enough to make something else. 

I had already cut the legs off. I was going to make a skirt from that nice linen. 

I cut the fronts and backs of the pant legs apart. 

That gave me 4 pieces of linen. 

I wanted to sew this wide cotton ribbon in between each linen piece. That will make the linen I have large enough for a skirt. 

I connected each piece of linen to this wide cotton ribbon. I alternated linen and ribbon until I had sewn them all together. Then I connected it into a tube shape.

Here is my tube. It is starting to look like a skirt!

I added a simple elastic waistband. I used a zigzag stitch to attach the elastic to the top of the skirt.

Then I turned the elastic under and stitched it again.

I pulled the waistband smooth for this last part.

After sewing the elastic shrinks back and makes this little gathered paper-bag waist look. It is a little wrinkly but the linen is going to wrinkle so they will look good together. I hemmed the bottom of the skirt and I was done.

Thanks for reading along, now go make something fun for yourself.
***Year End Update***- This skirt was so easy to put together and it is light weight. It was great in the summer heat.


Wednesday, April 3, 2024

Linen Pants to Shorts

 Hello Readers. I have had these linen pants for a long time and they have been waiting to be refashioned for a long time. I already had a pair of beige linen pants. I did not need 2 pairs. Let's make something else. 

Warm weather is coming. Let's make shorts.

These pants were made of very nice linen. I liked the wide legs but these were really wide and long on me. And they had something I hate. 

There was a horrible nylon lining. Nylon makes me itchy and it is hot in warm weather. The linen fabric is great in heat but if you add a nylon layer, it ruins it for me. A lining can make the pants last longer and drape nicely when they are worn but it isn't worth it for me. I started cutting the nylon layer out.
 
I literally just cut it out. It was connected along the waistband and I cut as close to the waistband as I could without cutting the linen. If I get any stray threads when I wash these pants I can trim them. It will be inside the pants no one will know. (Shh, don't tell.)

Here is the entire lining. Good riddance nylon. I never liked you anyway!

I cut the pant legs off. I wanted to save those legs for another project. Come back tomorrow to see the pant legs refashion.

I turned the hem under twice and stitched it down with a straight stitch. Easy as pie!

Thanks for reading along, now go make something fun for yourself.


Tuesday, April 2, 2024

Mock Turtleneck to 1/2 Zip

 Hello Readers. I found this sweater while thrifting and of course I brought it home. But I did not realize the neck was SO tight. It really had to be changed. I couldn't stand it. 

 Before and after.

I just couldn't take it. I was being attacked. The neckline was going to strangle me. 

I needed to open up that neckline. I thought I could put in a short zipper and it would be much more comfortable with the neck open. 

I cut the sweater and used the zipper as a guide for my cut. 

To attach the zipper I needed to sew it to the sweater right side to right side.

I sewed both sides of the zipper to the sweater like this. 

I turned the zipper under and stitched over it again. This is where thing went wrong. 

It was a mess inside. I couldn't wear this in public. There were loose threads all over. It felt securly attached but it was a hot mess. (It isn't that surprising, Sweaters are not really meant to be sewn with sewing machines. I decided to cover the inside with this bias tape. I folded the ends of the bias tape under so no cut edges of the bias tape showed.

I sewed the piece of bias tape to the sweater along the edges. I sewed the bias tape but made sure that the stitches didn't go through the front sweater. The sweater was thick enough to sew without sewing through the front. 

I wanted to reinforce the bottom of the zipper. The zigzag stitches looked messy here too. I folded up and stitched a little piece of bias tape to cover these stitches as well. 
 
I actually really liked the added color to the neckline. It turned out great. And considering what it looked like before I was really happy. The lesson? When you mes-up, try to hide it. Thanks for reading along, now go make something fun for yourself. 
***Year End Update***- I love this sweater and the touch of pink brightens up the tan. The sweater is so soft, it is worn a lot.