Tuesday, January 16, 2024

Cover a Heating Pad: So It Looks Like a Throw Pillow

 Hello Readers. This might be a crazy post. Maybe I am the only middle aged woman who snuggles up with her heating pad all winter. But it's cold and my back hurts. I like to sit in a comfy chair and relax. I also want my chair to look nice. (That just adds to the whole experience.) Let me show you what I made. 

Make a Heating Pad Look Like a Throw Pillow
 
 Here is my heating pad. It isn't cute. It's not decorative at all. I really like it though. It is cold where I live and it is cozy. I am also middle-aged and that mean my back hurts on a regular basis. This heating pad came with a fabric cover that was made of cheap ugly polyester fabric. It was like a pillowcase and it slid off the heating pad all the time. I think I can make something prettier and something that stays on. 
 

I used my heating pad as a guide about how big my piece of fabric needed to be. I could fold this fabric over and it would make a good sized cover for the heating pad. I left my self a half inch extra fabric all around the heating pad. I want it to lay flat in the cover when I am done. I don't want the heating pad bent or folded on itself. I don't want it to be lumpy, that would be uncomfortable to me and I don't want it to overheat. It needs adequate space.
 
 I want this cover to be closed around the heating pad but it needs an opening for the power cord to hang out. That mean I can sew the cover closed on 3 sides and leave an opening on part a corner. That is where my cord is, on one corner of the heating pad. I need to accommodate that. I used my serger on the edge I am pointing to to close the cut edge of the fabric. A zigzag stitch along the edge would work well too. When I fold it in half, this will be a corner of the cover.
 
I put the heating pad aside for now. I folded my fabric in half and lined up all the edges. I sewed them together all around the cover, except that corner where the cord will be. I sewed with the cover right side out. I used a serger but a zigzag stitch would work for this too. 
 
 You can see my finished cover here. There is an opening about 4 inches long on the corner. That is just what I needed. The edges of the opening are finished with stitching because I sewed that part first, then I sewed the whole cover together.
 
I loosely rolled the heating pad, sort of like a burrito. This will help me slip it in the cover. I didn't roll it too tight, I didn't want to break any components inside.
 
I pushed the heating pad into the cover and it slid in easily. 
 
I reached in to unroll the heating pad, flatten it out and move it into place.
 
Here is my finished cover. The cord is coming out of the lower left corner where I am pointing. I 
tucked the cord out the side of the chair and it looks a throw pillow. 
 
Here is a close look at the open corner. It has the stitching on the edge that I did first. That will protect the fabric from fraying. The rest of the cover has the 2 layers of fabric stitched together. 
 
My cozy spot is always ready for me to settle in and use the heating pad on my back but it looks pretty cute just sitting by itself too. Thanks for reading along, stay warm and cozy! 


***Year End Update***- I am still middle aged, my back still hurts, and I am still using this heating pad.


Thursday, January 11, 2024

Altering Knit Pants

 Hello Readers.  I found these brown knit pants at a bag sale and loved the material. They are soft but heavy enough for cool weather. I knew they wouldn't fit but I also knew how easy it is to make knits fit well.

 
Before and after. 

I knew I needed to make the pants a bit smaller so I did some measuring and figuring (Not my strongest gifts.) and then just started cutting and hoped for the best. I knew knits would be forgiving. If I cut them too small then I would have leggings. If they were loose then they would be flowy lounge pants. Either way I would be comfortable.

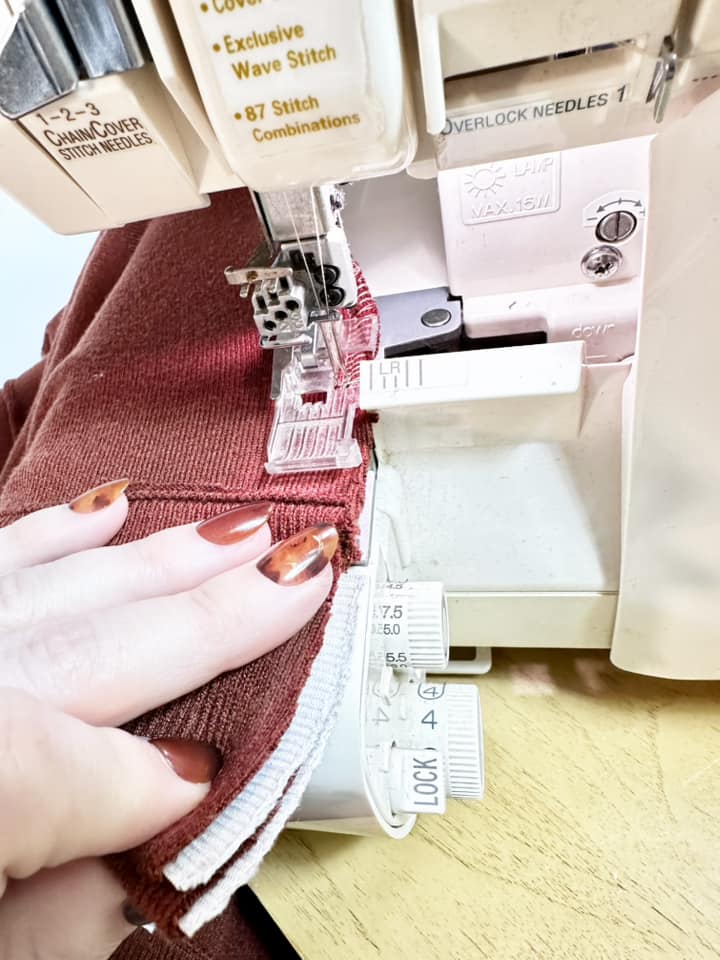
I used my serger to sew these new side seams. I like my serger for knits because it keeps the fabric smooth. You can also use a zigzag stitch on a sewing machine for this. If your seam is a little wavy you can steam and iron the new seam to help it lay flat. 
 
These pants seemed like a good match for the top I made from the floral dress. Knit pants are easy to alter so don't hesitate to try it. Thanks for reading along, now go make something fun for yourself.
 
 ***Year End Update***- Stretchy pants? Yes. Every day. 100%


Wednesday, January 10, 2024

Separates From a Dress Part 2

 Hello Readers. I like dresses but separates can be a lot more versatile. When I saw this gorgeous dress I knew I wanted to take it apart and make separate pieces that I could wear in more ways.

 Before and after.

I used a seam ripper to take the dress apart. I wanted to make a top and I needed the top of the dress by itself. 

The dress had a zipper in the back. I sewed the back together and cut the zipper out . It is basically a sleeveless top that I pull on over my head. I also used my serger around the bottom of the shirt. 
 
  I turned the edge under and sewed around the hem to finish it. No hem is perfect. Perfection is a myth.

The shirt fit well but the neckline gaped open a bit. I made 2 folds at the neckline and pinned them in place. I folded the fabric over on itself to make the neckline smaller without altering the fit through the chest. 

I sewed 2 buttons onto the shirt where the buttons were. It just added a little something to the neckline. 

 I can wear it with the matching skirt I posted about yesterday or I can wear it with other clothes. Thanks for reading along, now go make something fun for yourself.


Tuesday, January 9, 2024

Separates From a Dress Part 1

 Hello Readers. While I love dresses, I think separates are usually a lot more versatile. I decided to break this dress up into parts that I could wear in more ways and with many more clothes. 

Before and after.

I took the dress apart with a seam ripper. I wanted to separate the top from the skirt. Today we will focus on the skirt. 

This skirt was really full and long on me and I wanted something a bit simpler. 

I used a skirt I liked s a "pattern". I already had a finished hem so when I cut out my new skirt I only needed extra fabric for the side seams and the waistband. 

I used my serger to sew up the side seams. This was easy. 

I made an elastic waistband with this peach colored elastic. I used a zigzag stitch to connect the ends of the elastic to make a circle. I like elastic because I like to be comfortable and if I gain or lose weight the skirt is still going to fit.

I clipped the waistband in place so it was evenly set in the skirt. The blue line is the front center of the elastic so I knew it needed to be in the center front of the skirt. 

I used my serger to attach the elastic to the right side of the skirt. I made sure the elastic was evenly stretched/spaced along the waistband. 
 
When I flip the elastic up it is a visible elastic waistband. I could leave it like this. 
 
If I turn the elastic in one more time, the elastic is hidden inside the skirt. 
 
Then I used my sewing machine to stitch the elastic and fabric down from the outside of the skirt. I pulled the elastic so that the waistband would be smooth as I stitched. 
 
And that is it. My new skirt is finished. The fabric is so pretty, I am glad I hid the elastic so it didn't distract from the floral design. Thanks for reading along, now go make something fun for yourself. 
 
 ***Year End Update***- This impressionist painting outfit is a favorite but seems best in spring.


Thursday, January 4, 2024

Dye Bland Colored Clothes

 Hello Readers. Bland colors can bring me down. I don't want to be feeling blah because of what I am wearing. If I can wear something brighter and more cheerful, I will. But what do you do with plain, bland colored clothes you already own. 

A little dye can fix a bland sweater.

If oatmeal has a sweater it would look like this. It's just kind of bland. It's not terrible but it's not great either.

Let's turn to our old trusty friend, Rit Dye. (Not an ad.) I filled up my washing machine and added the dye. Could it brighten up my boring sweater?

It could! I liked this color a lot and it was as easy as washing clothes. 

This is more colorful, more fun and more what I want to wear. Thanks for reading along, now go make some thing fun for yourself.

***Year End Update***- I still love this blue color. And I still love using dye on clothes.


Wednesday, January 3, 2024

Happy 2024!

 Hello Readers. I like to look back at the previous year every January. I went through the posts from 2023 and added a note to the end of each post letting you know what I thought about that project over time. Some things are a huge success and some were more of a learning opportunity. Some things I loved, some I really liked, I lost a couple and one got eaten by my dryer.

You can scroll back and check the projects you want to learn more about. Thanks for reading along and I wish you a happy, healthy and peaceful 2024.

 Chickie

Tuesday, January 2, 2024

An Elastic Belt For a Cropped Look

 Hello Readers. It's 2024! We made it! 2023 was a rough year for so many, maybe a fresh start will help. I have seen some elastic "belts" online that can be used to tuck your top up into for a cropped look. I thought it would be handy to have and simple to make. 

Before and after.

I knew I had elastic I could use. I went digging in my supply drawer and found some elastic scraps. This belt won't show at all so any elastic will do.

I connected my elastic using a zigzag stitch on my sewing machine. I went over the edges of the elastic a few times to make the belt really strong. I used wide elastic but I don't think it matters what the width of the elastic is. Use what you have.

I put the elastic belt over this dress. It doesn't look like much now but wait!

I put a top on top and tucked the hem of the top under the belt. That will make the top look cropped.
 
When I tucked the hem of the shirt under the belt the belt held it in place.
 
I put the belt on, did some tucking....
 
The belt held my shirt up all day and gave the whole outfit an higher waist. This was such a simple project, it only took a few minutes. It will be a great way to change the look of shirts and tops. Thanks for reading along, and happy 2024 to you.
***Year End Update***- I like this elastic belt I made to crop long tops. It's really handy.