Wednesday, February 7, 2024

Depressing to Candy Colored

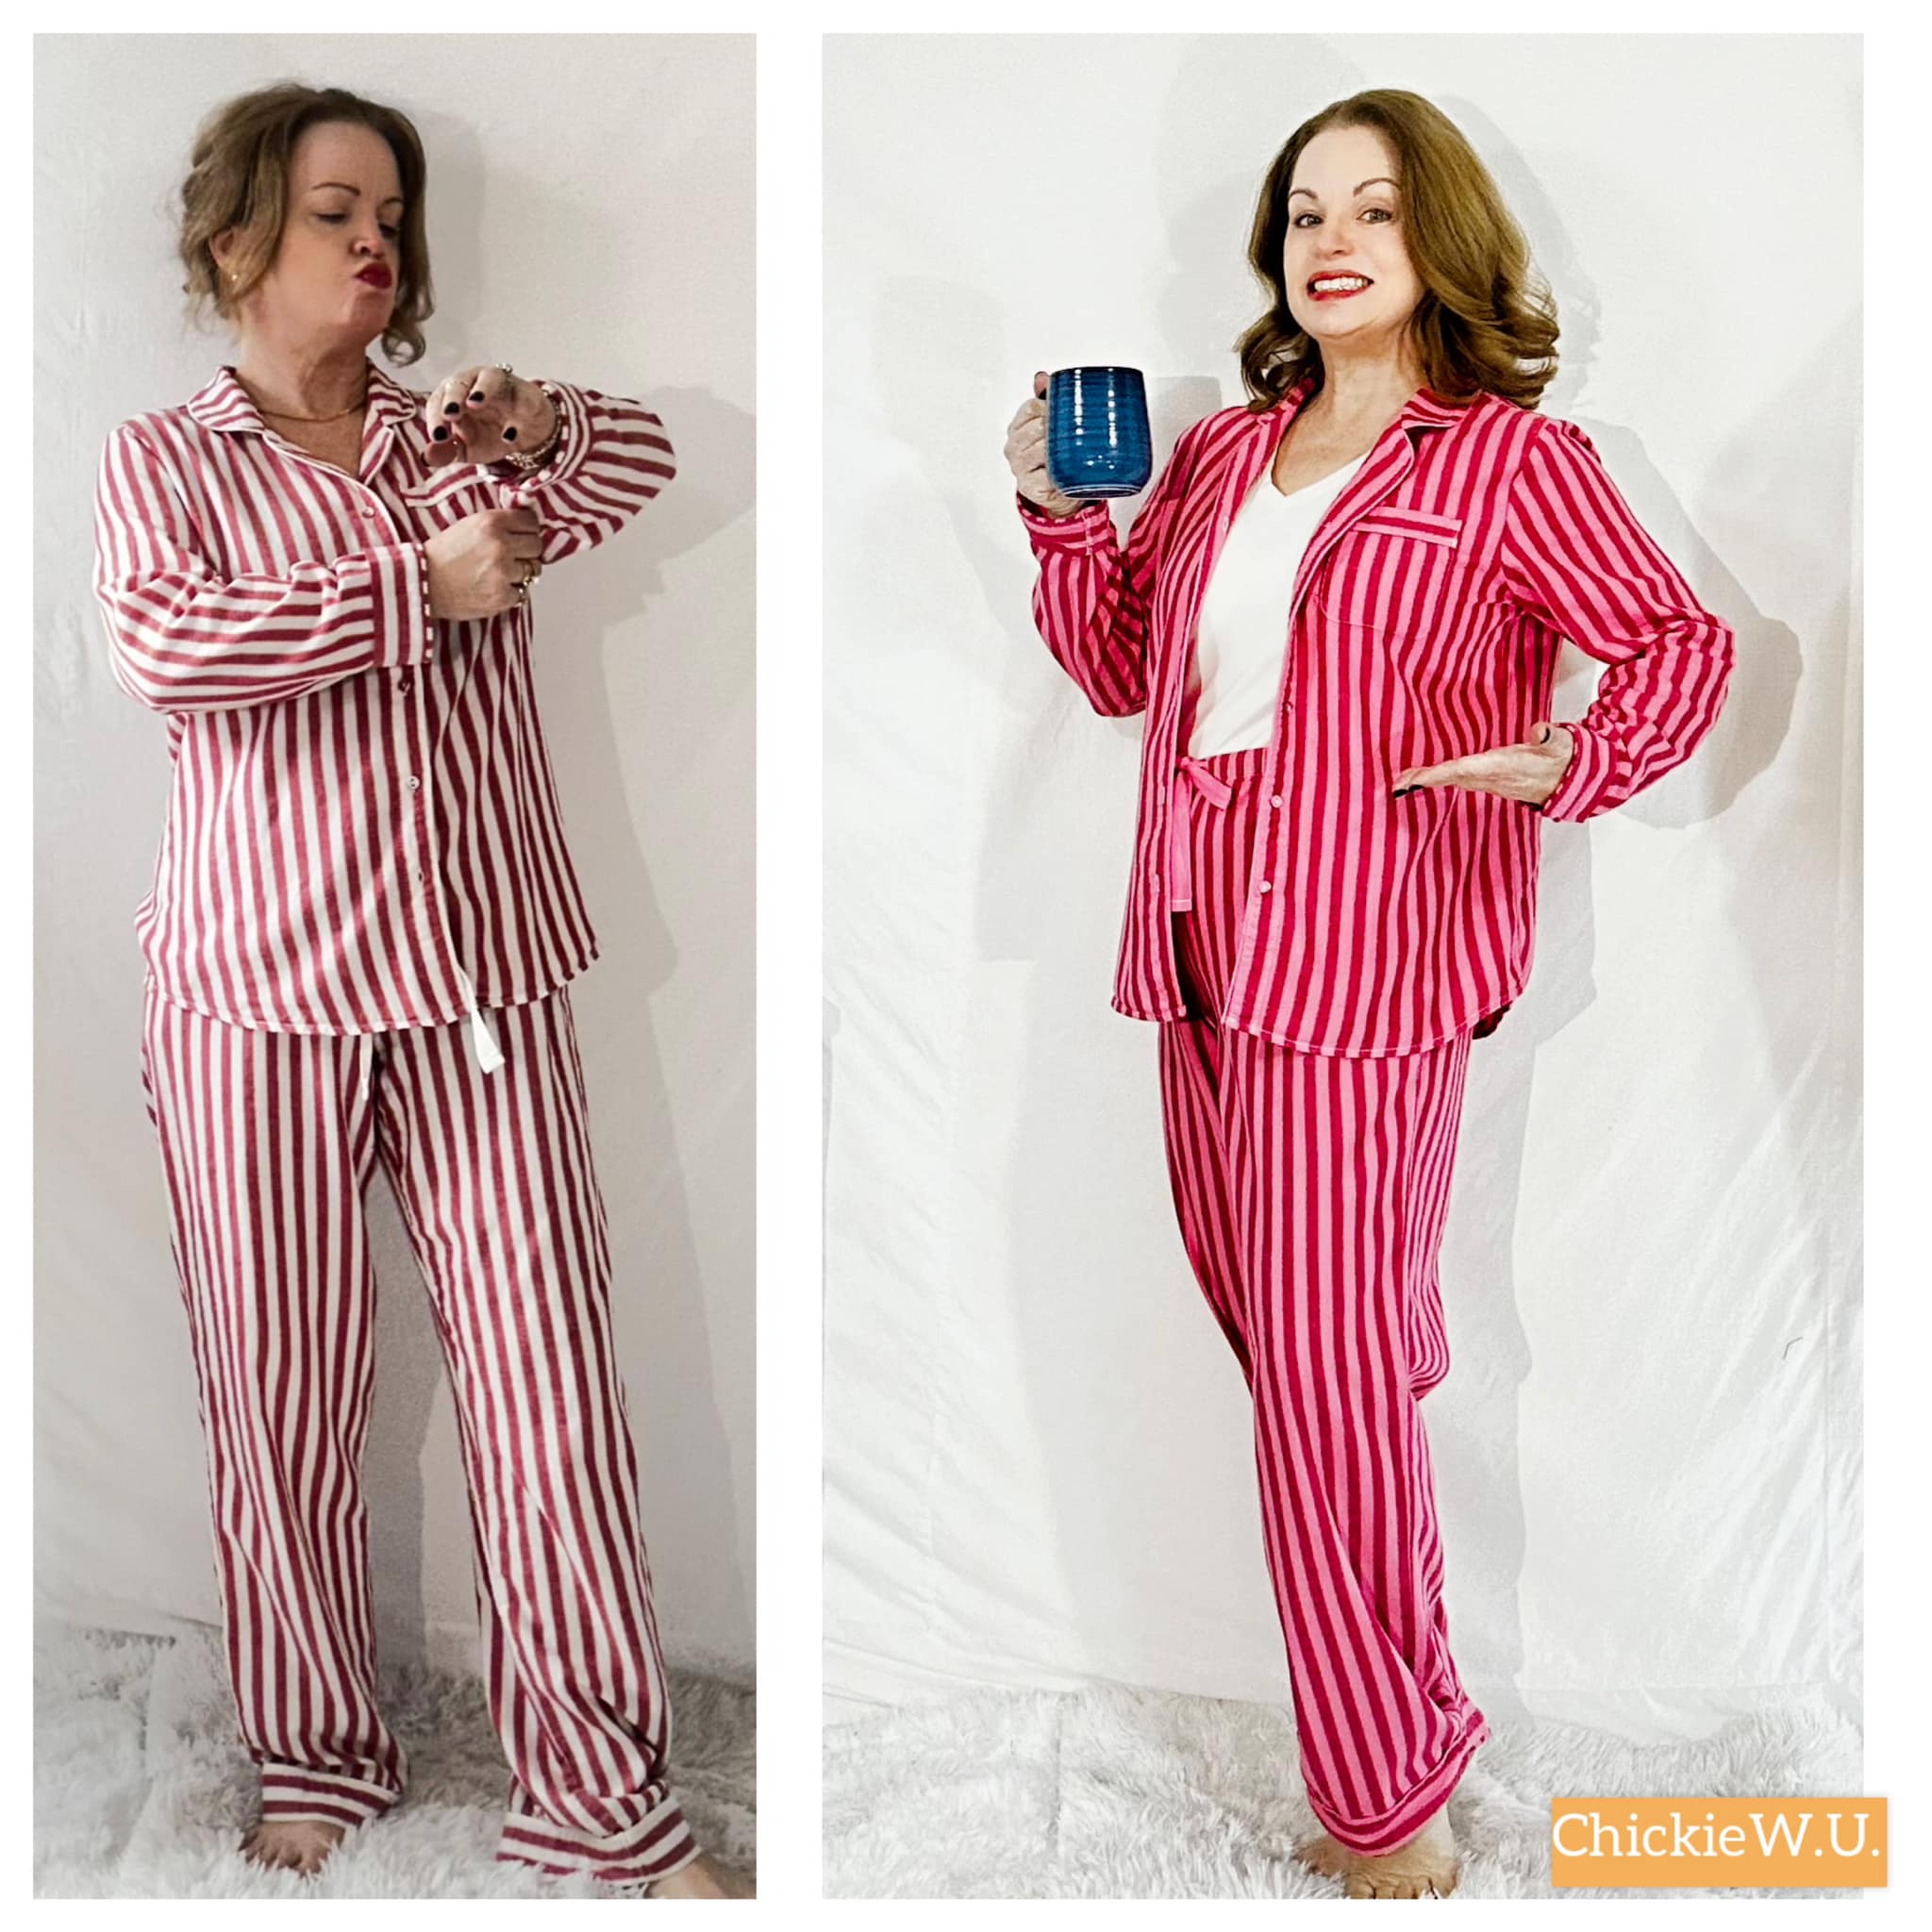
 Hello Readers. I love soft cozy clothes and I love color. These pajamas were soft and cozy flannel and they fit well. But why was the original striped pattern so depressing?

Before and after.

These looked good until I put them on and then I was overwhelmed. I felt like I was in a prison uniform or something similar. I would not sleep well in these. (And I am getting older, I need some sleep.) Why did the red stripes seem so depressing? Whatever the reason, I needed to fix it.

I decided that I would use some Rit dye to brighten up these pajamas. They were 100% cotton so I knew they would dye well. I picked pink because it is almost Valentine's Day. Pink and red would be more cheerful. I put the pajamas in the washer with the dye and let them work together.

I checked on them during the rinse cycle and I liked what I saw.

When they were done in the washer, I put them into the dryer.

I turned the cuffs up on the pants and the shirt and stitched them in place. I am short so this will help me not trip and fall. I do that often.
 
I loved the new color. It was so much more fun. It made me think of old fashioned ribbon candy.

Thanks for reading along, and sweet dreams to you.

***Year End Update***- These are so soft and warm and cheerful too. Fun jammies are the best!


Tuesday, February 6, 2024

Poncho to Sweater with Hood

 Hello Readers. I found this poncho/shawl/wrap at a clothes swap and after some thought I realized I could change the shape of the shape and add a hood without any extra fabric.

Before and after.

This poncho was big and loose and it was perfect for refashioning into something else. I wanted a sweater with a loose hood.

I used a seam ripper to remove the little stitches that made the arm holes. 

I thought that the back of the poncho was wide enough that I could make new arm holes where I am pointing with my finger. Then the poncho would wrap around to the front of my body. That way I could use the front scarf pieces as the hood. 

I cut slits for the arm holes. 

The stripes made it easy to make two symmetrical cuts.

I used my serger to finish the edges of the new arm holes. This sweater has a loose weave that will fray.
 
I connected the ends of the scarf pieces. I made sure the right sides were together. 
 
It can be a big hood when it is in the back but...

Because it is a big circle it can also be an infinity scarf. 

It has been really cold and windy where I live so having a way to cover my hair and keep it from getting blown in my face is very helpful. 

I think layering a lot of clothes is the only way to survive this winter. It's all about the layers. And I love this new layering piece. Thanks for reading along, now go make something for yourself.

***Year End Update***- This sweater/scarf/jacket is a nice layer. It keeps my hair from blowing around in the wind but doesn't crush it.


Thursday, February 1, 2024

Cover a Bin With A Shirt

 Hello Readers.Why would you cover a bin with a shirt? Well, this shirt was super cute. The fabric had little clothes lines and hanging clothes all over it. It was a medical uniform shirt but that fabric seemed like it should be in a laundry room. So, that is where it went.

 Before and after.
 
Why would my medical professional be wearing this clothes line shirt? I didn't get it. But the fabric was so cute. It gave me an idea. 

I found this bin at Target. It was a great size and shape to hold my laundry supplies in my laundry room. 
 
I want something to hold all these detergents and supplies. They get knocked around and sometimes lost behind the dryer. It's annoying.

I tried the shirt on the bin and realized it was bigger than I needed. That was OK. It would work fine as long as I could fit the bin in the shirt.

I compared the shirt and the bin and realized the shirt was longer than I needed so I cut the shoulders and sleeves off to get them out of the way.

I want the fabric of the shirt to cover the whole bin. I don't want the white plastic to show. By placing the hem of the shirt along the bottom of the bin I will get a really nice clean look with no extra work.

I wanted the fabric to stay put on the bin. I used my hot glue gun to make that happen. I started by putting a spot of glue at the base of the bin. Then I pushed the fabric down on the hot glue. (Be careful-IT WAS HOT!!!)

I glued my way around the bottom edge of the bin. 

I mentioned before, this shirt was bigger than the bin. You can see the extra fabric here. I had glued my way around the bin and the extra fabric was at the back of the bin.

I glued the extra layers of fabric down to the bin too. 

I just added spots of glue until all the shirt was glued to the bin. This would be in the back so it won't show but it will still look nice. 

I held the fabric in place while it cooled. It made the fabric smooth and neat.

I glued the fold of the fabric to itself and worked my way up to the top edge of the bin. 
 
I held the folded fabric in place as it cooled so it would be smooth and neat.
 
I added spots of glue along the top of the bin. 
 
I pulled the fabric gently so it was smooth over the top of the bin. I worked my way around the top of the bin. 
 
The top of the shirt was tucked down into the bin.
 
I glued the edge of the shirt to the inside of the bin. I glued all the way around the inside of the bin as well. 

Everything was glued in place but I wanted to cover the cut edge inside the bin. I used this wide white ribbon to cover the fabrics edge. 

I glued the ribbon with spots of glue all the way around the inside of the bin.

When I got back the the beginning of the ribbon, I folded the edge under and glued that down to hide the raw cut edge of the ribbon. 

The ribbon covered the cut edge of the shirt and gives it a really neat look. 
 
I gave the dryer a quick wipe down.
 
 
I put all my laundry items in the bin.
 
Everything was tucked away nice and neat but still easy to reach and use.
 
Thanks for reading along, now go make something fun for yourself. 
 
***Year End Update***- This little bin is still in my laundry room and my boys can always find the laundry supplies without my help. 


Wednesday, January 31, 2024

Altering Wool Pants With a Lining

 Hello Readers. I love to go to thrift stores and clothes swaps. I found these wool trousers at a recent clothes swap. They were vintage and still had their tags. That was a great find. Wool is so warm in the winter, these will be wonderful. 

Before and after.

These pants were way too long. (*Spoiler- I am way too short.) I knew I might have to do some hemming but for vintage clothes... it's worth it. 

I cut the excess length off. That was easy.

You can see some hand sewing on the inside of the hem. That is so the pants do not have a visible hem on the outside. I hate hand sewing. Was there a way to do this hem without using a needle and thread?

I had an idea to do this a different way. It is all made up in my head because I will always try to find a quicker and easier way if I can. To start I cut the lining shorter than the outer wool layer. 

My next step was to use my serger to sew the bottom of the lining to the bottom of the wool layer. 
 
When I straightened out the layers the lining held the end of the wool layer inside the pant leg so the stitching was hidden. I gave it a really good press with my iron. 

The hem is invisible from the outside. I think my idea worked! It was quick and easy too. Thanks for reading along, now go make something fun for yourself.

***Year End Update***- These pants are so nice and warm in winter. This is also one of my favorite colors.