Friday, August 5, 2022

Happy Warm Sunshine Dress

 Hello Readers. I can't believe it is August already but here we are in the heat of late summer. August makes me think of sunshine and warm happy days. That is my theme this month, Happy Warm Sunshine! I found this plain white linen dress at a swap and knew it was a perfect blank canvas for a refashion.

Before and after.

Linen is so light and breathable in the heat of summer. I knew this dress would be comfortable. It's perfect for August. This dress fit pretty well. linen doesn't stretch so it couldn't be too fitted. Some cons for this dress were that I thought it was a little long on me and I thought the white was a little boring. I can fix both of those things, let's go.

I cooked up some yellow dye on my stove. (Rit dye to be precise. This is not an ad. They do not know me. I wish they did though, I love them.) I did not want to dye the whole dress. I wanted to dip and hang the dress so it had variation in the color. I did not dye the shoulders at all. I put the dress on a hanger and hung the hanger on my microwave. 

I waited about 10 minutes and moved the dress up. Then I waited 10 minutes and moved the dress up again. 

I have a cabinet above the microwave and I used that to hang the dress at the end of this dye process. You can see the dress has some uneven shades of yellow. That's OK. I like it. If you want very even color form the dye you need to stir the dye and the garment continuously. When I was done I rinsed the dress well and gave it a quick wash and dry.

I shortened the dress by cutting 6 inches off. I measured it to make sure it was even.

This is a quick over view of the hem and the cotton lining underneath the dress. 

This dress was much better a bit shorter, it just needed a sunny day to go out.

    I tried to match my son, go to church and take a picture. All in one morning. It was a lot but I managed to do it all. Thanks for reading along, now go make something fun for yourself.
*Year End Note From Chickie- This dress still makes me so happy! The color is just fun.


Wednesday, August 3, 2022

Collage Top Pattern Review

 Hello Readers. I recently tried out the new Collage Gather Top pattern from Matchy Matchy Sew Club. I really liked it so let me tell you all about it.

 I made 3 of them. Yes, I really liked it.

When I saw the new Collage Gather Top pattern online I decided to get it. I am really glad I did because it turned out so cute and it's such a great scrap buster too. 
 
I printed the pattern out on my printer, cut it out and put it together. This I was the hardest part for me, but it is nice because I didn't have to go to the store. I could print and cut this out at 11pm.
 
I used fabric samples from my mother-in-law, a stained dress, a "grandma" shirt, my husband's old shirt, tight linen pants, and scraps from a navy blue t-shirt. And maybe one or two other fabrics that I can't remember. It's great to use up pieces that are too small to make a whole garment.
 
This pattern has separate pieces for the center front, center back and multiple shoulder and side pieces. The multiple separate pieces allow you to use lots of different fabrics and mix them up. We all have small pieces that we want to use. I know I have tons of different small pieces in my stash. 
 
The shirt can have long sleeves or very short sleeves that are part of the shoulder pieces. Since it is summer and the world is on fire I decided to make short sleeves.

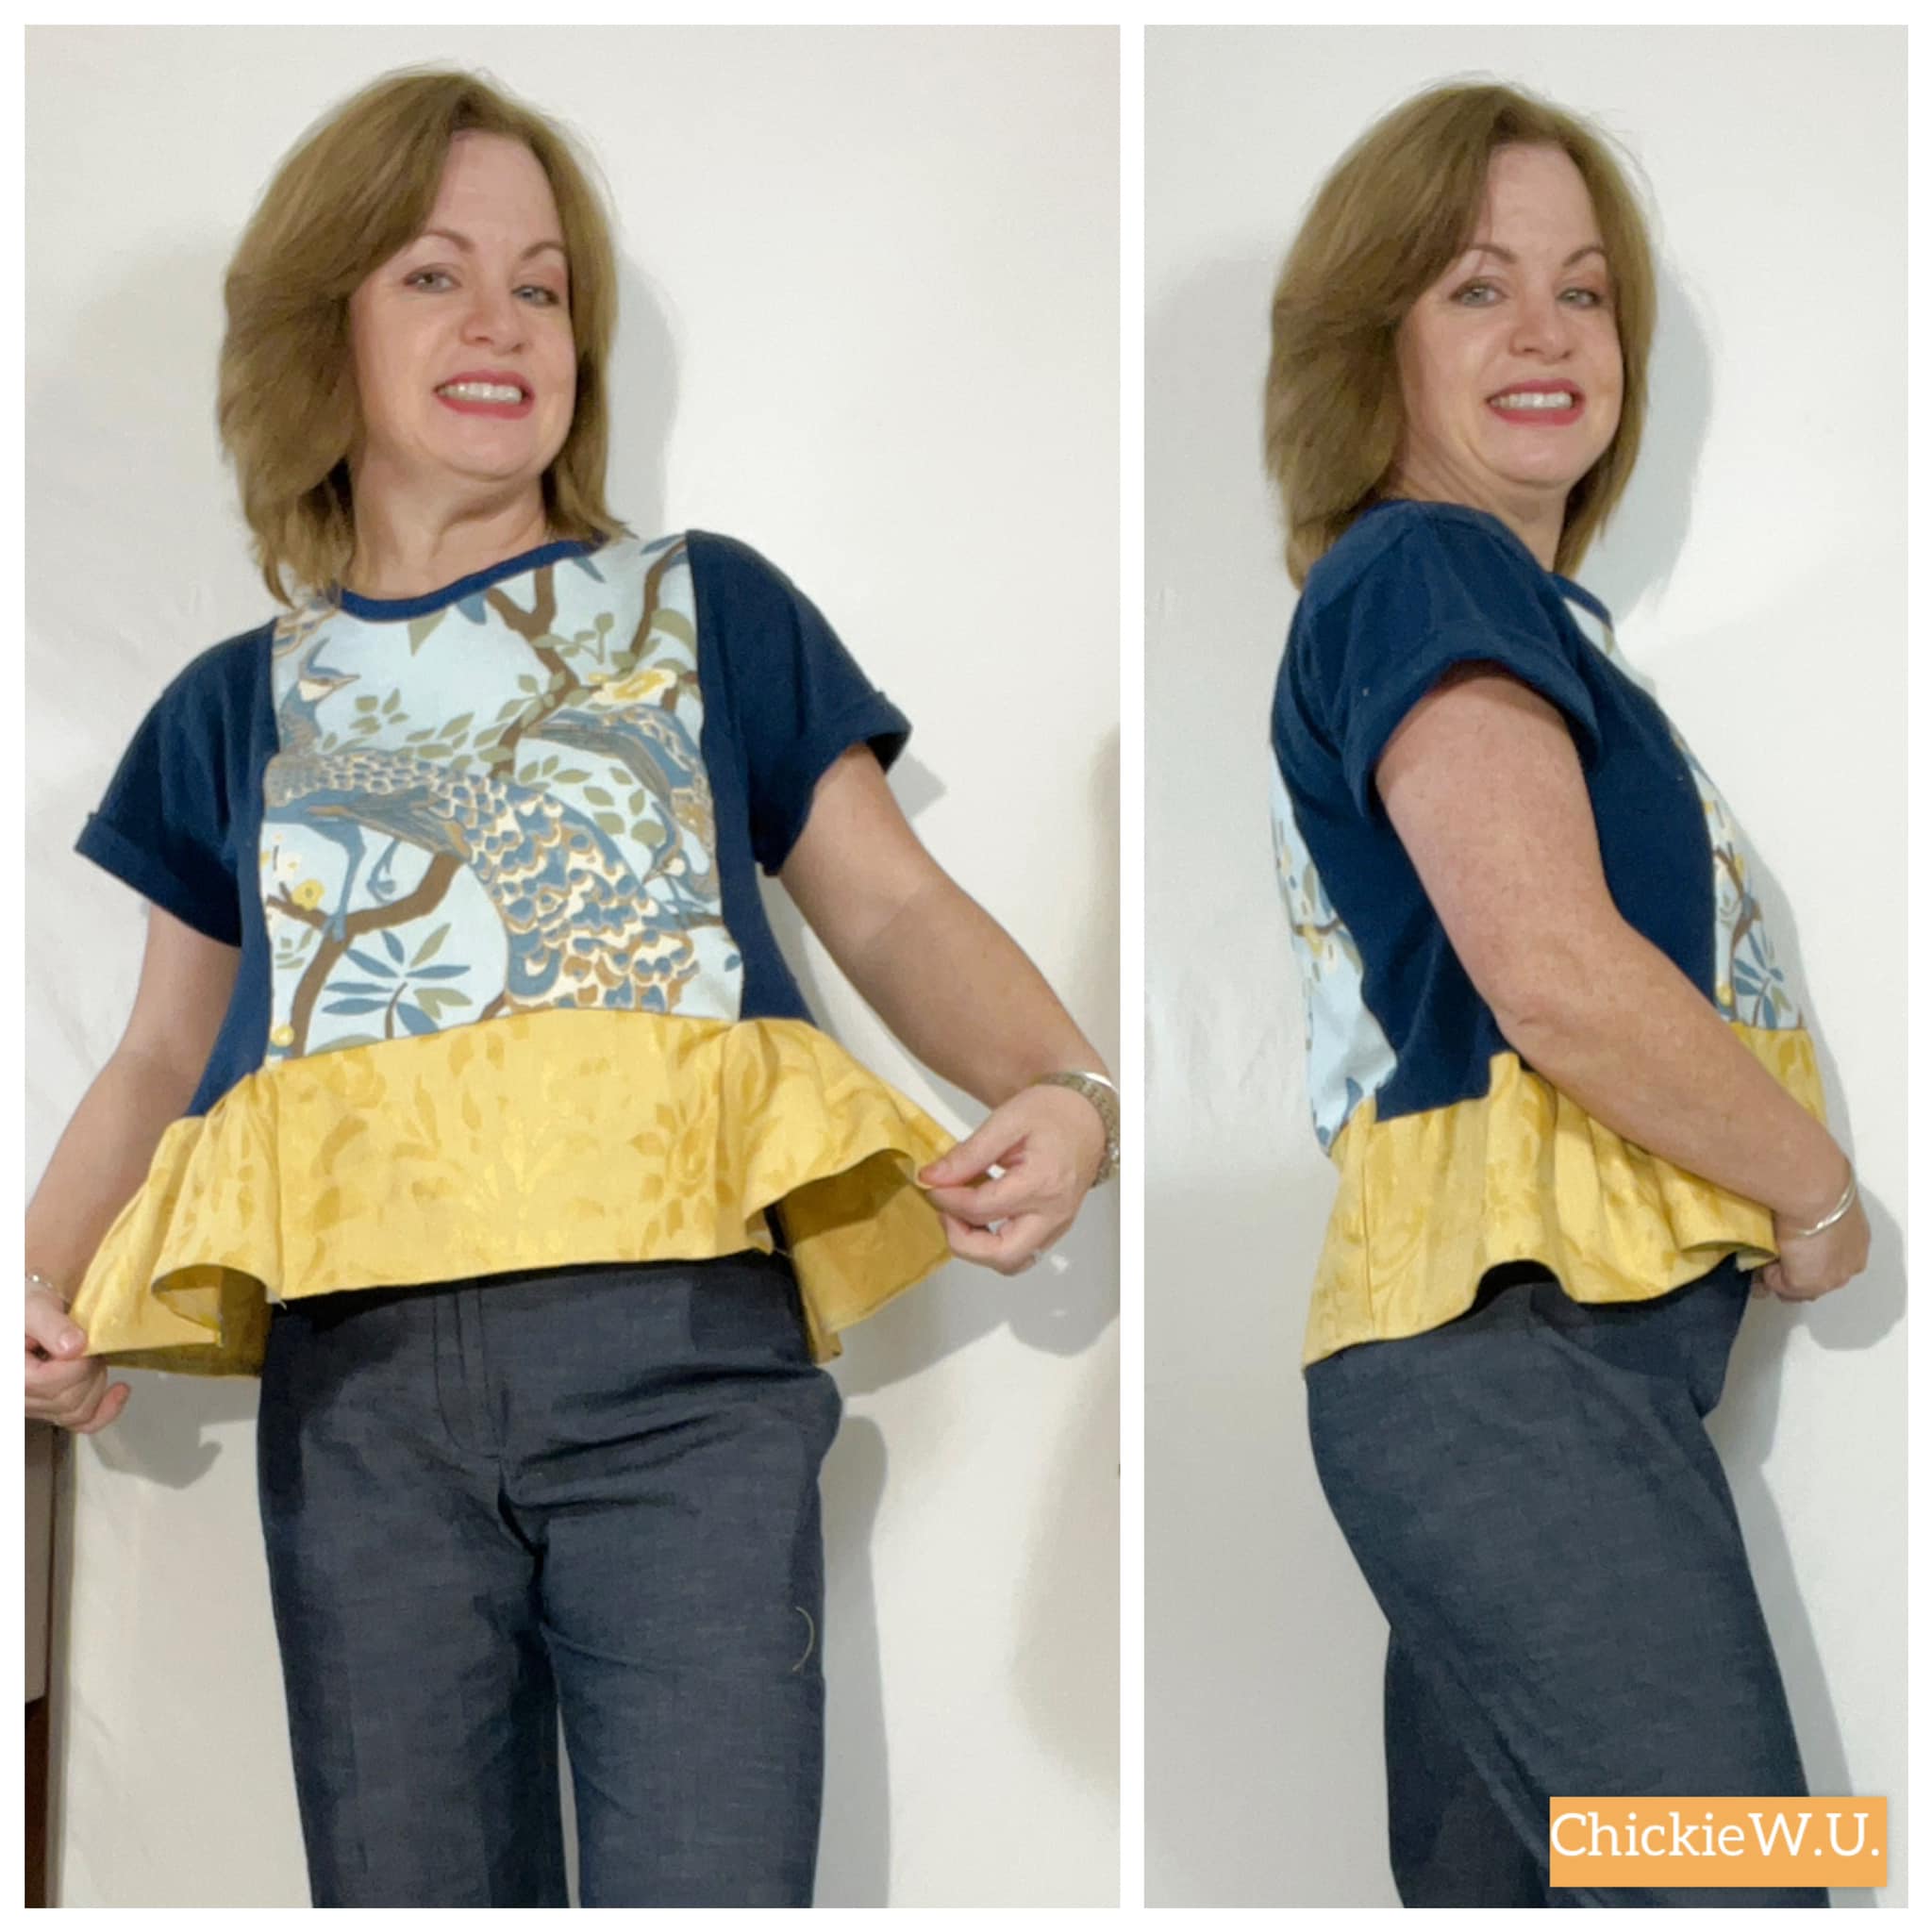
There are also lower pieces. They make a sort of peplum on the sides. They can also use up even more coordinating pieces from your fabric stash.

I liked this top so much that I made 3 of them. I couldn't stop. I had fun putting different fabrics together.
 
I think this one is my favorite. It has rayon center panels and lace sides, the drape was really pretty.
 

 The heavier weight fabrics would be great for cooler weather too. Thanks for reading along, now go make something fun for yourself. 
*Year End Note From Chickie- This was such a great pattern. The different pieces made it fun to combine fabrics. The heavier linen I chose was too heavy for a shirt, I recommend lighter weight fabrics for this one.


Friday, July 29, 2022

One Shoulder T-shirt

 Hello Readers. I wanted to make a top to go with my wrap shorts that I showed you in the last post. I really needed one shoulder exposed. Why? Read on and I will tell all.

Before and after.

This was just a navy blue men's t-shirt. It was not fancy or special but it was perfect for what I wanted to make.

I cut a basic one shoulder shape and saved those excess pieces for next time. The strap is as long as possible so I had enough to tie at my shoulder. The tie will make it easy to adjust the fit. If the top is too low cut tie the knot tighter at the shoulder, it's is so easy to adjust.

I sewed up the sides with my serger so my shirt would actually hold together. You could also use a zigzag stitch on your sewing machine to stitch up your sides.

I tried it on and worked with the shoulder tie to make sure that the important bits were covered. 

The purpose of this shirt was to expose this one shoulder. When I was 25 I got this small shamrock tattoo and it is so faded. I turned 50 this year so I decided to get it refreshed. I knew it would be easier in this style shirt. And it's great with the wrap shorts.

Here is a look at the freshened up tattoo. I highly recommend the Blue Heron Tattoo shop. Thanks for reading along, now go make something fun for yourself.
*Year End Note From Chickie- This was a great combo with the shorts. And it really worked for the tattoo situation.


Friday, July 22, 2022

Blue Lace Upcycle

 Hello Readers. It is summer sundress season. Yay for warm weather and sunshine. I found this blue eyelet lace dress at a swap and thought the blue lace fabric was just gorgeous. It turned out to be a little too tight in the bodice. I couldn't even show you how tight. (My cups runneth over y'all!) You'll just have to trust me on this. 

Before and after.

Look at the pretty lace! I cut the tight bodice off and cut a middle portion that I would use for straps. I measured and decided how long the shirt should be. I wanted the bottom of the dress to make the body of my shirt. It was the prettiest part of the dress and it had a nice scalloped edge that I wanted to save. My shirt will be about 16 inches long in the body and I will be adding the straps to it. 
 
I sewed the lining and the right side of the lace outer layer of the dress together. That will make the body of my shirt.
 
This is the center piece of the dress. I cut the front and back from each other so that I had 2 pieces. I needed 2 straps so I needed these 2 pieces.

I ironed the pieces flat and saw how uneven they were. I cut then to be even and made 2 wide straps.

Here is quick overview of the making of these straps.

I had to put the straps onto the shirt. I wanted to make sure the straps were sitting evenly on the front of the shirt so I used my dress form to try and pin it all together.

I attached the straps at an angle to cover my bra straps better. You can see more about that in this clip.
 
This was a fun summer refashion. The cotton lace breathes well and I love the color. This beautiful garden is at my daughters house and that bench was really hot and burned my bum. Thanks for reading along, now go make something fun for yourself.
***

What about that blue t-shirt? I was going to use it for spare parts if I needed it.

I cut the logo off the shirt.

It looks like I cut a triangle off the front of the shirt. And, I sort of did just that. I wanted to make something wearable out of this shirt so I played around with it a little. 
 
I cut the neck band off and turned the whole shirt around. The plain back was going to be the front now.
I tied a knot at the neck and the waist. Its like extra ventilation for this heat wave.
*Year End Note From Chickie- The lace shirt was an instant favorite. It is so pretty and summery but not white. I tend to get white dirty. 
I haven't worn the open back shirt since the weather got cold. I need to bundle up if I go walking now.


Wednesday, July 20, 2022

I'm a (Seer) Sucker

 Hello Readers. I hope you are enjoying some summer sun and fun. I know it is vacation time for a lot of people but most people are still working during the summer too. It is hard to get fully dressed on hot days and I am always looking for ways to stay cool. I thought these seersucker pants would be great. They are light and airy. A matching top was all I needed to be ready to go to work.

 
Before and after.

This outfit had potential but it was pretty bad as it was. I love hand-me-downs and I was ready to make this into something fun but professional enough to wear to casual work environment. I work for a greeting card company and it is business casual so I never get too dressed up.


To fix these beautiful seersucker pants I had to resize them. I tried them on inside out and marked where the side seam should be on the pants. I stitched down the side of these pants to make my new seam. You can see the thread of this new seam in the white pocket area. 

I tried the pants on again to check my new seam and then if I like it, I cut off the extra fabric. If the pants are too tight I can unpick the seam and and do it over. If the pants are too loose, I can make a new side seam and make the pants tighter. I can adjust certain areas that need to be smaller or bigger. When I am all done I cut away the excess material and sew the side seam again to make it stronger and keep that cut edge nice and neat.

This shirt was a little big and and a little long. It was also sleeveless. I cant wear sleeveless shirts to work so I had a plan to remodel this shirt.

I used the same "Try-It-On" method for the shirt. I tried this shirt on inside out and marked the shirt where I needed to sew a new side seam to make the shirt fit. The armholes were hanging too open and it was revealing too much bra area. I made the shirt a little smaller, with attention to the armhole are in particular. My bra is my business. I wanted to keep it that way. Especially at work! 

Again, just like the pants, when I had the size right, I reinforced the side by sewing it again. I used my serger to make a strong side seam and finish the cut edge so it wouldn't fray.

The shirt was very long on me and I decided to cut that excess length off. I wanted a shorter shirt. I also wanted to use that extra fabric to make some sleeves.
I traced the side of a dinner plate to get a curved shape. These are going to be small cap sleeves. It's too hot for full sleeves. The shirt is folded so I could get 2 sleeve shapes from the fabric.


I cut out my sleeves at the same time so they would be identical.

The sleeves are going to fit into the armholes like this. They will just cover the top of my shoulders. They are like a minimal sleeve. I put the sleeve in and stitched right on the white stitches that were already at the edge of the armhole.

I gave the shirt a hem and it was done.

Video summary.

I liked how this outfit turned out, I still had to go to work but that's life. Thanks for reading along, now go make something fun for yourself.
*Year End Note From Chickie- These were great in the heat of summer to wear to work. They will come back out of storage when it gets warm again.


Sunday, July 17, 2022

Make a Model of Yourself for Sewing

 Hello Readers. Sewing is a lot of work. One tool I really like to have is a dress form. A dress form can hold the clothes while you work on them. Most modern dress forms are adjustable and you can easily change the size to match your size. But what if you don't have a fancy modern dress form. Read on for an easy way to make a perfect model of yourself to use in your sewing.

Chickie W.U. and her perfect match.

I gathered all kinds of padding. I used the removable cups from some bras and some soft cotton batting. I also grabbed a few elastic rolled bandages with Velcro edges. Then I used a tape measure to see exactly what my current size was. 
 
I started with the bust and kept adding bra pads until I got a size measurement that was close to my own body. The closer it is, the better it will be for trying clothes on it and seeing if they will fit me well. 
 
When my dress form was all finished it looked a little like a mummy. I wrapped the bandages tight to hold all the different padding in place. The Velcro on the bandages has held on well and my dress form has stayed wrapped with no problems.
 
When I measured and added padding I tried to be ruthlessly honest about where I was bigger than the dress form. That includes the stomach and bum. If the clothes are too small for the dress form than I know they will be too small for me. This is going to help me make accurate sized clothes. This is not the time to pretend that 3 kids has not changed my body. I have a mom tummy. It is what it is. My dress form is a little lumpy (So am I.) but it has worked great for sewing.
 
Here is a bit more about the padding and wrapping. Thanks for reading along, I hope this idea helps in your sewing.
*Year End Note From Chickie- This is so useful! I wish I had done this sooner. I use it all the time when I sew.