Wednesday, May 15, 2024

Vintage Dress 2

 Hello Readers. I am trying to get some vintage dresses off my refashion to-do list. This vintage house dress was the softest cotton and I love the colors and design of it. It was a little frumpy though. Let's get to work. 

Before and after.

This dress was cute, cozy and shapeless as heck. 
 
I decided to cut this dress in half so that I would have a separate top to wear with other clothes. I loved this fabric so much I wanted to wear it as much as possible. 
 
I used my serger on the hem of the shirt to keep it from fraying.
 
  I folded it under and itoned the shirt hem. Then I sewed it down with my sewing machine. I like this method for light weight fabrics. It makes a less bulky hem than if I were to fold it under twice and sew the hem. 
 
I made a small hole in the hem of the sleeves and threaded elastic through the casing. The elastic at the ends of the sleeves will make them a little puffy.  I thought puffed sleeves would be fun. 
 
Here is my new shirt. I love the big florals. Let's get to the skirt.

I took the skirt piece and pinned elastic to it to make the waistband. I wasn't sure if I wanted the red elastic to be visible or not. Was it too much??
 
I used a zigzag stitch to attache the elastic to the waist of my new skirt. 
 
I love the red waistband! This is so colorful and fun! My mental health improved my 73% just looking at this. Thanks for reading along, now go make something fun for yourself.


Tuesday, May 14, 2024

Vintage Dress 1

 Hello Readers. I love vintage clothes. But the choice of scratchy polyester back in the 70's has never made sense to me. I am not a fan. This beautiful blue dress was made of the scratchiest polyester you can imagine.

This dress is not only itchy, it's too tight also. 

I saw this ad from JCPenny. This outfit caught my eye because of the light blue pleated skirt. It's fabulous with the casual shirt and sneakers. Could I make a similar outfit? I bet I could.

I cut the top of the dress off. That was the itchiest and scratchiest part because it was right against my skin. I pulled the zipper all the way down so that I could keep it in my new skirt. 

I pulled out some stitches so I could fold the zipper into my new waistband. 

I folded the waistband down and sewed it in place. This polyester won't ever fray so there isn't anything to worry about when cutting it and making it into something new. 
 
I cut some length off the skirt because it was very long on me. I wanted to try the length a bit longer than the model. I wanted closer to the knee. 
 
I sewed a new hem. The only issue was that I flattened the pleats at the new hemline. I could still see them but they were no longer sharp and crisp. 
 
I used a hair straightener to squeeze the pleats back in place. With the heat coming from both sides of the straightener, the pleats were very nicely finished in no time. 
 
Here is my new outfit. I love the look. The A-line skirt doesn't scratch and itch like the tight dress did. Thanks for reading along, now go make something fun for yourself.


Monday, May 13, 2024

Orange Week Part 4

 Hello Readers. If you like the color orange, this past weeks posts are for you! I love orange and it showed in the past week. 

New orange dress!

I found this fabric at the thrift store. It was covered with oranges. I like orange and it was only a few dollars. I was sold.

I wanted to make a loose comfortable summer dress. I had this pattern McCall's pattern that actually said "EASY" across the front. It is Stitch 'n Save by McCall's #8026. I wanted to make the sleeveless version of the dress.
 
 There were 2 bodice pieces and 2 skirt pieces. I cut them out and clipped them together. It was very easy to figure out how to put the pieces together. These clips helped keep the bodice and the skirt together for sewing. 

I used my serger to join all the pieces. It makes really neat seams inside the clothes. 

The basics were put together. The only deviation from the pattern is in the back. I made the waist ties much wider than the pattern called for. I just thought it would be fun. I needed to finish the arm holes, the neck hole, and the hem. 

I used bias tape to finish the armholes and neckline. I sewed the bias tape to the right side of the fabric.

Then I turned the edge in and stitched it down. The bias tape is hidden and the edges look nicely finished. 

This seemed a little too long. I used a pencil to mark where my new hem should be. 

The shorter length was going to be perfect for a hot summer day. Thanks for reading along, now go make something fun for yourself.


Thursday, May 9, 2024

Orange Week Part 3

 Hello Readers. I was in the mood for bright colors. This combo seemed like a great combo. I just had to get the pink shirt to fit a little better. 

 
Before and after.
 
I found this pink top at the thrift store way back when I had just seen the "Barbie" movie. The pink color and the puffy statement sleeves really caught my eye. The shirt was a little loose and too low in the V-neck. If I leaned forward it was like a free show. I wanted to fix that and a more fitted top would look better with the loose pants. 
 
 I saw this color combo on Pinterest and was inspired to put the pink top and orange pants together. 

I wanted the shirt more fitted and the V-needed to be higher. I decided to sew a new seam down the front. That would fix both problems. 

I turned the shirt inside out and folded the front in half. That way I could sew straight down the front of the shirt. I cut off the excess fabric from the inside of the shirt. 

I also sewed new side seams just to take a little more from the body of the shirt. 

I made the waist area just a bit smaller.
 
 The new fit of the top looks better with the loose wide leg pants and the V-neck isn't as low anymore. Thanks for reading along, now go make something fun for yourself. 

*** FOOTNOTE ***
My older son just asked my why I was dressed as Dora the explorer. Use caution with this color combination.


Wednesday, May 8, 2024

Orange Week Part 2

 Hello Readers. I really went wild for the color orange and made a top to go with my orange pants. I found this orange fabric at a thrift store months ago and it looked so fun and summery. Let's make a orange top. 

You can't have too much orange, right? I hope not because I had a good amount of this fabric.

I wanted a simple shirt and this pattern was perfect. The orange fabric is the star of the show here. I chose the pink top on the front of the pattern. This is Very Easy, Very Vogue 8062. (Spoiler- It was very easy.)

I cut out all my pieces and adjusted the length of the top by folding the paper pattern piece. 

I put the neck facings in place with clips. 

I used my serger to put all the pieces together. This was a fast sewing project. 

I turned the ends of the sleeves under and sewed a basic hem and I did the same with the hemline. 

This orange shirt was perfect for my orange pants, and it is so fun. And I still have some orange fabric left to make something else. Thanks for reading along, now go make something fun for yourself.


Tuesday, May 7, 2024

Orange Week Part 1:Dresses to T-shirts

 Hello Readers. I went all in on the color orange this week. I really like this color and I realized I had several orange pieces on my refashion rack and it was time to get them finished. Nothing was wearable so, I needed to get cutting and sewing.

I think if you are going to wear brights, you have to commit 100 % to it. I tried to go all in.
 
I found these wide leg orange slacks at a thrift store. They were new with tags, so were the matching sandals. I loved the wide leg style but the length was no good. 
 
I gave them a big cut in length and a new hem. 
 
This was much better. Now let's make sure I have some tops that match. 
 
I had this t-shirt dress with orange stripes that I did not wear often or ever. Lets make a t-shirt. I don't need to dress up for work anymore so I could really used a few casual t-shirts.
 
I cut the length I wanted. The best thing about t-shirts is that they don't fray. Even after washing and wearing repeatedly. I did not need to hem this if I did not want to. (Guess what? I didn't want to.) I knew I was going to tuck this in so no one would ever see the hem anyway. (Shh, don't tell.)

This mini-dress was wild and wonderful. I found it at the thrift store when I found the orange pants. I loved the bold fruit print on it. Let's make a t-shirt. 

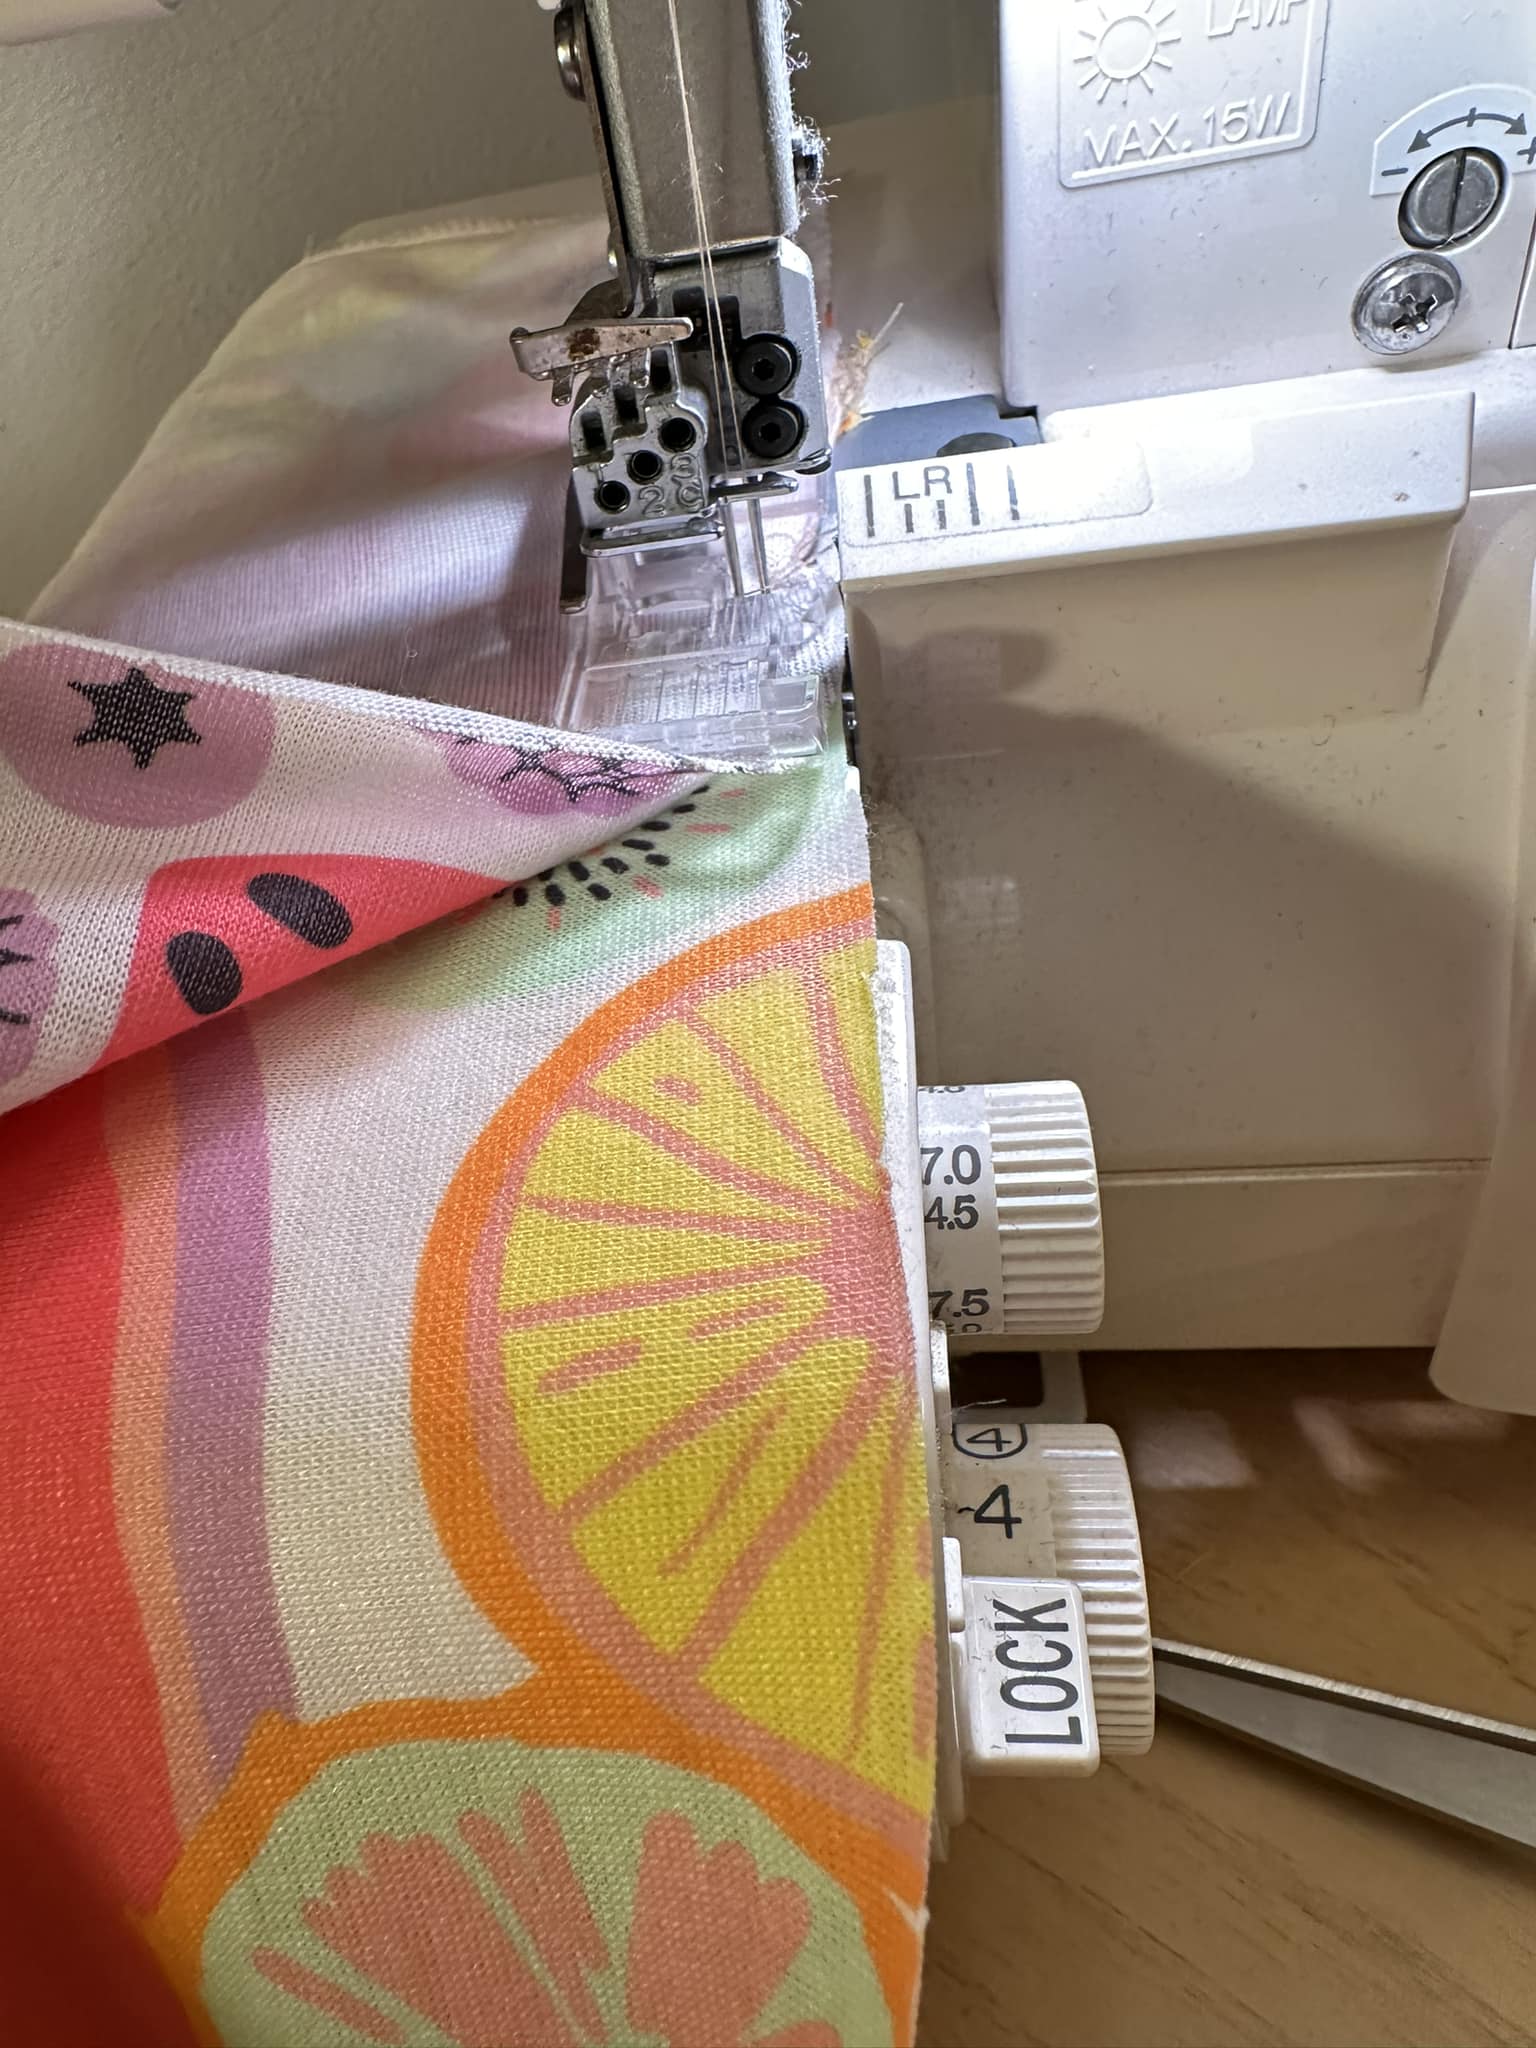
This dress was an A-line shape so when I cut it shorter, I also had to cut the sides straight.

I put the right sides together and sewed down the sides to put them together. 

 
I loved these shirts and these orange dressy pants.
 
But my orange binge wasn't over yet. I will be back with more tomorrow. Thanks for reading along, now go make something fun for yourself.