Friday, July 15, 2022

Blue Denim Shirts

Hello Readers. I decided to spend the rest of the month on blue refashion and upcycle projects. 2022 has been rough all around so I am just going to be blue this month. I had a couple of denim dresses that were handed down to me from my daughter. The thing is, I had a denim dress. I really needed a denim shirt. I love patterned and brightly colored clothes and a denim shirt goes with all the wild clothes I found at swaps and thrift stores. 

 
Before and after. 
 
This dress wasn't very flattering on me and I didn't mind turning it into something else. Let's get sewing.

I cut it into a shirt that was long enough to tuck in. But then I changed my mind and...

I cut it into a shorter cropped length. It had buttons and I thought it would be great open or closed. #versatility 

I decided to add a little decorative stitch at the hem just for fun. 

My sewing machine was made in 1943 and it came with these disks that you add onto the machine. The designs are shown on the disc. 

I put the disc on the machine and screwed a solver cover on it. 

It looked like this while it was stitching away. 

I liked this shirt and all its options. It could be a buttoned up shirt or an open little jacket.

I also had this second dress. It was a little darker in color and the buttons in the front of it were fake.

This dress got a big cut and a simple new hem. I needed a basic denim shirt that could match any wild pattern I wanted to wear.

I knew I wanted this shirt to go with these shorts. 

I knew I wanted to tuck it in.

 
And I was ready to to go with my wild patterned shorts. Thanks for reading along, now go make something fun for yourself.
*Year End Note From Chickie- I didn't realize how much I needed denim shirts until I made these and wore them with everything! They were both great for me.



Wednesday, July 13, 2022

Let's Go For A Walk

 Hello Readers. I don't know what 2022 has looked like for you but it has not been my best year. I always try to be positive because I don't want to bring myself (Or anyone else.) down. But dang! This year has been lousy. I am trying to get more exercise and for me that means going for a walk to improve my outlook and general mental health. So, let's go for a walk.

 
Before and after.

 Comfortable exercise clothes are always a good idea. This combo seemed like it might be good for getting active. It needs some help though. The shirt is big and I didn't like the white sleeves. I needed to rework that shirt. The skirt fit well and was just a little too long. 

I started by cutting off those white sleeves. The white was a little blah and I thought a high neck tank top style would look cool and be cool in the heat.
 

 When I cut all the white sleeve off I left about 1/4 of an inch so I could turn the cut edge in and under and stitch it down.

I put the shirt on my dress form inside out and started pinning the sides together to see how much I needed to cut off. 

This is what I needed to remove. My next step was to sew the sides together again. The right sides are facing each other and I used my serger and stitched the sides together.
 
  I knew I might need to make tucks in the armholes to make them fit well. Loose armholes are fine on a t-shirt with sleeves. I cut the sleeves off so the armholes were a little big and gaped open a little. I wanted the armholes to fit snug so I had to sew and cut out small tucks. These are small triangles sewn and the excess fabric is cut out. This is a look at the inside of the shirt. I just took a little pinch of fabric away to tighten up the armholes.

I thought the shirt was a little too long so I gave it a big cut.
 
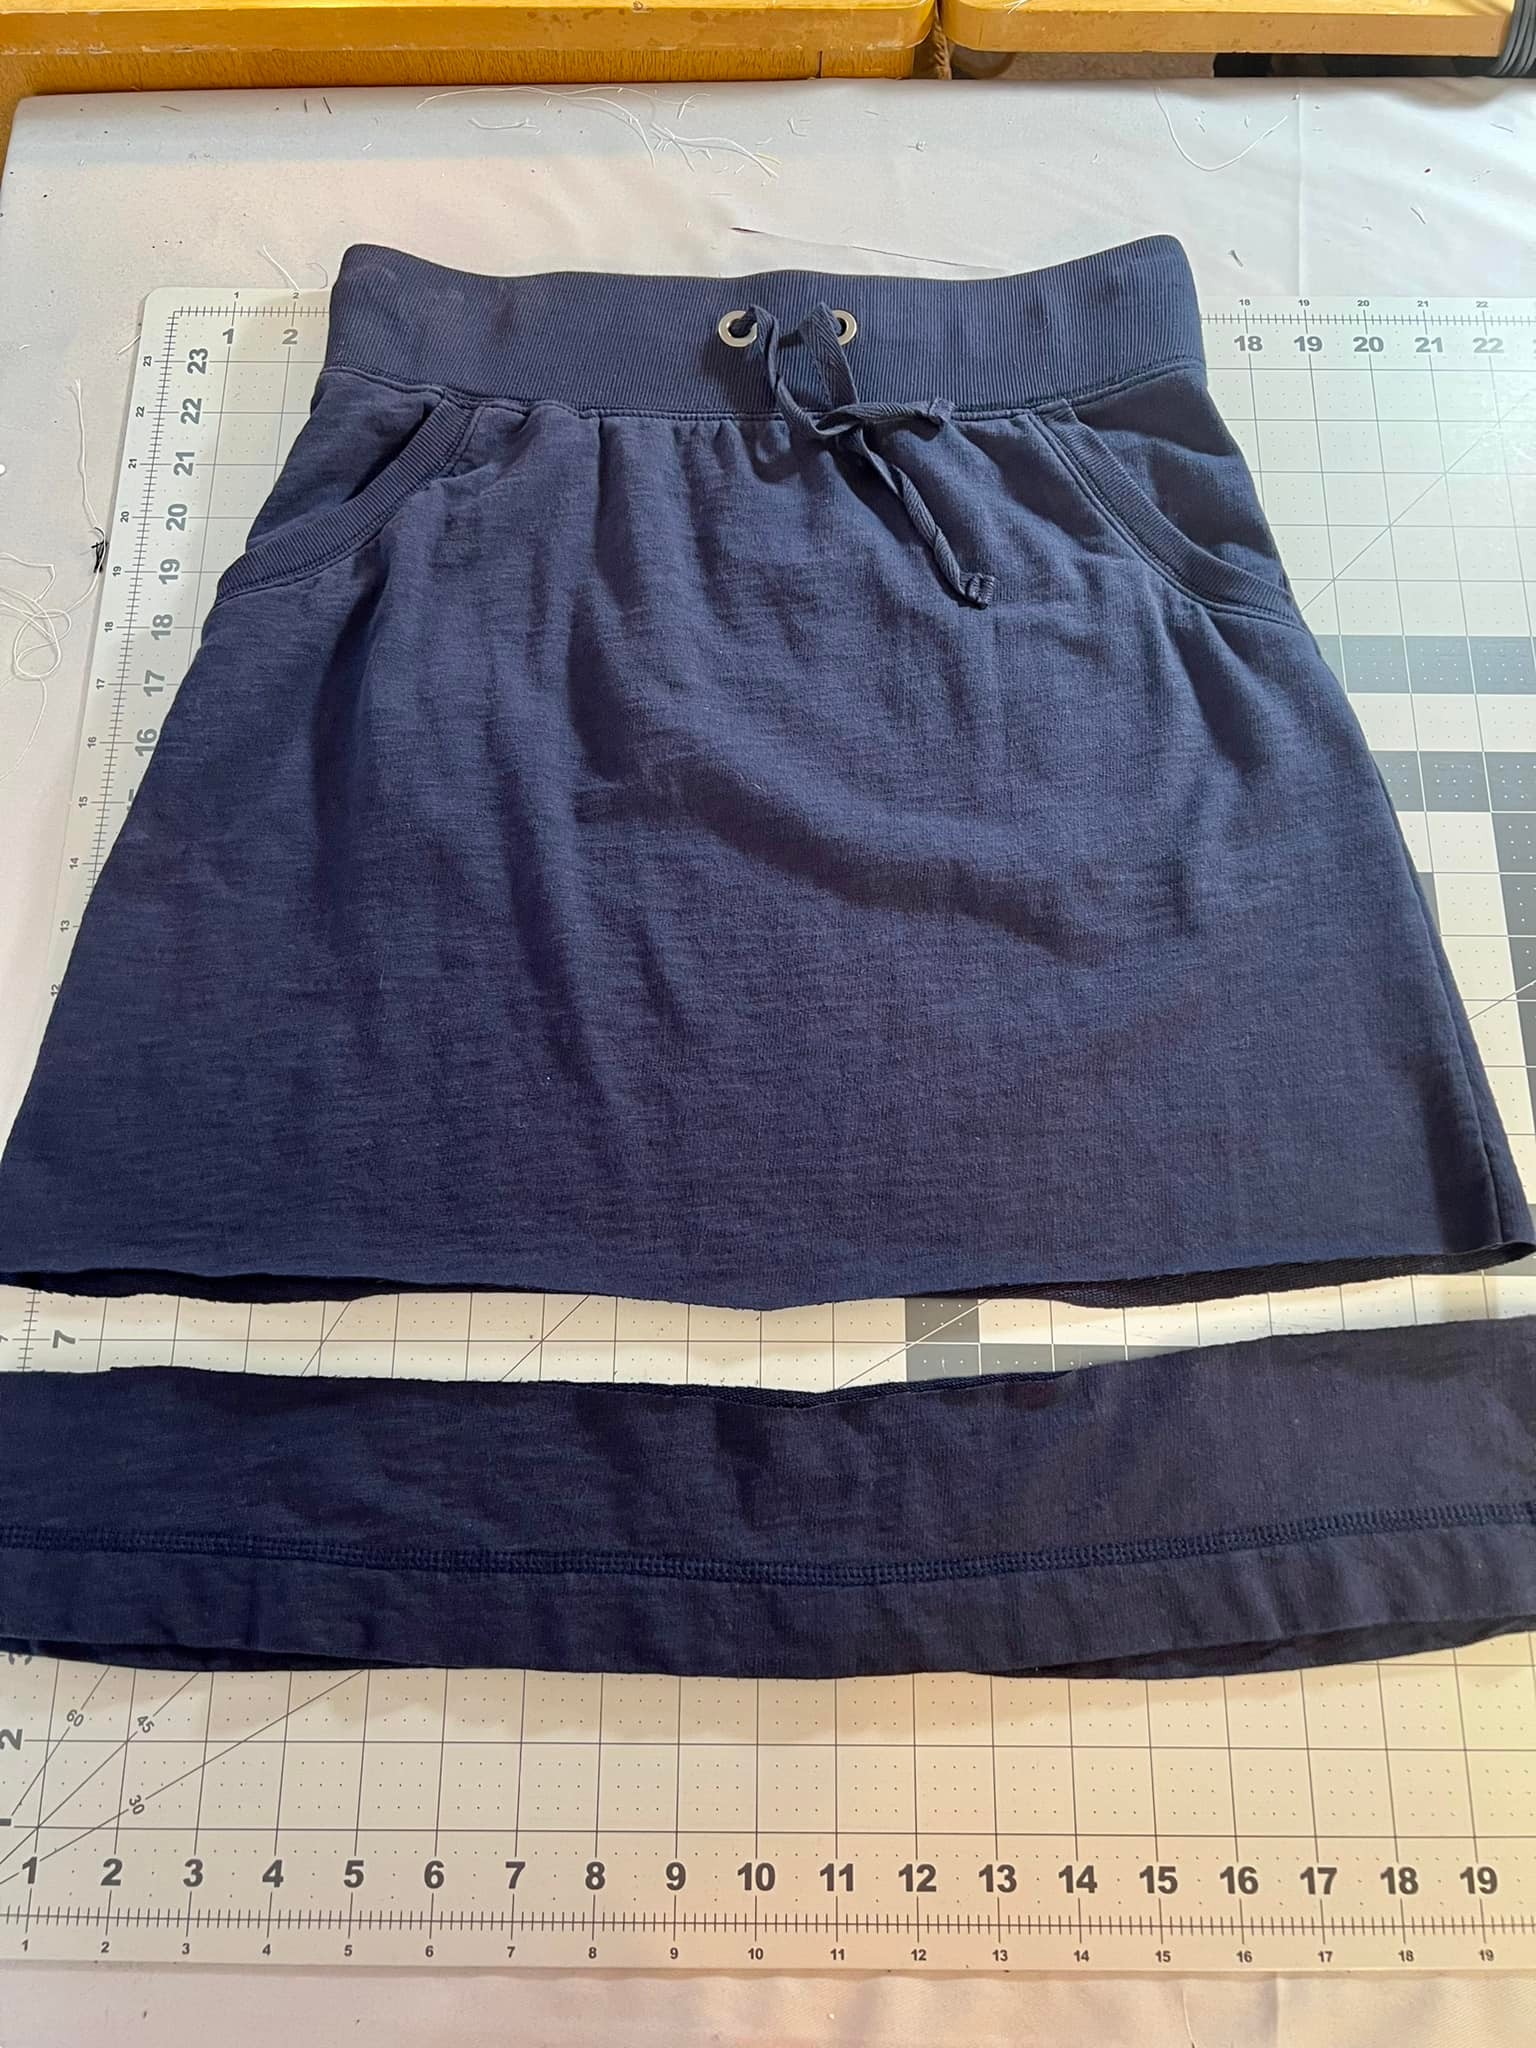
I gave this skirt a big cut too. It was too long for what I wanted. I didn't hem it because knits don't fray. It will stay intact just like this wash after wash. It looks more casual if it is left without a hem but that's OK. This is exercise wear. It is supposed to be casual.
 
Here is a quick overview of what I did for these pieces.
 
Then I went for a walk outside for my own good. Thanks for reading a long, now go make something fun for yourself.
*Year End Note From Chickie- This tank gets a lot of wear. It turned into pajamas and I wore it to sleep whenever it was clean because it is so soft.


Friday, July 8, 2022

Linen Luna Tank

 Hello Readers. It is hot, hot, hot! Maybe because it's summer... Maybe because the world is on fire... At this point I'm not really sure. One thing I do know is that when it's hot, I need iced tea and clothes that breathe. Like a linen tank top.

 
 Before and after.

 
 I have been in loving linen lately because its so nice in the heat. I went searching in my sewing stash for some linen pieces that I could make into a summer tank top. I washed the linen pieces that I had before sewing in case they shrank. The linen I have is from my mother-in-law so it was probably designed to be used in home decor. I was hoping this linen wouldn't be too thick or heavy to be the summer shirt I was wanting. But let's try and see if it works. (My life philosophy!)

 I wanted to make the Luna tank from Helen's Closet Patterns. You can get it free from the website. (Thanks Helen!) This is a super great project for beginners. And check out that size range!! 0-34!!! That is amazing!

I printed my pattern pieces on my home printer and put the paper pieces together. I set the paper piece on the fold of my fabric.
 
I had to move my pieces around to get a front and back from my small piece of fabric but usually you would just fold your fabric in half, put your paper pattern on the fold and cut your fabric pieces out.

Linen frays very easily and quickly. I decided to use my serger on all the edges right away so they wouldn't fray during the sewing process.

My light gray serger thread matched the fabric really well. 

The linen had a nice drape to it. It is a heavier weight linen but I liked it as a shirt. I liked it so much I left the serged edges just like this. I didn't sew in the neck band or arm bands like the pattern directed. (I have trouble following directions.) The edges looked good to me and because they were only one layer of fabric. It keeps the from getting bulky which would make the hemline get thicker and stiffer. It would lose its light flowy quality. 
 
Video summary.

This tank top turned out great. I liked it made of linen and it will be so nice in the heat of summer. Thanks for reading along, now go make something fun for yourself.
*Year End Note From Chickie- This is a great piece. I love the linen and I added a cardigan to wear it into fall.


Wednesday, July 6, 2022

Button Down to Summer Dress

 Hello Readers. Let's do a "blue" refashion project. We are all in the thick of summer. If you are in the U.S. you have felt the heat wave that has crossed the nation by now. Ugh, it's too hot!! I have a "cool" refashion idea. 

 
Before and after.

This shirt seemed to be a men's extra large. I loved the tiny floral print. It reminded me of the "Little House on the Prairie" dresses at Target. I almost made one just for fun but I am not interested in wearing that style so I decided to make a dress I would like.

I tried the shirt on and marked how large I wanted the bodice of my dress to be. These 2 pencils are marking the places where I wanted to make new side seams. I marked it with chalk but it is hard to see in the photo. I also decided where to cut the bottom of the shirt off. I wanted a high waist on this dress so the bodice is not very long. Mine is approximately 14 inches.

Here is my new bodice with the sleeves cut off. The sleeves and arm holes were so large on me that I decided they needed to be removed and saved for a later day. 

Here is a better look at the main parts of my new dress. The skirt of the dress is the bottom of the shirt. I wanted the skirt of this dress to be as full as possible so I didn't alter the size of the skirt piece. Now I need to put these 2 pieces together.

I used my clips to make sure the skirt is spread out around the bodice. You could also sew them together loosely by hand and arrange the fabric evenly that way. I wanted to make some pleats so the clips worked for me. The next step is sewing these 2 pieces together with my sewing machine to make it strong and sturdy.

The final step was to finish the armholes. I wanted to make them nice and neat. There are so many ways to do this. This time I decided to add some eyelet lace trim to the armholes. Laura Ingalls Wilder would have approved of this lace I am sure. The lace coves the cut edge of the armhole and makes it look nicely finished.

I have worn this dress a lot since I made it. I didn't know I needed it until I had it ready to wear. 

It even went on vacation and played mini golf. Thanks for reading along, now go make something fun for yourself.
*Year End Note From Chickie- This dress got a lot of wear this summer. It was perfect for summer.


Friday, July 1, 2022

Love to "Stranger Things"

 Hello Readers. It is July already. When I was thinking of a theme for this month, the 4th of July kept coming up. But is it possible to wear the colors red, white, and blue without looking like you are on a political campaign running for mayor? For today, let's just upcycle/refashion something red.

I am hooked on the Netflix show "Stranger Things". If you lived through the 80's you will love the flashbacks to the past. It's a great story. A major part of the story line is that the kids play the fantasy game "Dungeons & Dragons". I have never played the game but when I saw this shirt I thought it would be perfect for a "Stranger Things" watch party. The latest episodes come out tonight.

 
Before and after.

This was a men's shirt and it was big and long on me. There was enough fabric to make a short dress or some kind of a shirt. You already know what I chose. 

I am not exaggerating, this is a "Dungeons & Dragons" shirt.

The graphic on the front of the shirt really guided what I did with this shirt. I wanted to make a dropped waist dress because I didn't want to cut the graphic. I cut the bottom of the shirt off and saved it for later.

I also cut off the sleeves because they were so big on me and it is summer and I wanted a sleeveless style dress.

I used my dress form to pin the sides so I could get the size of this dress correct. I put the top of the shirt on the dress form inside out so I could pin the right sides together.

I stitched the sides together and cut off the excess fabric. I had a basic sleeveless shape. It was a good start.

This video is a quick summary of what I did and how I started to finish the arm holes.

When I finished the armholes I noticed they gaped open. I needed to fix that.

I pinned the armhole to make darts in the bodice.

I used my sewing machine to stitch the dart and then I cut off the excess fabric. This shirt is a heavy weight knit cotton so it is easy to work with and it won't fray. This would be more difficult with a thin fine knit fabric.

The next step was to attach the skirt back to the top. I pinned the right sides together and tried to distribute the skirt around the top evenly.

My dress was finished. It was fun and I liked it but I thought it might a little short. I decided to add a bit of length.

I added this ribbon for a couple reasons. It matched so well it just blended into the dress and added about 1 1/4 inches of length to the dress. It also helped weight the skirt down so it doesn't turn up and look even shorter.

This dress is perfect for a "Stranger Things" watch party. The menu is going to be a waffle bar with all the toppings you can think of.

If the Demigorgon comes after me, it will look something like this. Thanks for reading along, now go make something fun for yourself.
*Year End Note From Chickie- This was a great t-shirt conversion. I added a sweater and wore it in fall too.