Showing posts with label Leather Refashion. Show all posts

Friday, November 18, 2022

Making a No-Sew Leather Wrap Belt

 Hello Readers. This post is sort of a part 2. The first part was a skirt with fringe. I had cut a lot of the skirt off when I refashioned it. What should I do with the extra? I did not throw it away, I made a belt. 
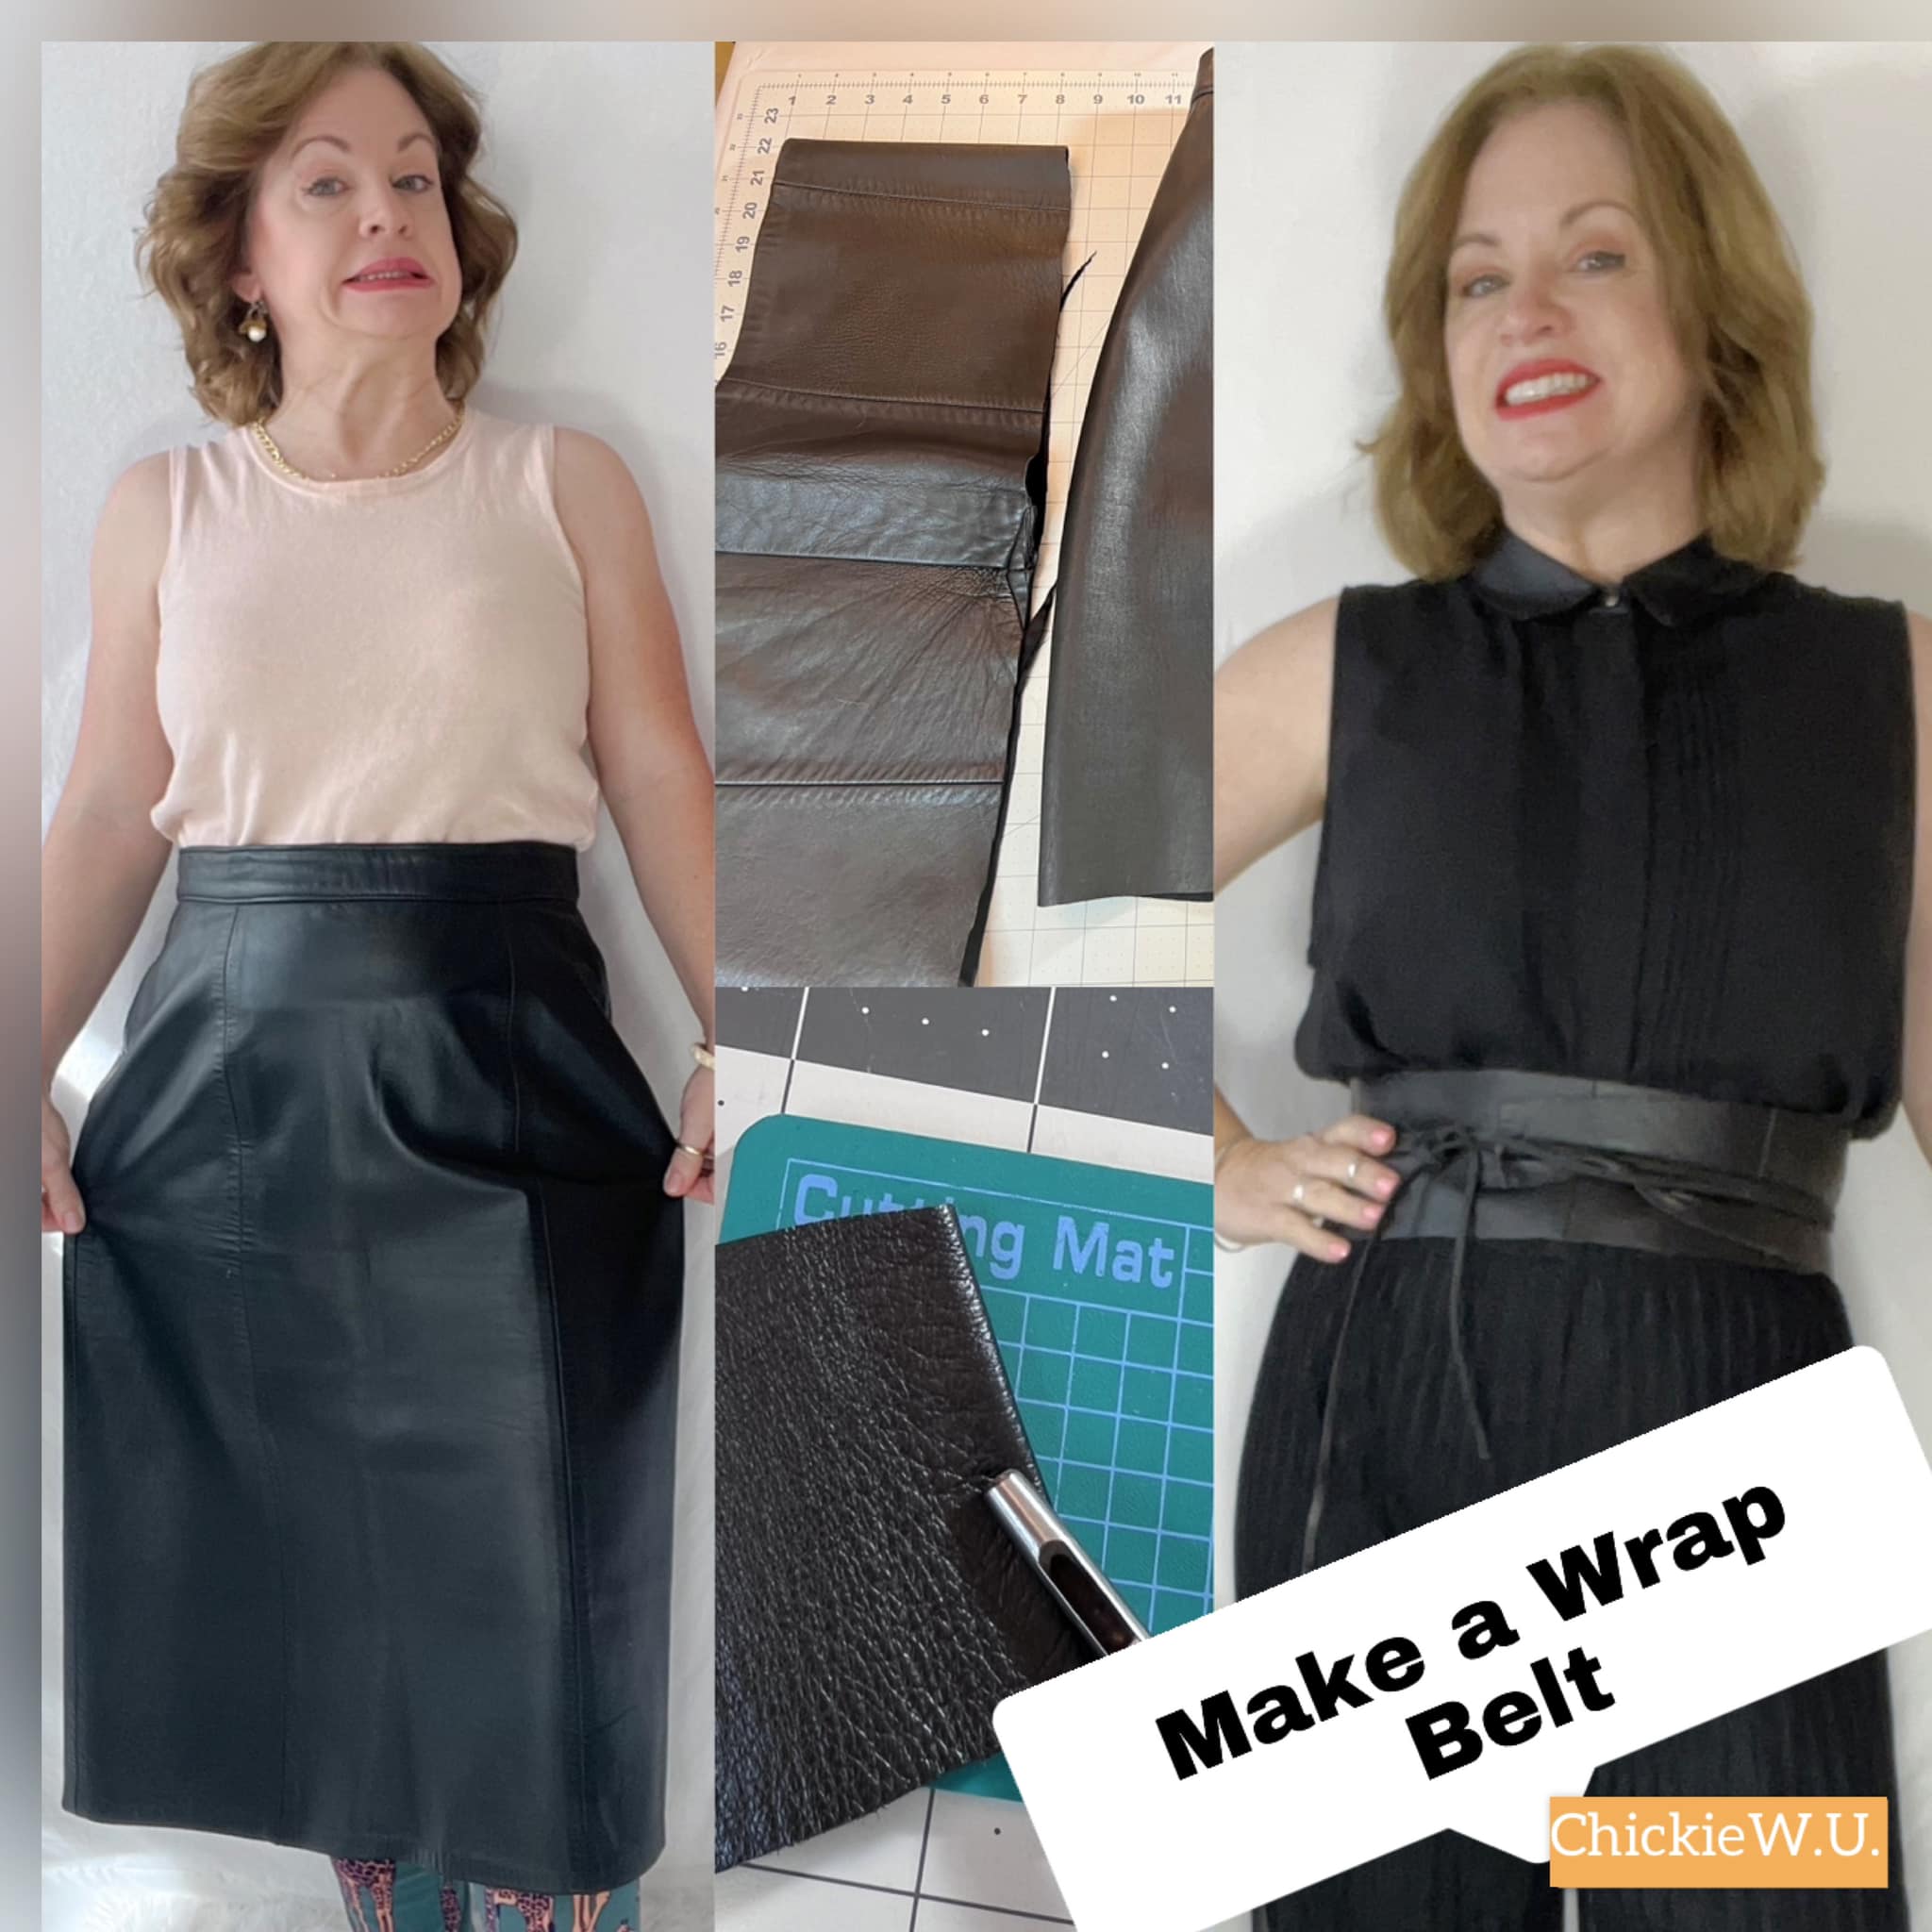
Before and after.

When I shortened this leather skirt recently I had to cut off about 5 inches from the bottom. I saved it because I thought I could make a wrap belt from it.

This is a good look at the piece I was working with. It is from the bottom of the skirt where the back slit was. It is actually a good sized piece to make a belt.

I cut the leather into a different shape. I wanted it to be wide in the center, that would go on my waist in back. The 2 ends would be more narrow, they would be wrapped around in front. If that sounds confusing, keep reading, it will be clear in a moment.

I took one end and punched a hole through it. I tried to center my hole and stay in the middle. I used a hole punch for sewing because it is very sharp and it had a mat to protect my table. 

I used a piece of leather cord. My piece was about 72 inches in length. You can adjust the cord based on your size and how any times you want to wrap it around yourself. 
 
You can see the hole I punched in the leather at the bottom of the photo. I put the cord through the hole and that was it. The belt just needed to be wrapped around me. 

You can see how the belt is wrapped here. I sped up the video a little to save you time but it is really simple. I wrapped the belt close to the body and wrapped the cord around the belt. The cord is fed through that one hole so the whole thing doesn't shift around. I didn't tie the cord to the belt. I wanted it to be totally adjustable. Thanksgiving is coming, I need all my clothes to cooperate with my stomach because I will be eating enough potatoes for 5 people. And then dessert.

I put the belt on with this black outfit. It was dressy but those pants are elastic. Perfect for Thanksgiving. Bring on the pumpkin pie!

 Thanks for reading along, And to think it was made from the scraps of this skirt, now go make something fun for yourself. 
*Year End Note From Chickie- I am really liking this. It never gets too small, adjustable is best for me because I can fluctuate in my weight. 5 stars!


Tuesday, November 15, 2022

An Almost No-Sew Leather Skirt Refashion

 Hello Readers. Let's do an almost "no-sew" refashion with this skirt. I have seen similar skirts online and I have been wanting to recreate this look for myself. This is a fun project and it is perfect for holiday parties. For this project you need to start with a pair of scissors. And a leather skirt.

Before and after.

This black leather fit fine but it was not a good length on me. It was too long for me. (I am pretty short.) I thought this would be an easy project, I just needed to start cutting.

It was easy to decide where to cut the new length of the skirt because I had to remove the bottom of the skirt where the back slit was. You can make your skirt any length that works for you.

I saved the cut off portion for later. Now I had a shorter skirt, I could have hemmed it but I had a fringed skirt in mind that was going to be more fun. It just needed some more cutting.

I started cutting narrow strips along the hemline. I wanted to have fringe all around the hemline of the skirt. (If you listen closely you can hear youngest come in my sewing room.)
 
I tried to keep the length of fringe even all the way around the skirt. I didn't obsess about it though. No one is going to inspect and measure my fringe when I am out and about in my skirt. 
 
There was a lining in the skirt. This is the only part that needed any actual sewing. I cut the lining a couple inches shorter than the starting point of the fringe. I used my serger to finish the cut edge and prevent fraying. No one will see the lining inside of the skirt but I don't want it to be a frayed mess. 
 
If you want to shorten the lining but don't want to sew, you can use some of this iron-on hem tape. It is easy to fold the edge of the lining fabric over and iron in place. Follow the directions on the package to get the best results.
 
The fringe turned out great.
 
I mean this is really fun to wear. Thanks for reading along, now go make something fun for yourself.
*Year End Note From Chickie- This is an all time favorite. Bury me in this please. I love it. And it was easy too.