Wednesday, June 30, 2021

The Denim Oops Skirt

 Hello Readers. I wanted to make a boxy denim dress out of these men's jeans. They were wide legged and there was a lot of good denim there. I ended up making some mistakes and barely was able to make this fitted denim skirt. That's how it goes sometimes.


I started with the jeans by cutting the legs off the jeans. I saved the rest for later.


I cut the legs open so I had 2 pieces of denim to work with. I didn't have as much denim as I thought I would. Why did I think it would be bigger? I don't know. I kept going. I thought I could make a fitted denim mini-dress. If you try this I recommend 3-4 leg sections to make a looser fitting dress.


I cut the back pockets off the jeans. I thought they would look cute somewhere on my dress. 


Let's just say, mistakes were made. I ended up with this mutant dress. I took a break and had a cup of tea. Maybe some cookies. Whatever.


Now I was mad and I was going to make something wear-able from this denim if it killed me. I cut the top of the dress off and decided to try and save this skirt. 


I had a front and back so that was good. I needed a waistband. I went back to those jeans. How could I use the original waistband?


I decided to cut the belt loops off, attach it to the skirt and actually tie it in the front. 


It looks like this. 


The fit at the back of the  waist would have been an issue but I made the waist of the skirt smaller in the back by pulling one side over the other and stitching it together and then sewing the waistband on to the skirt. This really helped with the fit of the skirt.


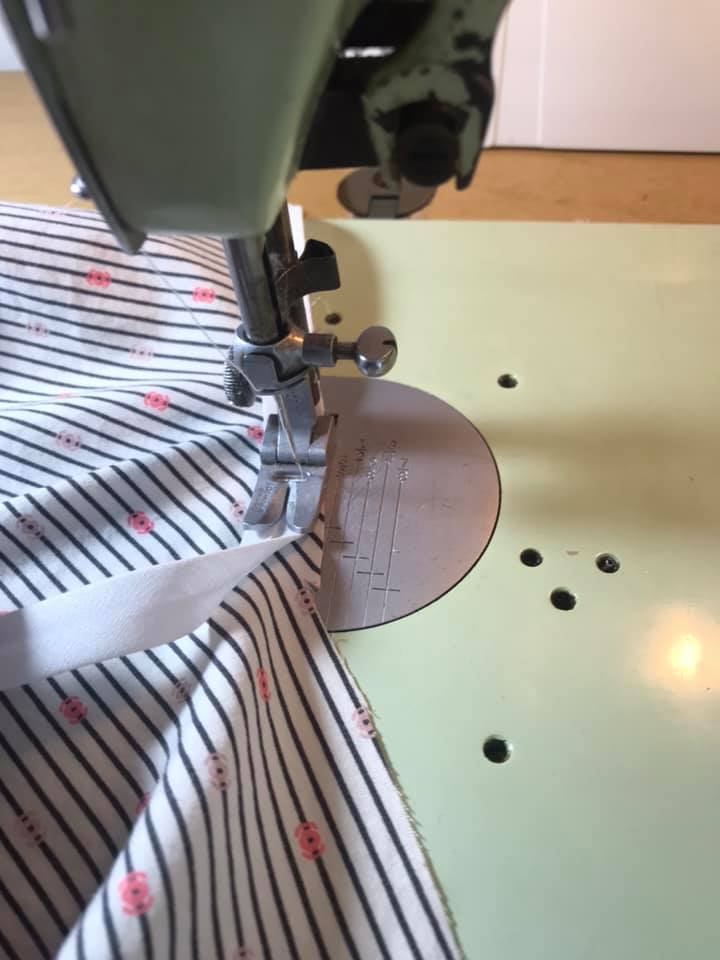
All the pieces I cut got a lovely fray on them after going through the wash. I thought that would happen. It made the skirt more casual and fun. You can see that the very front is not connected or sewn together at the center. That is so I can pull the skirt on and then tie it closed at the waist. 


The waistband was a cute element that also really kept the skirt closed. This denim had some stretch to it and this whole skirt would not work without the stretch. The skirt stretched enough to get on and off and it was comfortable to wear. 


In the end, I did not get what I thought I wanted but I liked what I got. Life lesson? Maybe. See you next time. 

***Chickie's Year End Review-I really had fun with this skirt. What a fun one-of-a-kind refashion.

Friday, June 25, 2021

Embellished Jeans

 Hello Readers. I like distressed denim but what do you do when the distressing is too much or too big or in a bad location? I decided to cover those spots with pieces of trim I liked. 


I wanted these simple denim jeans for everyday wear. But the waist was a little too big. This is a simple fix but it got more complicated.


I made new side seams and the small distressed spots ended up right at the new side seams. These jeans won't last long with holes at the seams. The seam would rip open and it would be really embarrassing. What if I used this floral trim to patch those distressed spots? That would fix the problem and be pretty too. I cut the ribbon into separate flower pieces. Basically, I made my own patches.


I used a zigzag stitch to attach the flower pieces to the jeans. This helped keep the edges of the flower together and keep it on the jeans when I wash and wear them. These spots are all in the hip area on both sides of the jeans. I added a flower at the upper pocket just for fun.


My jeans were done. I really liked the colors in this trim, I am so happy I was able to use these little pieces in such a fun way. 

Thanks for reading along, now go make something fun for yourself. 

***Chickie's Year End Review-I love and wear these jeans a lot. adding fun trim to clothes is one of my favorite things.

Wednesday, June 23, 2021

Orange Jeans Again?

 Hello Readers. I have a question for you? Do you like the color orange? I love it but how many pairs of orange jeans does one woman need? 


I know you are thinking who has orange jeans? And who would have more than one pair? Good questions. The pair I am holding is too tight thanks to Covid snacking. The pair I have on is a bit big and really long. But I really want them to fit so lets get to work. I also want to do something with this floral shirt.


The first thing I had to do was try on the big orange jeans and mark where I need to take them in. I usually try them on inside out and make marks in pencil. I mark the sides all down the hips and legs.  The pencil marks will wash out.


 With my marks to guide me I can make these orange jeans really fit me. Not the manufacturers idea of a human body, but me!


After I took a look at the jeans on he floor I panicked that maybe the legs were uneven. The right leg looked shorter in the picture above. I checked the jeans up close and they are even. I just did not lay them out straight.


My jeans are done so I can work on the shirt. I wanted to make a raglan sleeve shirt because I love that style. (And the arm holes are simple straight lines.) I used a shirt I love as a guide and cut the sleeves and shoulders off this floral shirt. 


I wanted a different color sleeve so I found this blue t-shirt. I didn't want the advertising but I could use the rest of the shirt. I also cut the hem off and saved it for later.


Here are my new sleeves/shoulder pieces. 


I attached the sleeve pieces to the shirt. It was pretty easy. I used that t-shirt hem as binding at the neckline and the ends of the sleeves. It works great for this and I know the color is a perfect match.


My shirt was finished! Hooray! And it was great with my jeans.


I wish I could say I went out on an adventure. I just went to work. 

Thanks for reading along, now go make something fun (And orange!) for yourself. 

***Chickie's Year End Review-This shirt is still a favorite and these jeans are so fun too. Love, love.


Friday, June 18, 2021

Puffed Sleeves and Ruffles

 Hello Readers. Button-down shirts are fun to refashion and they are always abundant and easy to find at thrift stores. 


I chose this striped shirt because I thought it would be great for summer. The black stripes were pretty neutral and the little pink dots were subtle. I cut the collar and neckband off and made a more open round neck. I thought that would be comfortable to wear. I cut the new neckline right above a button so the shirt would stay closed at the neckline. If the round cut was too far away from a button I would have a lot of extra fabric flapping around.

 I used bias tape to finish the edge of my new round neck. I stitched the bias tape to the outside and then turned it in. That makes the edge look finished. I top stitched the outer edge to keep the bias tape turned in. I thought this would be an easy way to finish the curved neckline I had cut.


I also cut the shirt into short sleeves. Short sleeves seemed best for summer. I took the sides in just a little. My new white background is great for photos. Unless I am taking a picture of a white shirt. It isn't as easy to see if the shirt is white. This was poor planning on my part. Apologies.

I tried some editing to make the photo easier for you to see. I am not sure it is really any better though. White on white is hard for me to photograph well.


To make the ruffled sleeves, I hemmed the sleeves and then added elastic. I tugged on the elastic a little so it would gather the sleeves into a little ruffle at the edge.


My new short sleeved shirt was done and perfect for work. I liked how it turned out. The little puffed sleeves were fun and easy to make. 

Thanks for reading along, now go make something fun for yourself. 

***Chickie's Year End Review-I liked this shirt a lot but it got too tight. Middle age? Snacks? Both? Oh well.


Wednesday, June 16, 2021

The Dressed-up Button-down

 Hello Readers. I have been refashioning some shirts recently.


I had some button down shirts and I wanted to play around with embellishing one of them. It didn't really matter which one.  

I chose this lavender pinkish colored shirt.


 I didn't really have a fully thought out plan. I just figured it out as I went. I cut out the back panel so I could replace it with other fabric. I also realized the sleeves were very long on me so I cut them off too. I kept the seam where the arm hole is. The seam is acting as a skeleton to keep my shirt in its correct shape. I left the seams because they will help me put it all back together later.


 I used the pieces I cut out from the shirt as a pattern to cut the replacement pieces. I had this purple fabric left over from a maxi-dress to t-shirt refashion. I cut out the back piece from the purple fabric as you can see here.


 It was easy to sew the new back in because I cut it the same size and shape as the original back. I knew I was going to sew a zigzag stitch right on the edge of the new pieces so I did not leave much seam allowance. I wasn't going to need any extra fabric for my new seams.


 I used the sleeves of the pink shirt to cut out new sleeves from the purple fabric. I wanted 3/4 length sleeves so I made the new sleeves shorter than the original sleeves. 


I stitched the sleeves into my new shirt. By using the old pieces and keeping the "skeleton of the shirt in place, this is like putting a jigsaw puzzle together. The pieces fit right back into the shirt. 


The purple knit material will make this shirt comfortable and give it some stretch.


I wanted add something more to my shirt so I got out some trim. I added some eyelet lace and a little ribbon at the hemline just for fun.


My new shirt was finished. I liked the blocks of color and the fun trim. The stretch of the purple knit material makes it very comfortable. 

Thanks for reading along, now go make something fun for yourself. 

***Chickie's Year End Review-I had fun adding all the different fabrics and trims together for this one. I just wore it 2 days ago.

Friday, June 11, 2021

Jumpsuit to Romper


Hello Readers. How are you? It is hot, humid and filled with cicadas where I live. I can't do anything about the swarms of insects but I can try to dress for the weather. 
 

I found this jumpsuit at a clothes swap and loved the very light weight chambray fabric. I thought I might refashion it into a pair pants. I was not in love with the top of the jumpsuit. It had a high neckline that I liked but it also had large keyhole opening at the bustline that was so revealing that I couldn't even model it. I did like placement of the ruffle. It was above the bust and not on the bust. I thought it was pretty without adding bulk. I gave it some thought.


The first thing I did was stitch that keyhole opening shut. It was easy to close up. I just turned the edges in and stitched the edges together.


From the front most of this new seam is mostly hidden under the ruffle. I noticed these 2 tiny pin holes. What were they from? I was not sure but I guessed there must have been some kind of embellishment that went in the keyhole opening. The ruffle hid the holes so I decided to ignore them. 


The ruffle poked out in a funny way because I closed the keyhole opening. I did not want the ruffle sticking out like this.


It was easy to sew it down at the neckline. It made a nice detail at the high neckline. 


I decided to cut the legs off so it would be a romper. It seemed like it would be lightweight and comfortable for summer. 


I did not realize until the middle of this refashion that the ruffle extended out and off the shoulder. I thought the ruffles went under the arms somewhere. I can be oblivious to things and I totally missed these arm sleeve ruffles until I was trying to lay the romper out for pictures. Duh!! 

I took the sides in a bit to help the elastic waist fit better.


My new romper was finished. Turning a jumpsuit into a romper is an easy way to boost your summer wardrobe. You can add a sweater if you get chilly in the evening.

Thanks for reading along, now go make something fun for yourself. 

***Chickie's Year End Review-The fit of this little romper turned out really well. I still like it.