Showing posts with label Nursing Tops. Show all posts

Friday, November 23, 2018

The Scarf Sweater

Hello Readers. I have a great sweater idea for you. This was so easy to make and it kept me warmer too.


I started with this basic black cardigan. It was a loose fit and light weight sweater. It was also plain.


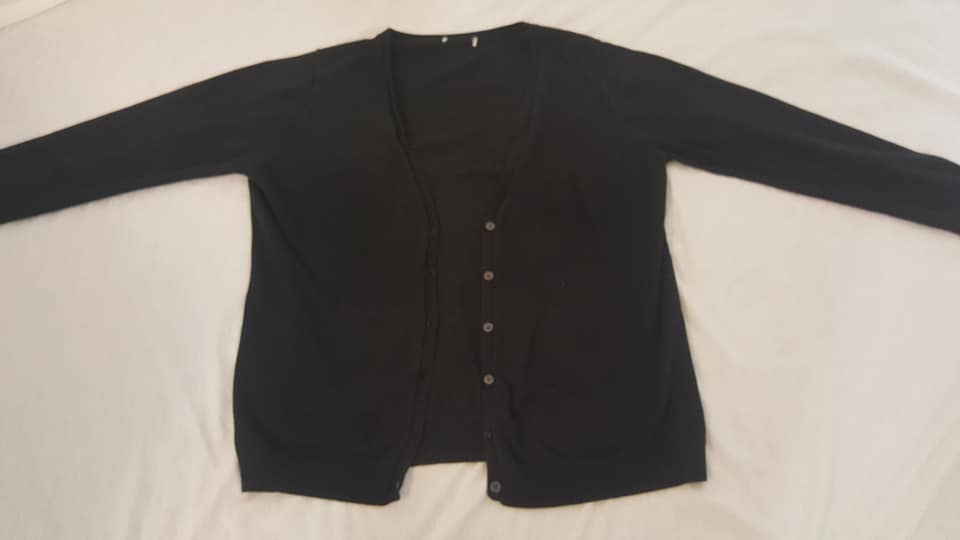
I removed all the buttons from the front of the sweater really quick and then moved on to the fun part of this little project.


I wanted to add this scarf to the front of this sweater. I also wanted to to cross the scarf over itself and leave it unfastened in the front. It will need to be pulled over my head to put on.


I used my machine to attach the scarf around the neck of the sweater. I criss-crossed the sweater in the front and then kept sewing it to front opening of the sweater.
This might sound confusing...


Here is a look at the finished sweater. I think looking at the sweater makes more sense than my describing it.

Extra scarf=extra warm.             High neck=warm neck

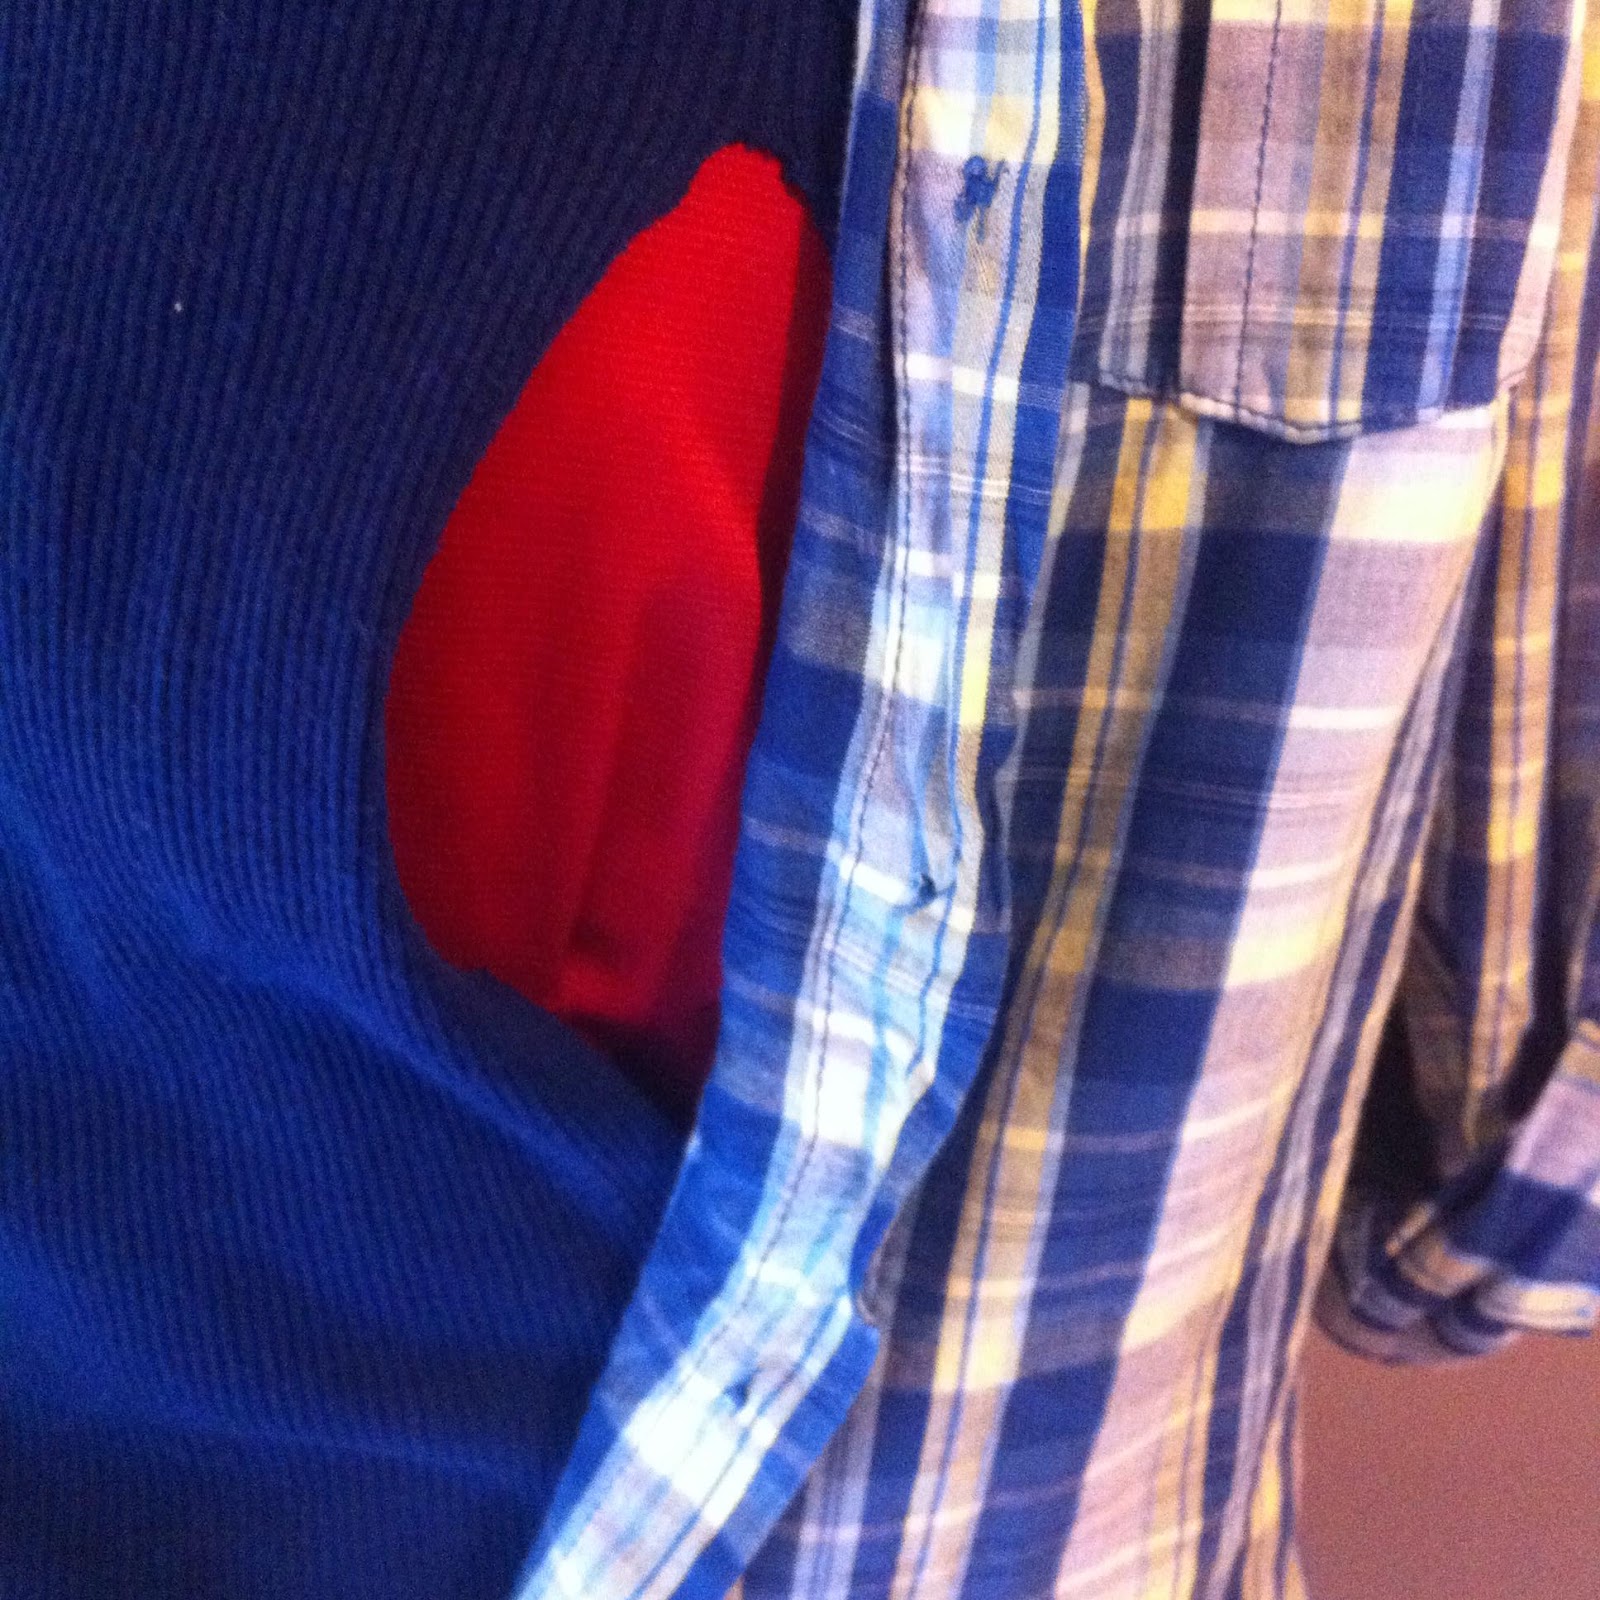
You can see how the sweater opens in the front. It isn't open all the way down the front like a cardigan anymore, but it isn't closed either. The criss-crossed scarf keeps the sweater closed when it is worn, but it does open. I wore a shirt under it in case it opened too much. It stayed closed well and it was warm and cozy.
This would be such a great top for nursing moms. I wish I had thought of it when I was nursing. It opens easily and the scarf could be used as a cover if and when needed.


Thanks for reading along, now go make something fun for yourself.

*Year end update- I am so glad I made this warm sweater. It was simple to make and so wonderful for winter.

Tuesday, August 2, 2016

The Combo Leftovers

Hello Readers. Today's project is the second part of this dress refashion. It was a little too stark and severe for me. In my last post I used the top of this dress. Today I am going to used the bottom of the dress that was leftover. I don't like to waste good fabric. Or anything else for that matter.


This is the dress cut in two pieces. I had the bottom skirt piece but I didn't want a skirt. I wanted a little black top. The material was really nice and soft. It needed to be used for something comfy and casual.


I cut this half circle piece from the side of the skirt. I also cut a small half circle in the center where the neck hole would go. If I had a larger skirt I could have made a longer shirt or tunic.


The easiest way to make sure it was even when I did all the cutting from the above picture was to fold it in half and cut all the layers together. I also cut the neck at an angle. I thought a V neck would be more flattering and comfortable.
If you look really closely you can see the chalk mark on the side where I sewed the side together. I marked both sides while they were folded together so I could be sure they would be even when I stitched the sides together. As you can see each side will have a short seam to hold it together.


I planned to wear a tank under it because it is cropped and on the short side. 
 This is also great for nursing moms. You could have a small slit on each side of the tank up under the black shirt. Then you could lift the black shirt when it was time to feed the baby. Super easy and cheaper than buying nursing tops as they can be pretty pricey.


I wore it to go out and play PokemonGo with my teen. There was a lot of activity on my street that day. I am not a big gamer but I like to keep an eye what my kids are into. So, now I am chasing Pokemon.


Thanks for reading, Now go make something fun for yourself.


Wednesday, February 10, 2016

Red, White and Blue Part 2; T Shirts and Nursing Tops

Hello Readers. This is the second of three refashions that made an entire outfit. Today's project is this shirt. It is a nice waffle weave or thermal type shirt. I think it will be great for the cold and snow. (Again! We are getting a real winter this year.) The design is great too, but it was a bit too large.


I sewed a new seam on each side. I started at the bottom and stitched all the way to the wrist. It only took a few minutes to finish this shirt.


You could stop with that, and you probably will. If you have a baby and are a nursing mom this last part is for you. I cut two openings in the shirt. One on each side of the front. I made them about 5 inches long. They won't fray and they won't show under the button down shirt I showed you yesterday. It is easy to nurse and gives more coverage than some other style nursing tops. And the best part is, it didn't cost a thing.


Here are the two tops together. I really liked how the patterns played off each other. The blue thermal matches the color of the denim trim really well. They were meant to be together. At least until summertime. When it is hot I can wear the sleeveless shirt by itself.


Thanks for reading, now go make something fun for yourself.

Saturday, August 1, 2015

Refashion #1 Nursing Tops

      I have been into refashioning clothes for years. I did it to survive and stretch my clothing dollars. I am five feet tall and my legs are super short. I have trouble finding clothes to fit. I started buying things from the thrift store and taught myself to sew by altering them. I messed up a lot along the way. Since I hadn't spent that much, I didn't worry about it. It was part of the learning process.

     I am nursing my little guy and didn't find a lot of nursing tops I liked so, I made my own. I wanted modest, but easy access for feedings.

     I started with three button front, blouse type shirts that I couldn't button anymore. (Thanks baby weight.) And three coordinating tanks tops to go underneath. Here's the first one.


I cut vertical slits one the sides of the tank top. They wont fray because they are a knit, t-shirt material. Cutting on the side looks better and hides the opening when not in use.


Next I put the blouse on top and marked with pins where the front of the shirt naturally fell on the tank top.


I sewed the shirts together just at the lower section about two inches long. This keeps the shirt from blowing or moving around and exposing the openings. The top can be pulled to the side when baby wants to nurse.


I like them a lot and wore one to the "Big Latch-On" at our local medical center.


Instead of sewing, you could easily button the lowest few buttons on a shirt to cover cuts made to a tank underneath. As I said, I couldn't button these and wanted to use them somehow.
Thanks for reading.