Showing posts with label Crochet Upcycle. Show all posts

Wednesday, January 17, 2024

A Quick & Easy Shrug

 Hello Readers. Are you in the middle of the arctic freeze where you live? It is COLD where I am. I wanted to make something warm and cozy. I found this crocheted baby blanket at a thrift store and thought it would make a great shrug. Now is the time for more layers!

Before and after.

This baby blanket was made by hand and that always appeals to me. It was beautiful, it was in great shape and it was a rectangle. That is what I needed. If I put it across my shoulders lengthwise it could be used as a shawl but shawls always slip down and I hate fussing and fixing things like that. If this blanket were made into a shrug with sleeves, it would stay on and that would be easier to wear.

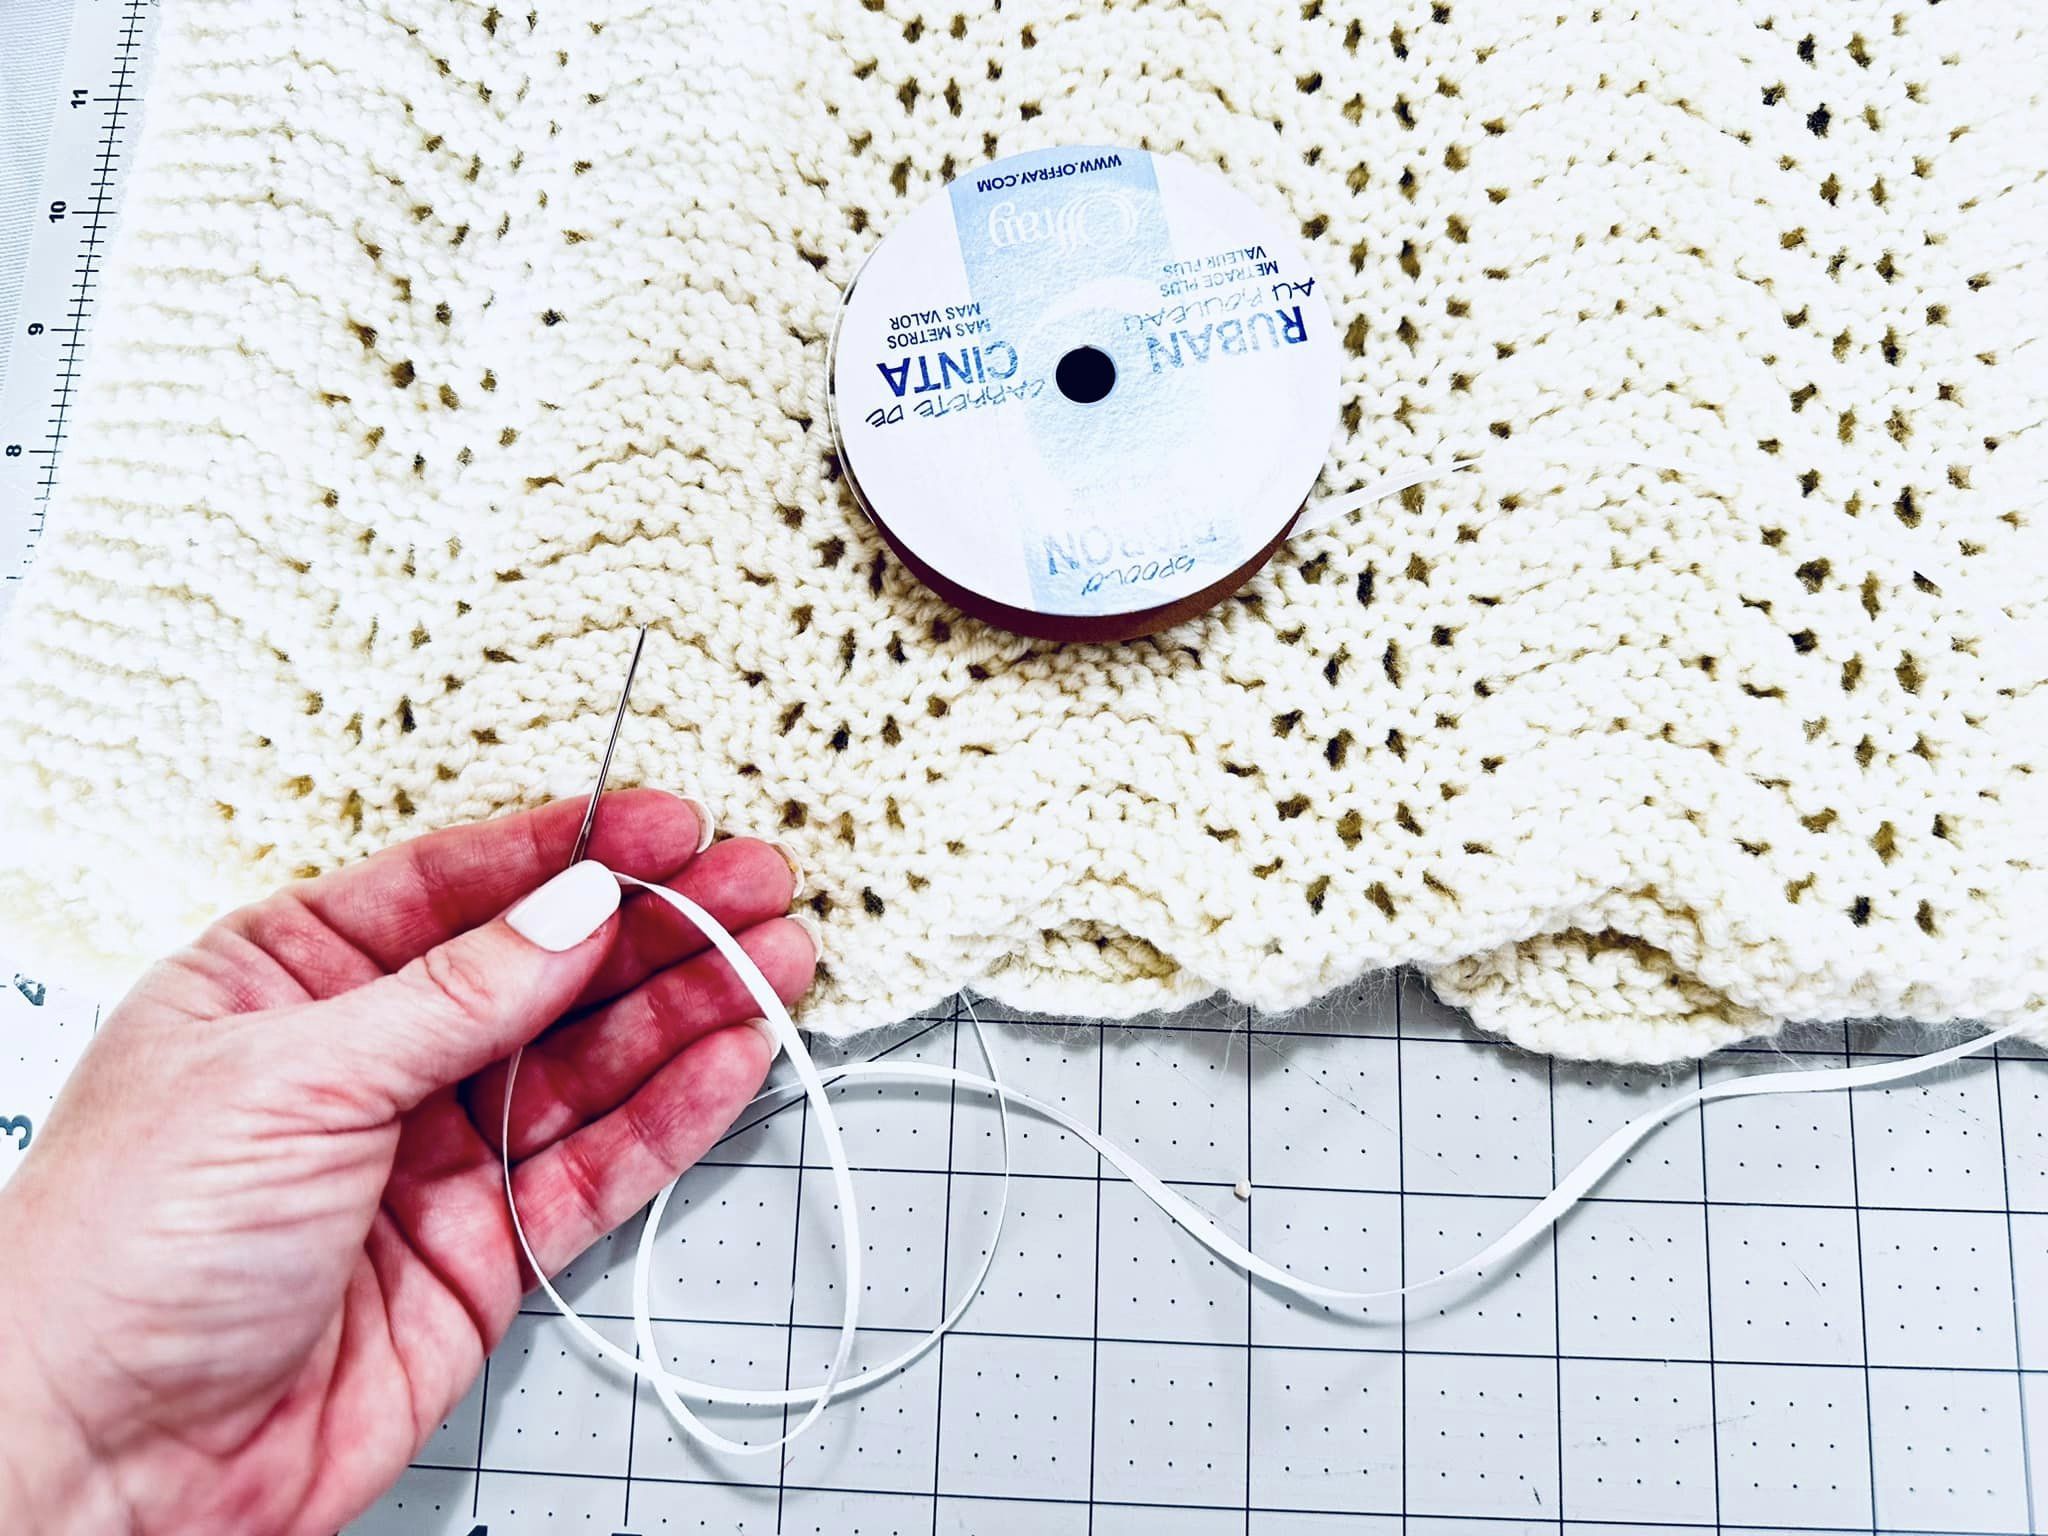
I folded the little blanket lengthwise with the right sides facing each other. I got some very narrow ribbon from my craft supplies. (Matching yarn would also be great for this.) I used a very large embroidery needle and threaded the ribbon through the needle. I started "sewing" the 2 layers of blanket together, starting at the outer edge on the left.
 
I want to point out I left a long "tail" of ribbon when I was sewing. I did not tie a knot or secure the ribbon to the blanket. I let it hang loose because I will sew back to it and tie a knot when I am done. Let me show you what I mean. 
 
I pushed the needle in and out of the 2 layers of blanket. I made large stitches and they will be hidden so this is just to hold the edges together. It doesn't need to be pretty.
 
 I sewed approximately 6-7 inches across from the left outer edge. This will be the sleeve.
 
Then, I sewed all the way back to the outer edge where I started. 
 
When I had stitched my way back to the beginning I tied the 2 ribbon ends in a knot. 
 
I made sure my knot was tight and cut off the excess ribbon. I stitched the other sleeve with my ribbon in the same way.
 
When both sleeves were done I turned the shrug right side out. All of those stitches will be hidden inside the sleeves and the beautiful crochet pattern will show. 
 
I tried it on and here is a look at the back. It has a loose "one-size-fits-all" fit. That makes it a nice project for almost everyone. 
 
This shrug is warm and cozy and only took about 15-20 minutes. Thanks for reading along, now go make something fun for yourself. 
 
 ***Year End Update***- This is one of the most used/most useful things I have ever made. 5 stars


Wednesday, March 29, 2023

Crochet Top

 Hello Readers. I had one more crochet blanket that I wanted to use to make something to wear. Could I make a simple sweater? I thought I could so I gave it a go. 

I did it. Before and after.

This blanket was in good shape and I loved the 70's colors. It had a lot of openness in the design. That made me a little concerned that it would be hard to sew together. Would it fray like crazy?

I used a sweater that I already had to get an idea of the shape I wanted to cut out. I thought it would fray and I was right. I cut out this shape and quickly got it to the sewing machine.

I couldn't just sew the side seams together because there were to many open spaces in the weave. I used bias tape to "wrap" the edges of cut yarn. I put the cut edges in between the 2 layers of the bias tape. I used a wide zigzag stitch to hold all these layers together. When the side seams were done I cut out a head hole and finished it with bias tape as well. 

Full disclosure- This was such a difficult project. The sewing machine did not like sewing this at all. It was so uneven that my sewing machine could handle it. The thread broke over and over and the needle broke several times too. I love the colors so much though I am glad I did it but I am glad it's over. And I don't think I will do a project like this again. Thanks for reading along, now go make something fun for yourself.

***Year End Update- This blanket to sweater was so fun and I love the warm fall colors.