Hello Readers. I had been wanting a drawstring style bag for makeup and toiletries. I decided to try and make one for myself. I had fabric around to use but I didn't have a pattern. Would I need one? No! It turned out so easy I had to share.

This quick and easy bag only took about 20 minutes.

I searched my fabric stash. My sweet MIL had given me loads of fabric sample pieces and I got 2 out of the closet. These pieces are squares that are about 24-26" across. This is a great scrap busting project.

I used this tray to mark out a circle. The tray is 20' across. I wouldn't make the bag much smaller than this or the finished bag will turn out very small.

I cut out 2 circles.

I put the right sides together.
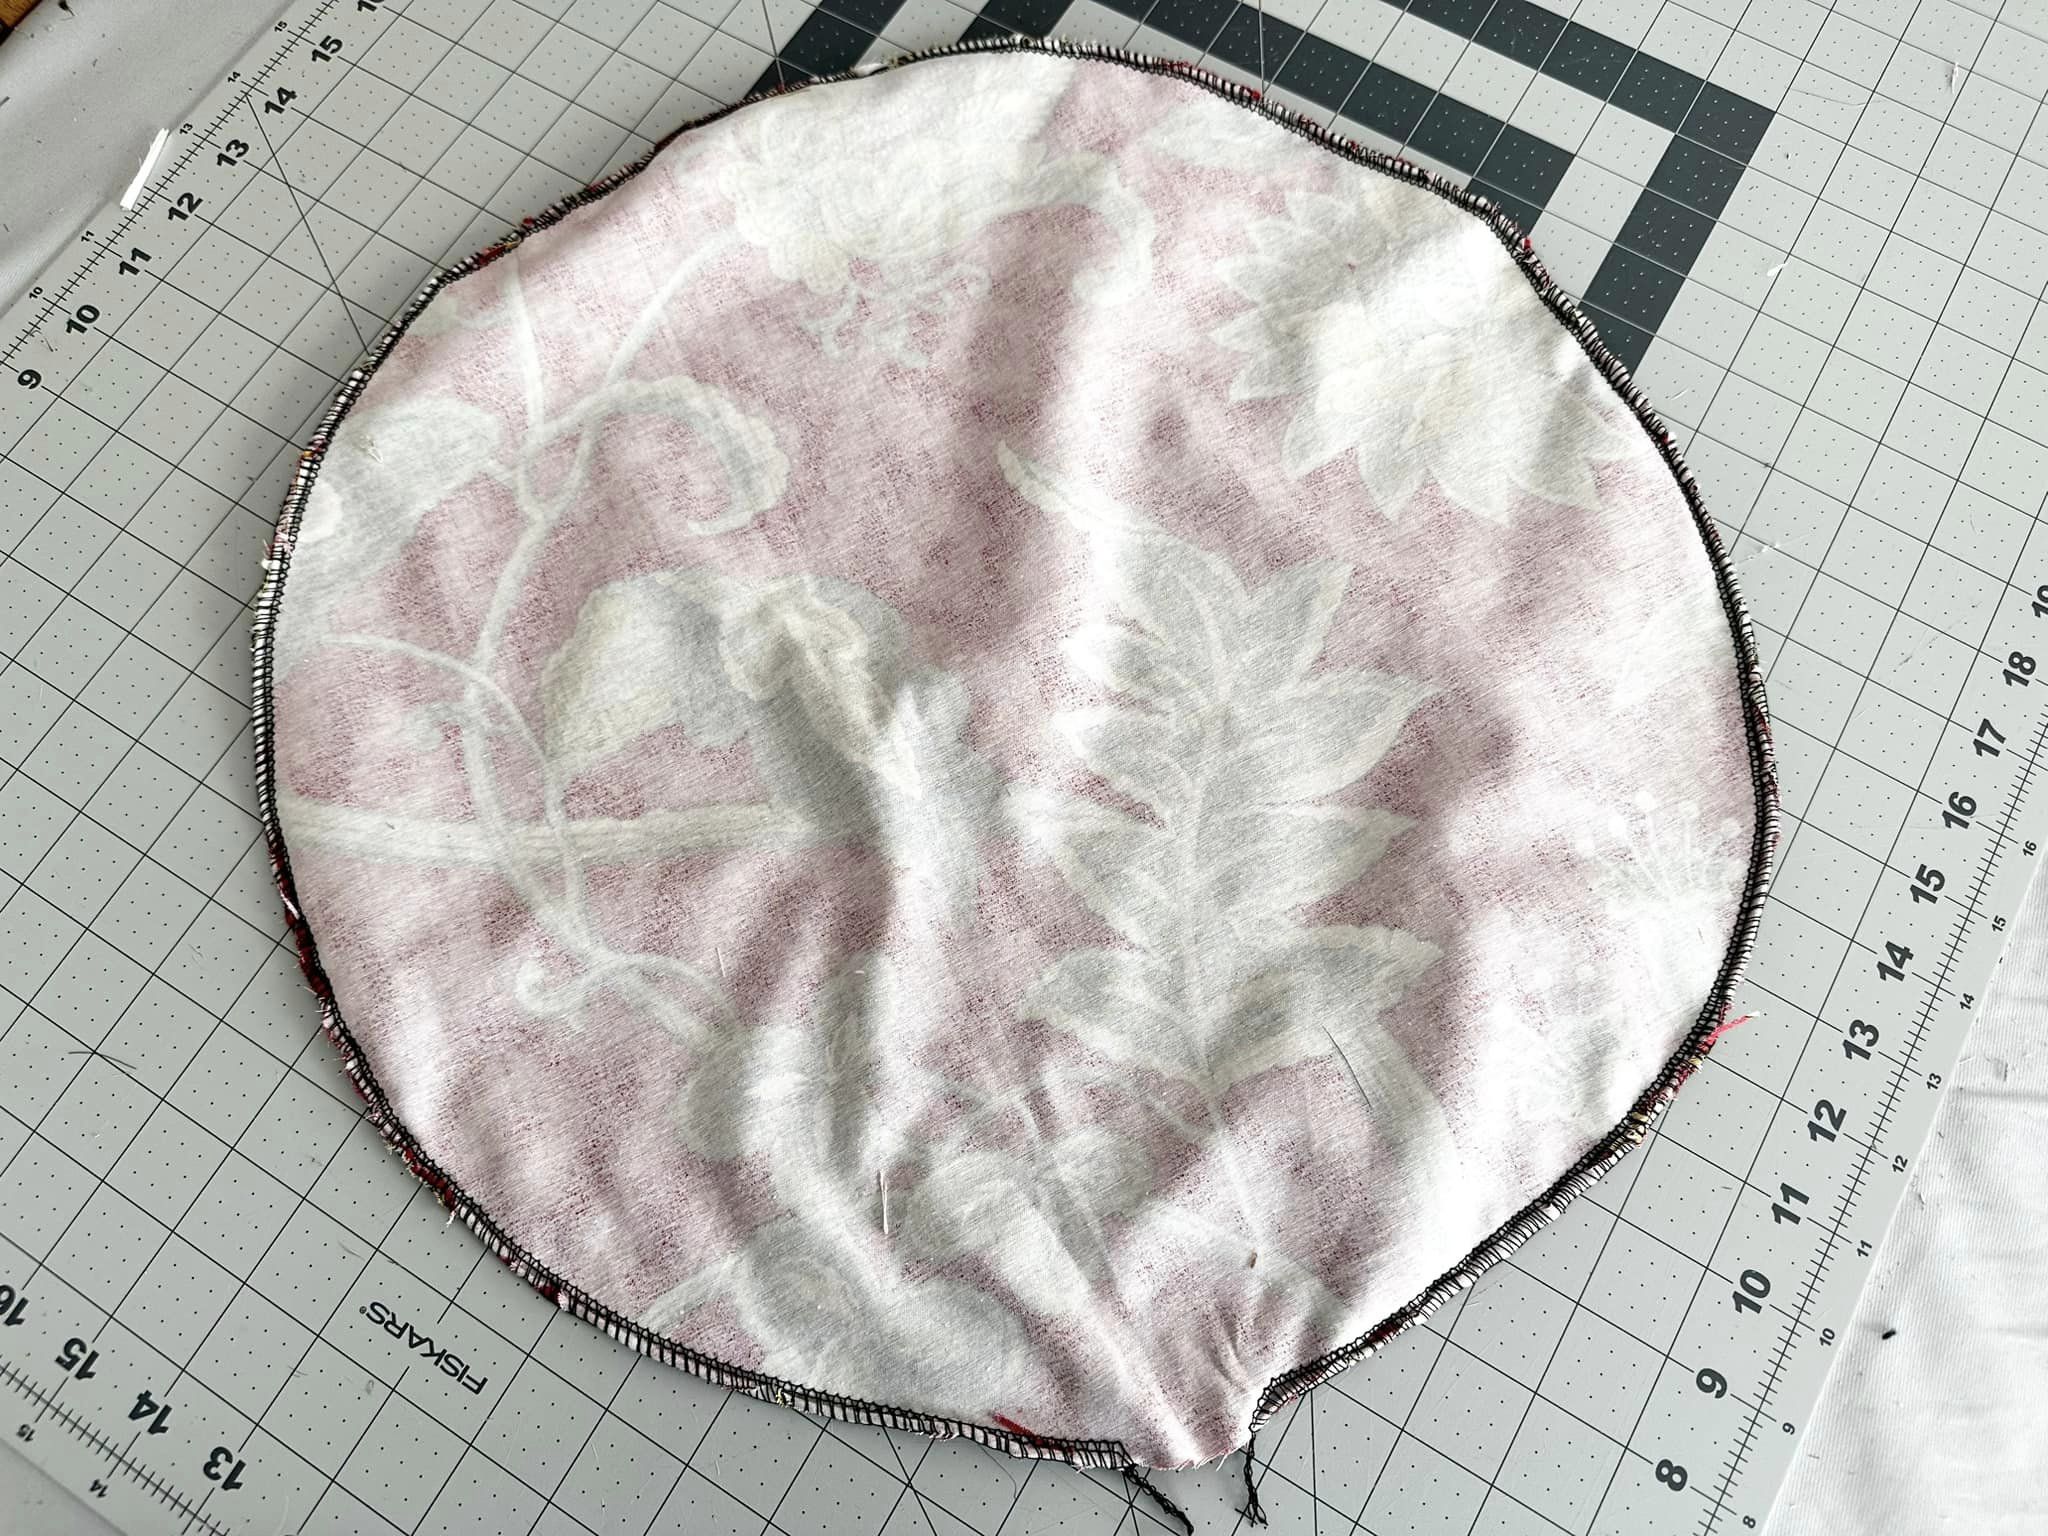
I sewed all the way around the circles so they were connected. Leave an opening so you can flip the whole thing right side out.

Pull gently to get the good sides on the outside.

My circles were a little wrinkled.

I ironed it well so the edges were flat and the wrinkles were gone.

The next step is to sew a circle all the way around. I sewed about an inch from the edge. Sew around until you have a full circle. You do not need an opening in this circle.

At this point you need some ribbon, cording, string to thread through the casing you made around the circle. Push the cord through the opening and move it around the circle until you get back around to the opening. You can pin a safety pin to the start of the cord to help you move it along.

When you pull the cord tight, it closes the bag. My cord is about 30" long. You need to keep it long enough to spread the bag open.

I sewed a few stitches to make the opening a bit smaller and keep the edges tucked into the opening. I didn't want the cut edges around the opening to show. If you have any messy stitches just put them on the inside of the bag. No one will ever know.

This is a great bag to hold almost anything so it is a great gift too. Thanks for reading along, now go make something fun for yourself.
***Year End Update- I use this everyday and I made a bunch to give as Christmas gifts.
No comments:
Post a Comment