Friday, May 6, 2022

Denim Days-Overalls

Hello Readers. I am working with denim all month. Today was a fun project. Do you like overalls? I have been wanting a pair of overalls for a while and decided to make some for myself. 

Before and after.

These jeans had elastic in the back of the waist. They were a little too big but I realized that would work perfectly for overalls. Overalls are usually loose and that was what I wanted.

I actually had a second pair of these exact jeans that I refashioned last year into paper bag style waist shorts. I had saved the lower legs from those pants/shorts. I am glad I did because I used the legs as the front and back bibs of my new overalls. The denim matched perfectly. I turned the old cut off pant legs inside out, stitched the ankles closed and turned them right side out again. Those were my front and back bib pieces.

I also had the legs from a denim jumpsuit that I refashioned into a romper and I decide to use these legs to make shoulder straps. (I am trying to use all the scraps I have been saving.) I cut out my 4 shoulder straps. They were just 4 long strips with 2 sides. I cut them from the sides of these pant legs and stitched them closed while they were inside out. Then I turned them right side out to hide all the stitching.

 This video walks you through all the separate pieces I had to work with.

I connected the 4 straps to the bibs at the corners.

I connected the bibs at the center front and back. 

I sewed the bibs onto the pants by putting the right sides together and stitching on the inside. I attached the straps to the bibs in the same way.

These overalls are so comfortable and fun. I liked the shoulder straps. The bows added a feminine touch. 
 

I was perfectly dressed for a day at the beach. Thanks for reading along, now go make something fun for yourself. 
*Year End Note From Chickie- These were a great refashion. They are comfortable, I can eat all the cookies without these getting too tight. And I love the bows at the shoulders.


Wednesday, May 4, 2022

Denim Days-Star Wars Jeans

 Hello Readers. It's Star Wars Day! May the force be with you. I decided to refashion denim all this month and I was so excited to refashion these jeans. Are you a Star Wars fan? I definitely am. I remember seeing the first movie when it came out way back in the summer of 1977. I was 5 years old and my mom had to read the intro script to me because I couldn't read yet.

Before and after.

I found this small drawstring bag at a clothes swap. There was a yellow side...

And a green side. I love green side with all the schematics of the space ships. 

 
I cut the bag apart and made 2 square shapes. I wanted to make the squares into pockets for the back of a pair of jeans. I did not cut the top of the squares. That is where the drawstring was. It is colorful and nicely finished. It will make quick pockets if I do not have to sew the top of each pocket.

You can see the squares are larger than the original pockets of the jeans. I wanted to cover those original pockets completely so my new pockets will have to be larger. I could remove the original denim pockets but that will take more time and it is not necessary when I can just cover them.

I measured to make sure my pockets were the  I needed and the same size as the other. I folded the raw cut edges under and ironed them to get them precise. I clipped them to the jeans so they would not move while I was sewing. I used the original pockets as a guide for placement and angle. 

This video shows the pockets and how I sewed them on the jeans very clearly.

Here are my jeans with the new pockets. They are so fun. 

I wore these jeans to the beach. They say Star Wars, but they could go anywhere. 

It was a beautiful day. Thanks for reading along, now go make something fun for yourself. 
*Year End Note From Chickie- These are going to be life long favorite! I saw Star Wars when I was a kid so many times!


Friday, April 29, 2022

Maternity Shirt Refashion

 Hello Readers. If you have had a baby you know how those maternity clothes cost a lot and then become useless. I had a couple ideas for a couple maternity shirts.

Before and after.

This shirt is so pretty but the shape just makes me look pregnant. It is a maternity top after all. Any empire waist makes me look like I am working on baby #4. (I am close to 50 y'all. I am not having another baby.) I didn't like that but I liked the fabric a lot. There was elastic with the drawstring under the bust and that elastic gave me an idea to make a skirt.

I cut the bodice off the shirt. I kept a little extra fabric above the waistband when I cut it.
 
 I used my serger to finish the cut edge above the elastic and keep it from fraying. The rainbow thread doesn't match but it's OK, it will be hidden.
 
  I tucked it in and under and stitched it down. 

I tucked the edge under and pilled the elastic gently as I stitched along. That will keep the edge neat and the elastic will keep its stretch. 

This shirt made a fun skirt. It was casual, comfortable and easy to wear. The elastic in the waistband so it is easy on and off. 
 
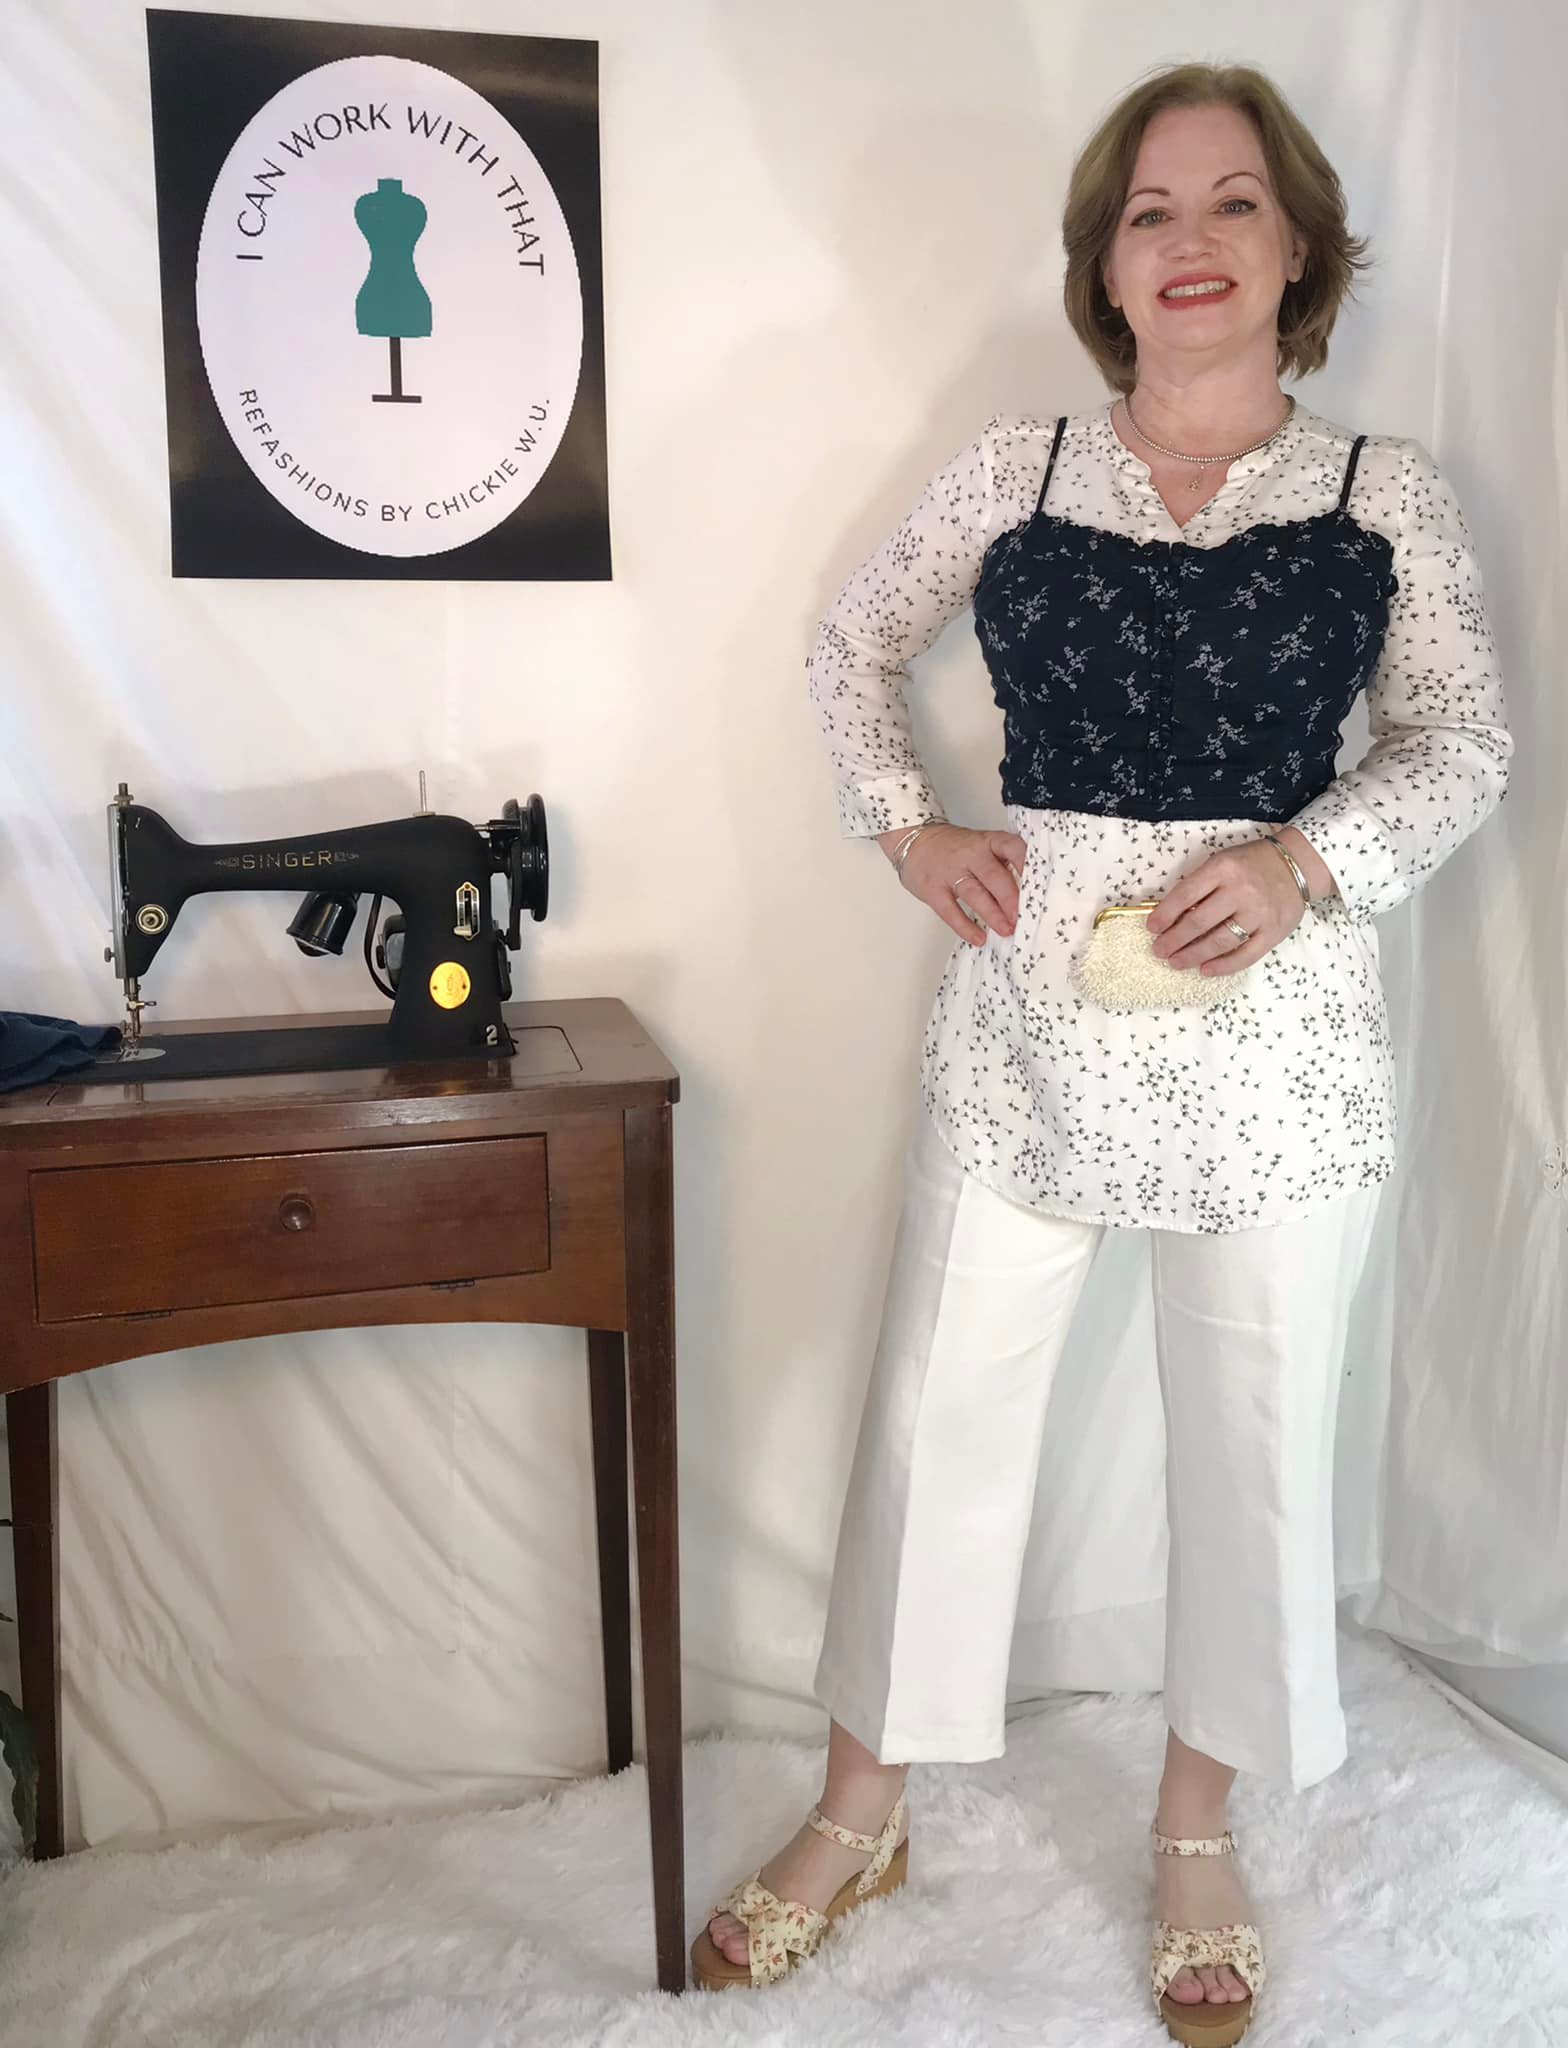
I also had this top in white. I featured it in my last post about cutting a jumpsuit in half. I didn't really refashion this white top. I did not really need to. I just needed to wear this white top in a different way to make it look more flattering. The bustier top made a different shape so this white top looks less like maternity.
Thanks for reading along, now go make something fun for yourself. 
*Year End Note From Chickie- I loved this purple color. It was a nice light weight skirt for warm weather. I used the top of the purple skirt in a refashion in September.


Sunday, April 24, 2022

Cut Your Jumpsuit in 2

 Hello Readers. I found this cool jumpsuit at a clothes swap. I really do love a jumpsuit. This one had tiny flowers on it so it went really well with my florals in April theme.

Before and after. 

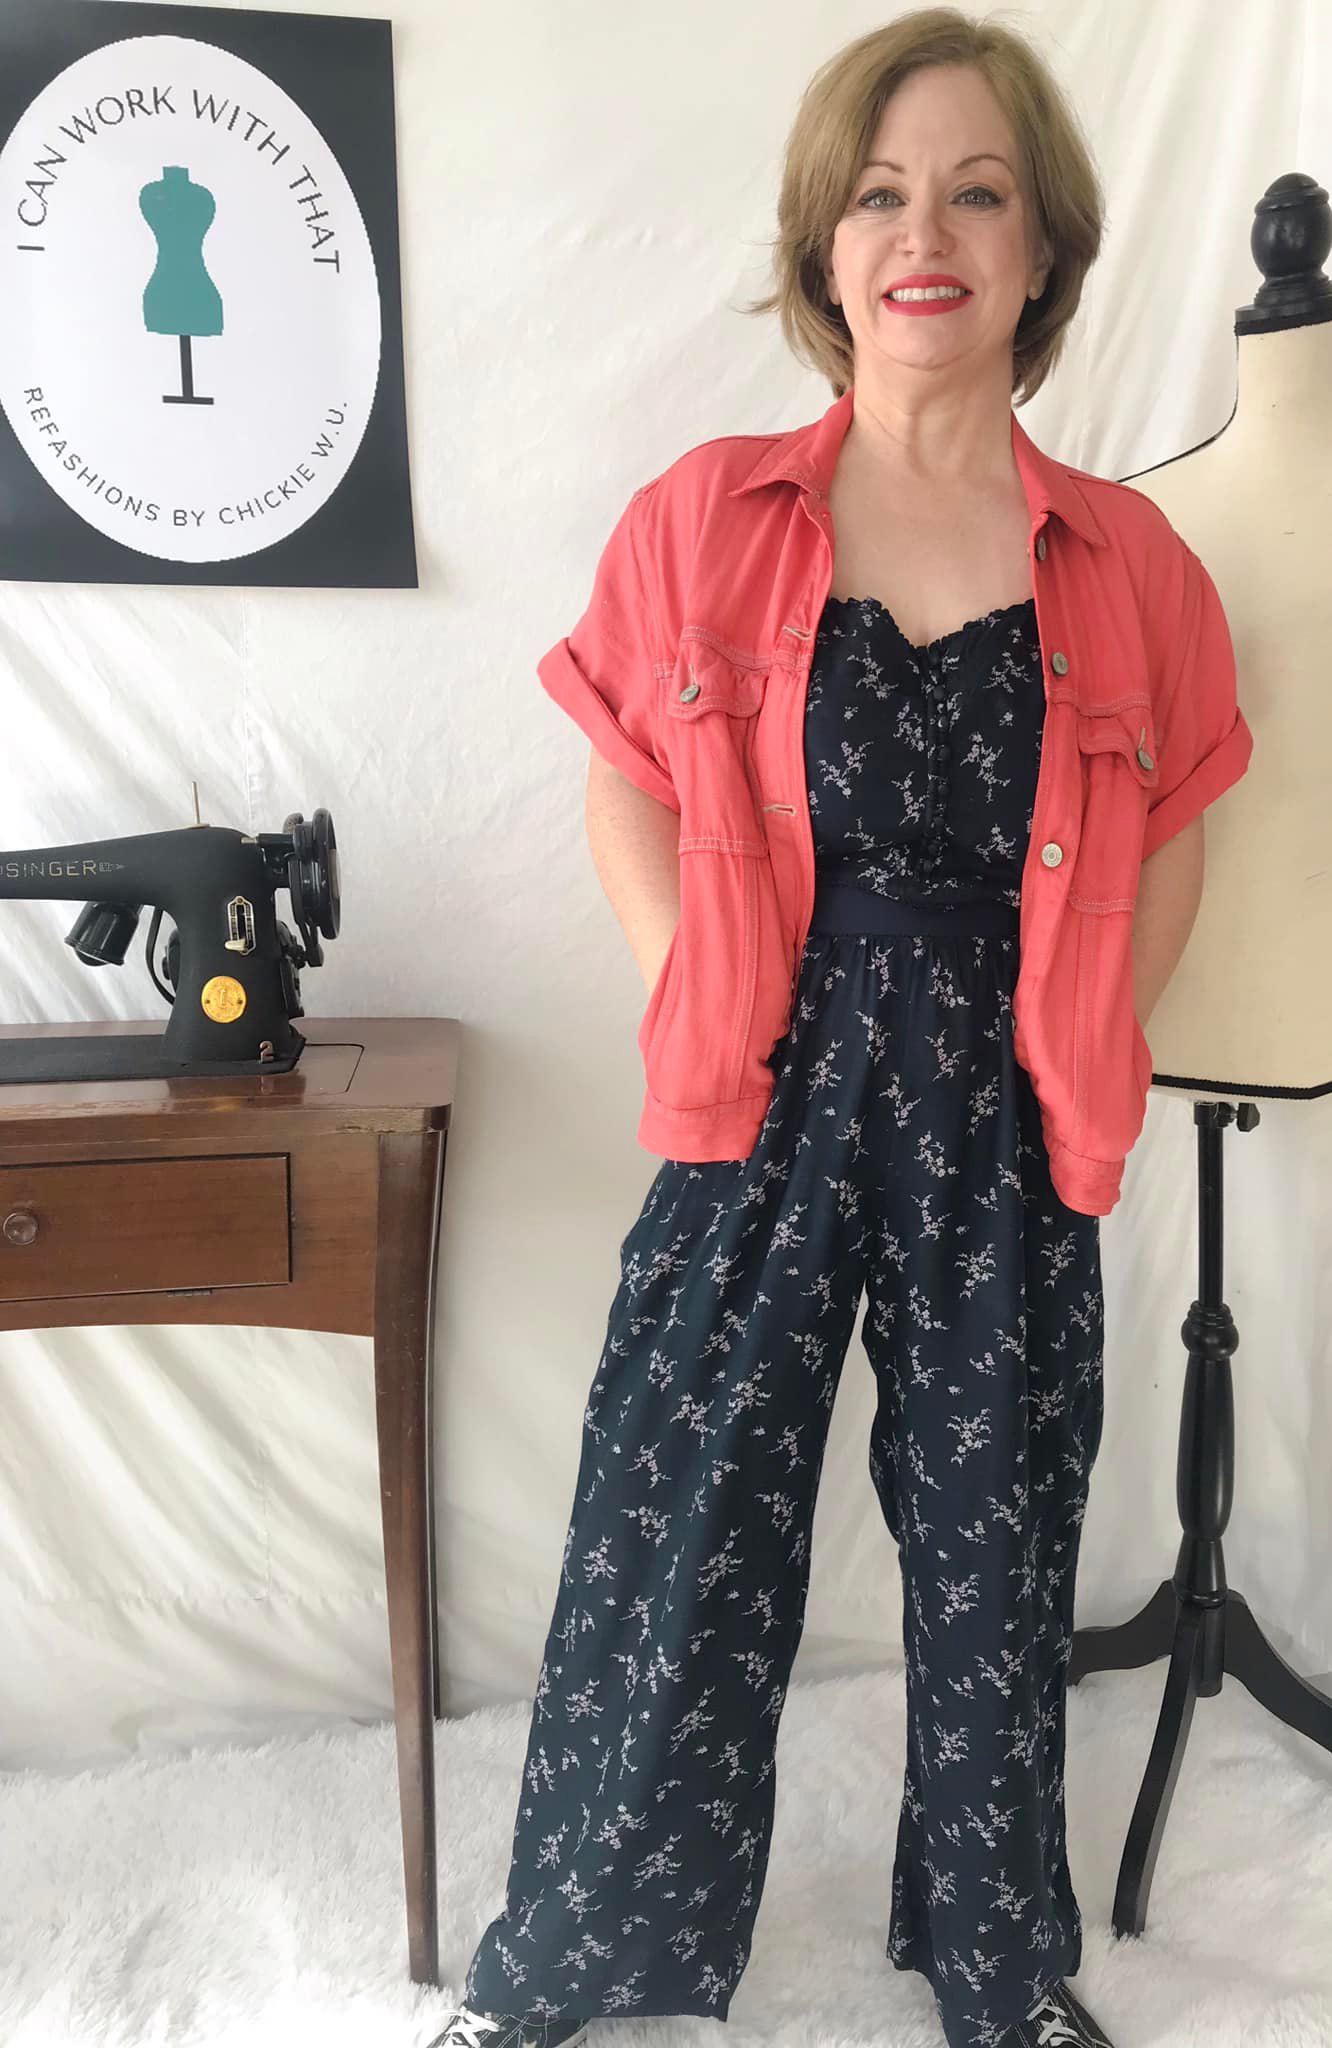
This jumpsuit was fine as it was but I had an idea. The top would make a cute but quick bustier top. They seem to be all over Instagram so I wanted to try and create one for myself. But I wanted to create it quick and easy. This was my chance. 

I cut the top off the jumpsuit. You can see in the picture that I cut the top fully off the pants. I kept all the seams intact. I cut as close the bottom of the waist seam as I could. The stitching of the seam will keep it from fraying and falling apart but...
 
To be sure it stays looking nice I used a zigzag stitch along that bottom edge. The zigzag stitching along the edge will keep it all together with absolutely no fraying. I used black thread to make sure it blended in. 

 
What about these pants? They have no waistband so I need to fix that. Where could I find a waistband?
 
I cut the waistband off these jeans. The waistband is just the right color for these pants and I love elastic waistbands. (I am getting old. I just want to to be comfortable.)
 
*Inside view.*
I used my serger to keep the layers of the waistband together. Then I used a zigzag stitch in black to connect the pants to the waistband. I put the right sides together and zigzag-ed all the way around the waist.
 
 *Outside view.*
The waistband is soft and works perfectly for these pants. The waistband was so stretchy it fit these pants well. All my stitching is hidden inside the pants.
 
I can wear the 2 pieces together and it still looks like a jumpsuit. 
 
I can also wear the pants by themselves with a different shirt. 
 
 And I can wear the bustier top without the pants and with a different top underneath. I liked this look because I was more covered on my shoulders and arms. I have more to say about the blouse I am wearing under the bustier top in this picture. Come back for the next post to see more. See you then. 
*Year End Note From Chickie- I loved both these pieces so much and I gave them to my daughter.


Friday, April 22, 2022

The Linebacker Dress

 Hello Readers. I love dresses with unique details. The sleeves and big shoulders of this dress really caught my eye. I wasn't happy with how it looked on me though. The shoulders seemed too big and the sleeves made my arms look short. (Maybe my arms are just really short.)

Before and after. 

The sleeves were puffy and very stylish but with the high neck I looked like a football player. A very short linebacker.
 
I decided to shorten the sleeves. I thought that might look better and my arms would look longer.

I cut off a couple inches and turned the cut edge under and stitched it on my sewing machine.

I used a straight stitch when sewing this project. When I was done with the sleeves I moved on the body of the dress. 

I decided that the whole dress would look better as a shirt so I cut the bottom of the dress off.

I hemmed the cut off edge and I had a new shirt.

I liked the shirt with these jeans I bleached a few months ago. The black and white dress also had some off-white in it that matched these jeans perfectly. And check out that little bag!

My daughter gave me this bag. It is made by Purse & Clutch. They are a wonderful ethical company. They work with artisans in Mexico and Ethiopia. They do not use child labor, they pay a living wage, and they are focused on sustainable and environmental manufacturing. They make beautiful bags in all shapes and sizes. (This is not an ad. They do not know me. I just loved the bag and wanted to share their information with you.)
Thanks for reading along, now go make something fun for yourself. 
*Year End Note From Chickie- This was a great shirt for work. It never needed to be ironed, that is a winner in my book.


Wednesday, April 20, 2022

Little Blue Dress

 Hello Readers. Sometimes clothes just do not fit. That was the story with this dress. The top was too small and the bottom only fit because it was so full cut and had an elastic waistband. I really liked this material so I wanted to save it some how.

 
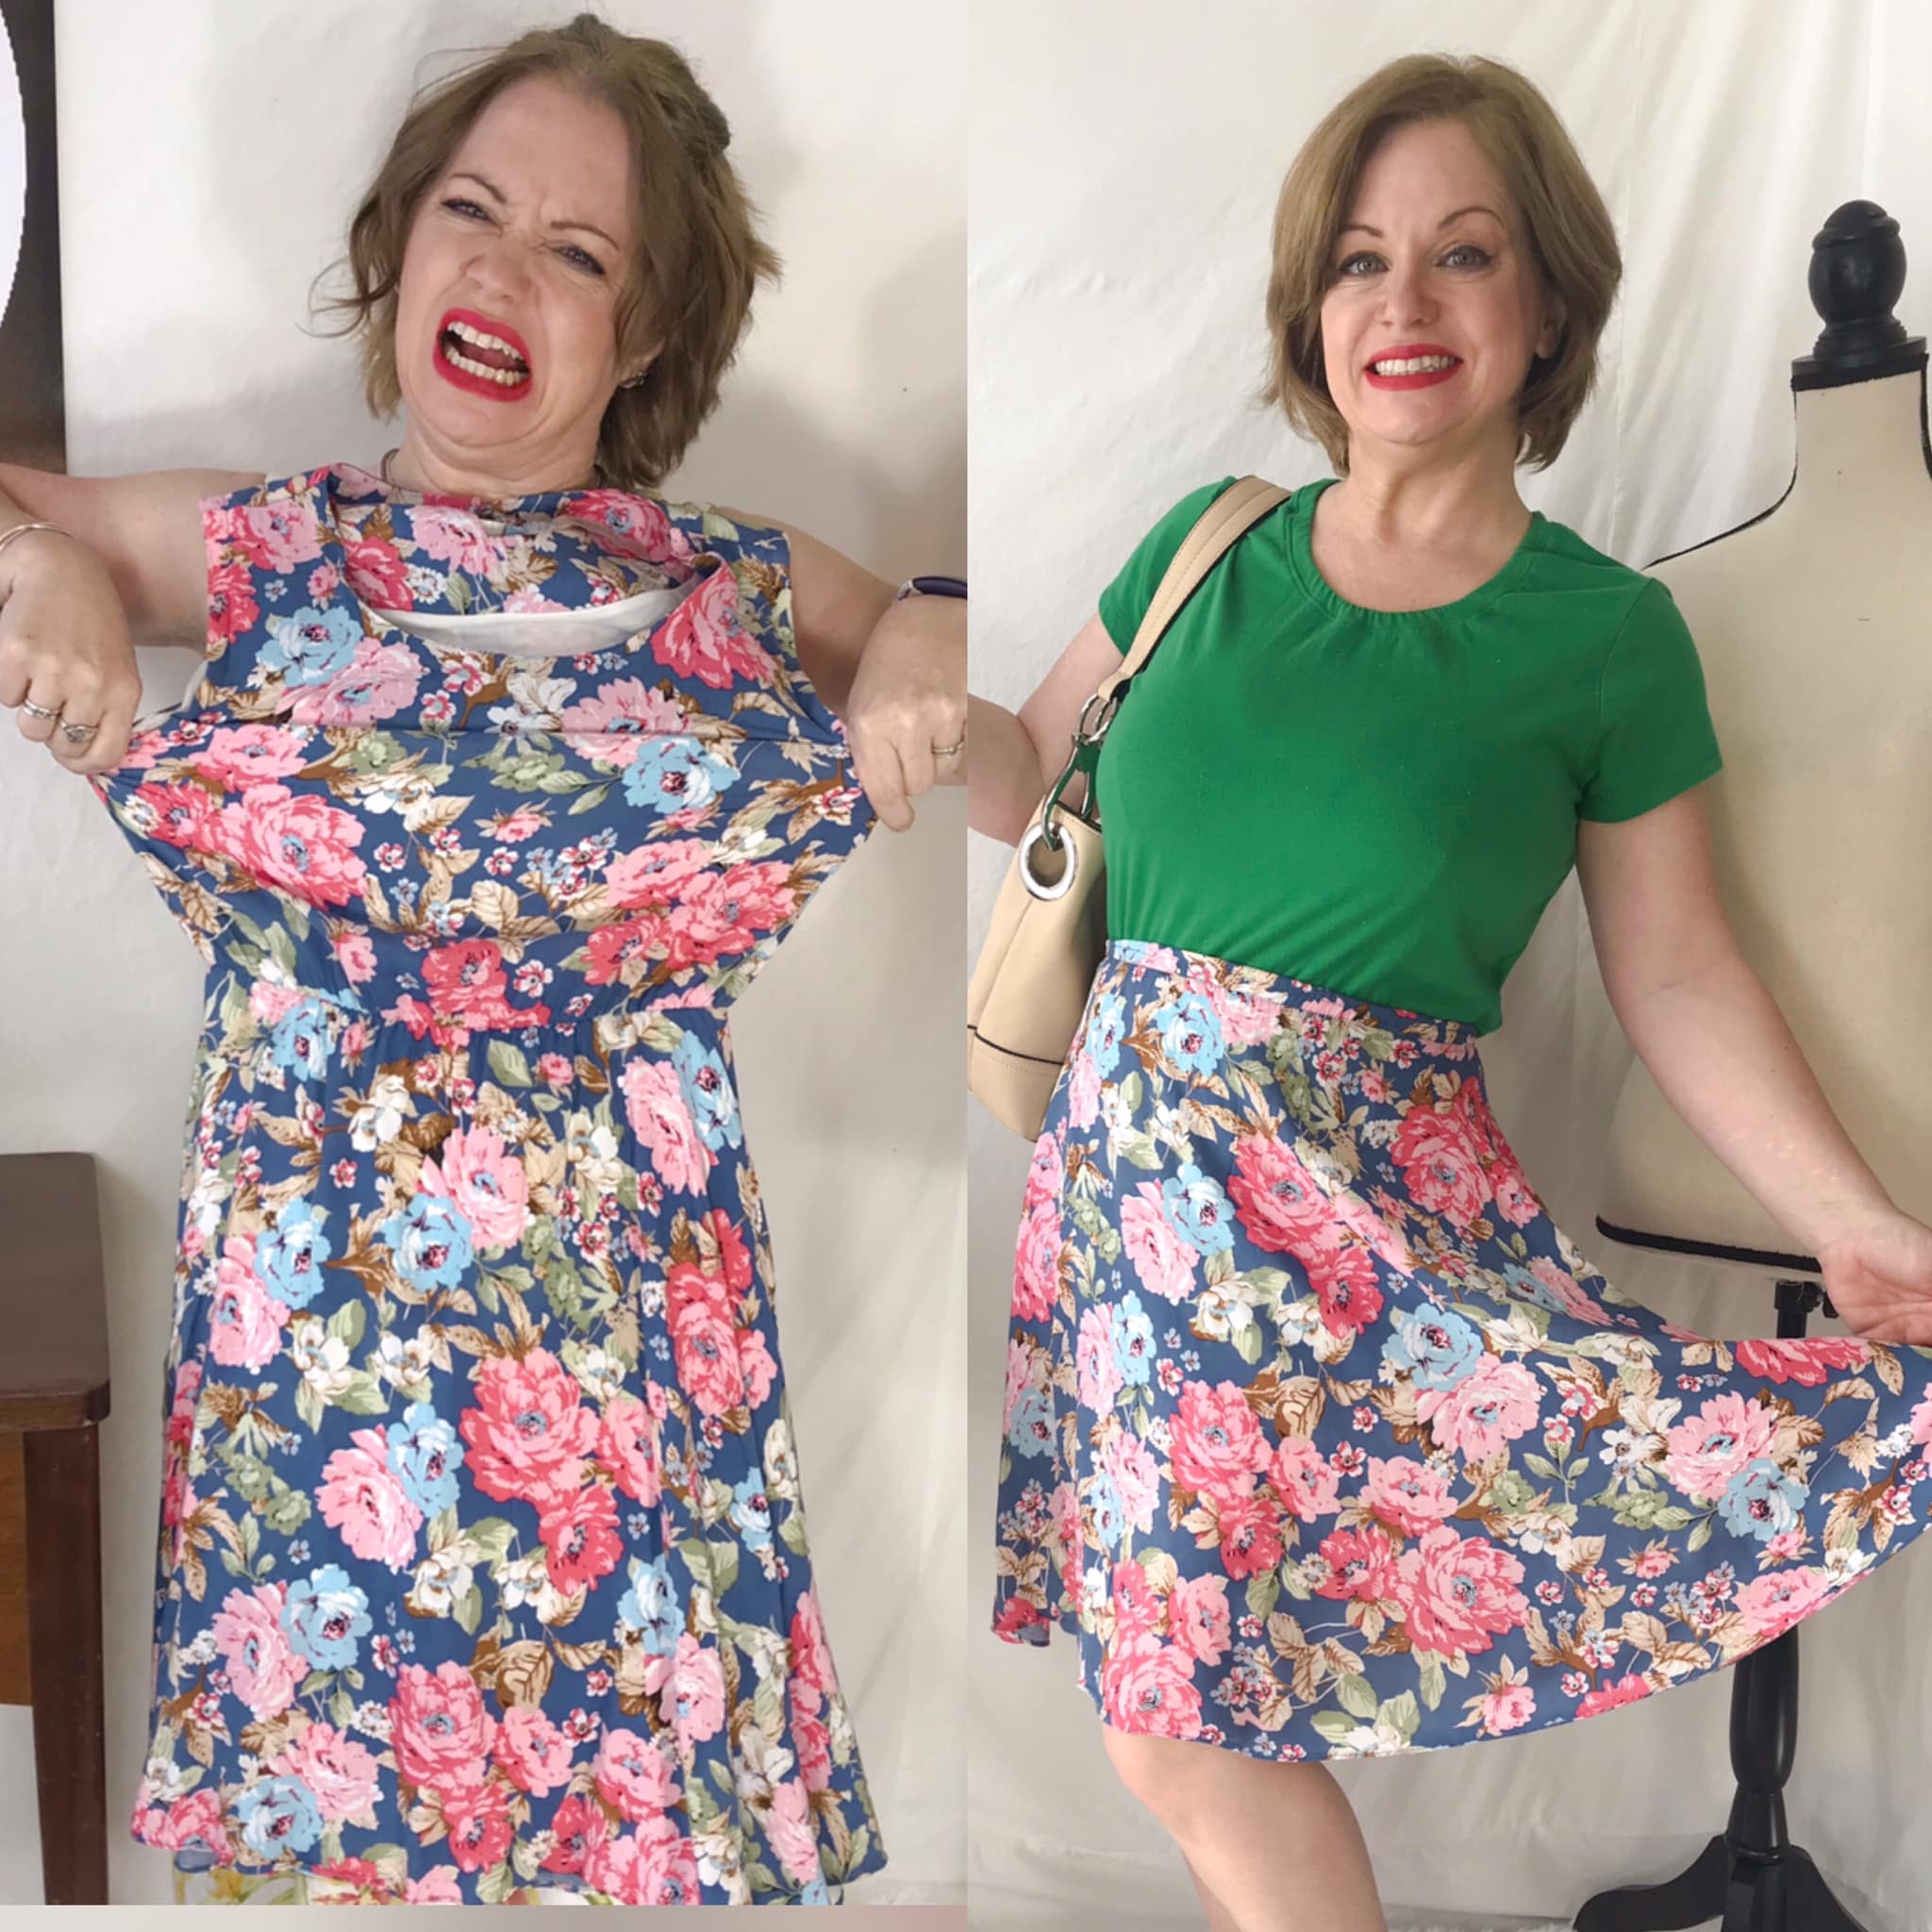
Before and after.

This blue dress was so pretty. The fabric was just so cheerful and spring-ready. It was just too tight around the chest. I could get rid of it or I could make it work for me. You know what I did.

 
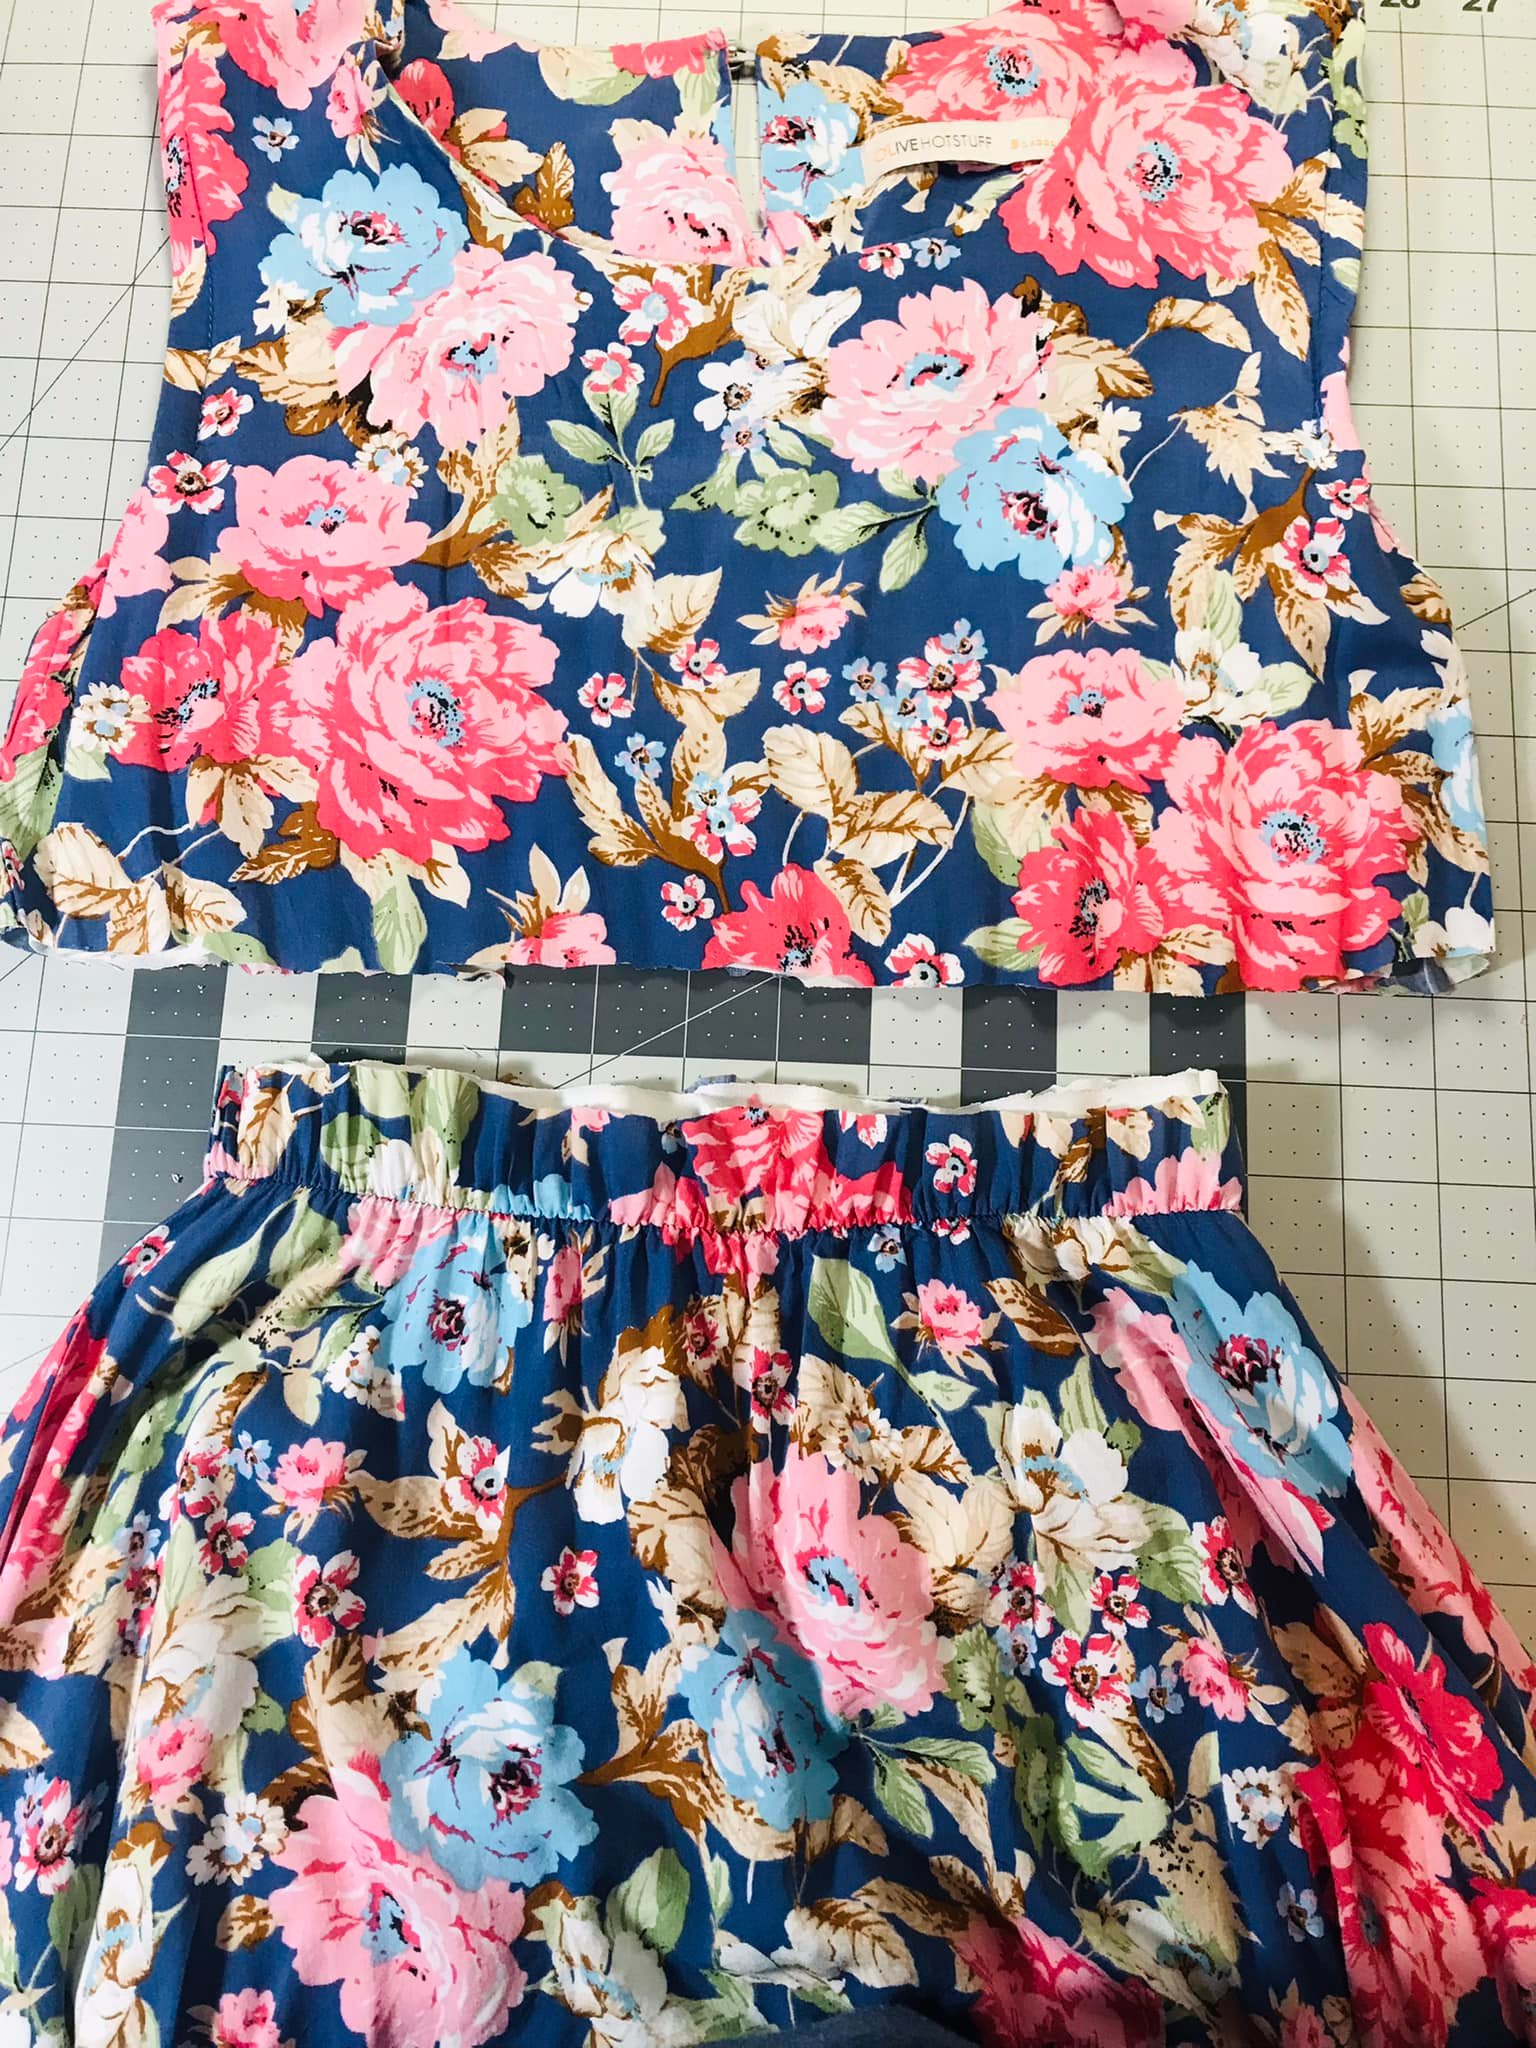
I cut the top of the dress off. I just cut it. I left about 1/2 an inch That is important. I will need that 1/2 inch.

Here is the cut off top. And you can see the bottom half of the dress and the extra 1/2 inch of fabric above the elastic waistband. That waistband is really handy. It is what is going to let me make this into a skirt in just minutes. 

   I used my serger on that cut edge above the waistband. (You could also use a zigzag stitch on your sewing machine for this step.) It won't show when I am all done with the skirt but I don't want the fabric to fray on the inside my new skirt. 

Once the skirt has a finished edge instead of a raw cut edge I can move on to the next step. 
 
 The next step is to turn that serged (Or zigzag.) edge in and under and stitch it down . This makes a nice looking waistband. I used a straight stitch and stretched the elastic as I sewed. 
 
It looks like a simple A-line skirt. Perfect.
 
This skirt had so many colors in in and I loved that. It matched almost any top in my closet. Thanks for reading along now go make something fun for yourself. 
*Year End Note From Chickie- This floral skirt had all the colors you can imagine in it. It was easy to wear too. It is put away for next spring.